Lucid Gravity Gets Hands-Free Driving Assistance Software With Latest Update
Lucid already added hands-free driving to the Air, so it isn't a brand new feature for Lucid.
Read MoreLucid already added hands-free driving to the Air, so it isn't a brand new feature for Lucid.
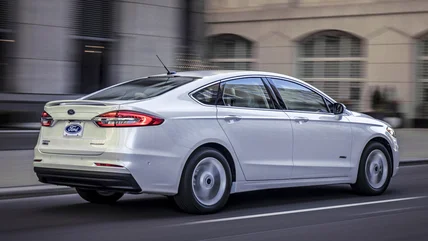
Read MoreThere's no limit to the number of functions automakers will push to be computer controlled.
Read More
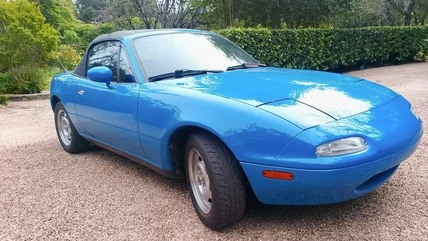
It's nice to see people are still getting into cool cars, despite everything.
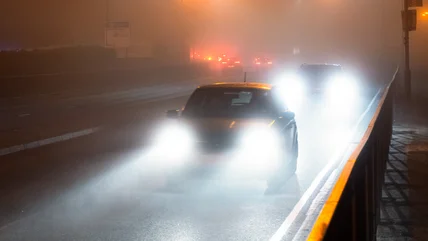
Read MoreThere are no reports of any charges being filed, so this appears to have been an honest accident.
Read MoreYour car's backup camera is a vital piece of equipment that makes parking much easier. But if you don't maintain it properly, repairs can be extremely pricey.
Read MoreFord's presence in SubTropolis has expanded over 1 million square feet since the 1960s.
Read MoreHondas have a well-deserved reputation for reliability. But some of them also have a history of recall notices, lawsuit settlements, and other issues.
Read MoreThis 7,700-lb monster dwarfed every other SUV on the market and packed the biggest-displacement diesel engine Ford ever produced, towing up to 11,000 lbs.
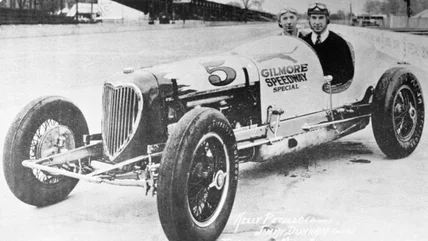
Read MoreHow did a four-cylinder engine win the Indy 500 27 times? Explore the history, design, and legacy of the racing motor that boasts origins in a marine engine.
Read MoreYou'd think completing a multi-billion dollar infrastructure project would be worth celebrating, but not everyone is happy with the Gordie Howe Bridge.
Read MoreIn an interview with CNBC, NASA Administrator Jared Isaacman said that it would "take some serious time" to repair the damage at Launch Complex 36..."
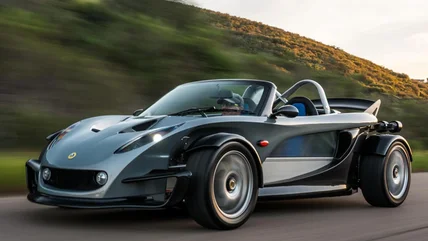
Read MoreThe Lotus 340R looks like nothing else on the road, but getting your hands on this rare performance roadster is going to cost quite a bit.
Read MoreAntonelli's Grand Slam was made even more impressive by a curveball during the race's latter stages.
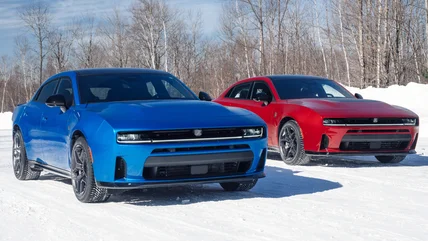
Read MoreI'm pretty sure I know how the Charger will sell in Europe, but even if one makes it over there, it's going to spread freedom and liberty like a super soldier.
Read MoreTurbochargers were patented in the early 1900s, but were never common in cars until the second half of the 20th century. So what held the technology back?
Read MoreI can hear your keyboards furiously typing already.
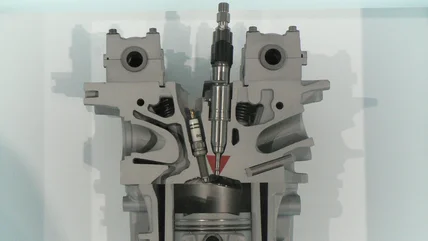
Read MoreIf you think direct-injection diesel engines made their debut in the 1980’s, think again. The first diesel without extra plumbing debuted decades earlier.
Read MoreWhether you'll ever find someone in complete agreement with you on which cars are ugly mistakes and which ones aren't, no one can say.
Read MorePlus new self-driving initiatives from Uber in London, right to repair legislation, and the cult of the Rav4 hybrid.
Read MoreMaybe, if we're all lucky, some trendsetter will take our ideas and build the perfect car — after all, surely none of us disagree on what trends annoy us.
Read MoreMiata may always be the answer, but should we question this price?
Read MoreHeadlights are a topic of conversation at the moment, with some concerns about brightness, but this is how independent organisations measure cars' lights.
Read MoreYou might have heard that a dirty car is more aerodynamic. But is there really any truth to that statement? Here's what the MythBusters had to say about it.
Read MorePort fuel injection has some big advantages, but automakers increasingly are using gasoline direct injection instead. The reasons are numerous.
Read MoreMore than 20 years ago, California stepped in to ban the gas additive MTBE, but why did the state take that step, and what exactly was wrong with MTBE?
Read MoreIf you've heard of racing enthusiasts and drag racers discuss blueprinting, but have no idea what they're talking about, this explainer will be for you.
Read MoreThere are several factors to consider when picking a system that helps you secure your vehicle, but cost and effectiveness are probably the two most important.
Read MoreHybrid motorcycles could be faster, more efficient, and have longer engine life, but there are significant hurdles keeping them from being widely adopted.
Read MoreNew York City alone saw a total of 800 lithium-ion battery fires that resulted in 30 deaths and 400 injuries between 2022 and 2025
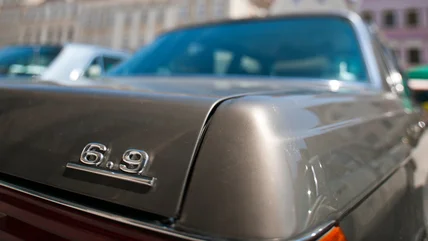
Read MoreMercedes' 6.3-liter SEL was already a beast, but the 6.9-liter engine turned the Sonderklasse into one of the world's fastest sports saloons.
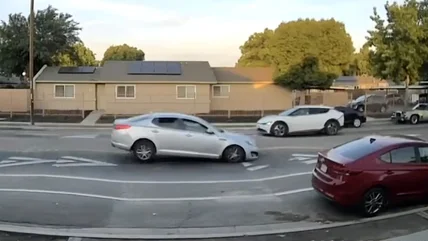
Read MoreIt's been four years since Speed Bump Olympics posted its first video showing negligent drivers catching air, but drivers still haven't learned their lesson.
Read More