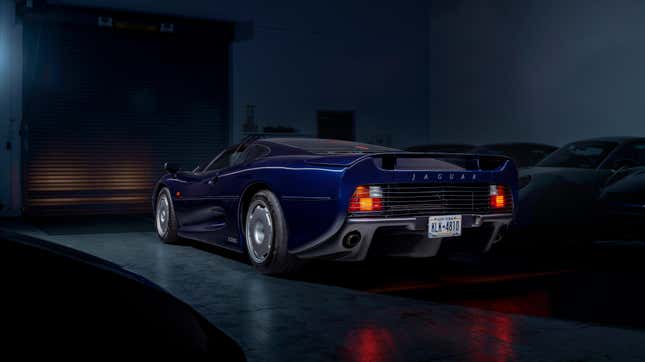
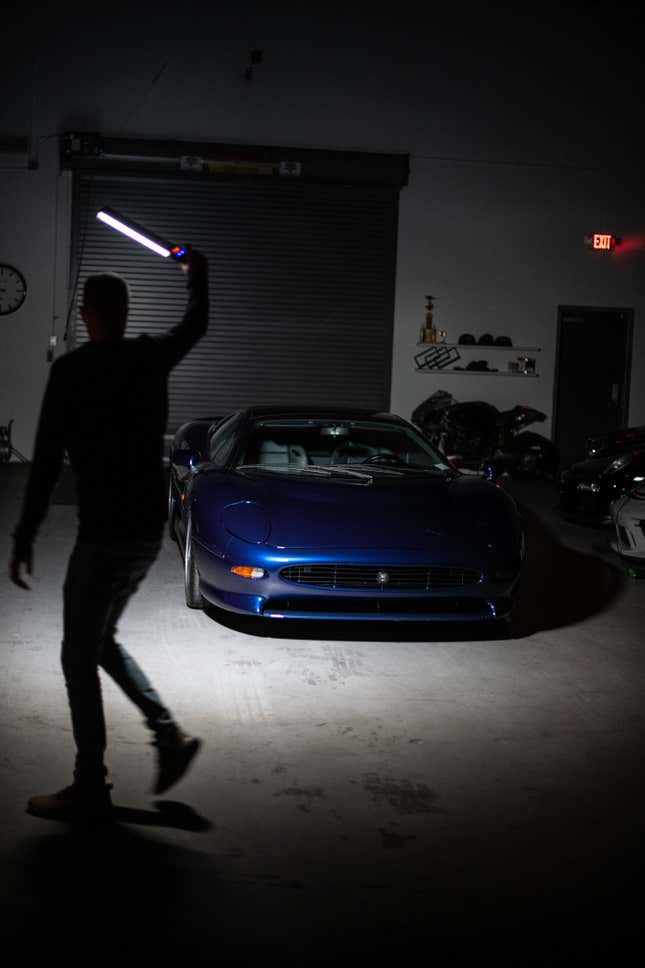
In a secure car storage space in New Jersey, just across the Hudson River from Manhattan, it’s dark and mostly silent. There’s a shuffle of feet, an arc of light gently working its way through the darkness, and the click of a camera shutter. The camera’s screen glows with the result of a 10-second exposure. A quick assessment of the image, then the process repeats, again and again. This is automotive light painting.
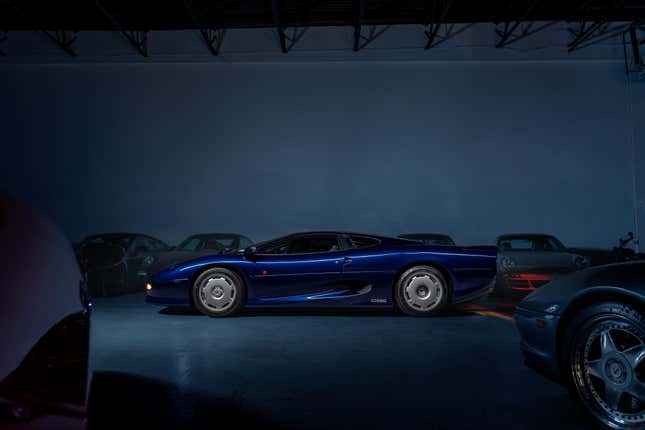
The subject of my light-painting efforts that night was a jaw-dropping Jaguar XJ220 recently acquired by Phil Toledano, a.k.a. Mister Enthusiast. The location was Hudson Stables, a high-end storage facility for car enthusiasts, run by friends patient enough to put up with my late-night photo projects. The fridge full of ice-cold beer was a nice welcoming touch.
What is light painting, and how can you use it to create gorgeous car images?
Let’s start with the basics. A camera captures light. If you take away all the light, no picture. But if you selectively illuminate your photo subject in near-blackout darkness, you can move beyond a standard snapshot to something moody and artistic. Done properly, you can use a light source to “paint” the features you want to highlight. In car photography, that usually means framing the car’s silhouette, then walking the light from one end of the car to the other, illuminating the highlights of the car’s bodywork. But this technique can also create beautiful close-up images of one part of a car. The opportunities are endless.
Things you’ll need for light painting:
- A camera with manual control of the shutter/aperture
- A tripod
- Some light(s)
- A good bit of patience.
And that’s basically it! I use Photoshop to combine the individual photos together into one composite image, but you can use light painting to create a beautiful single-exposure photo, no need for editing software.
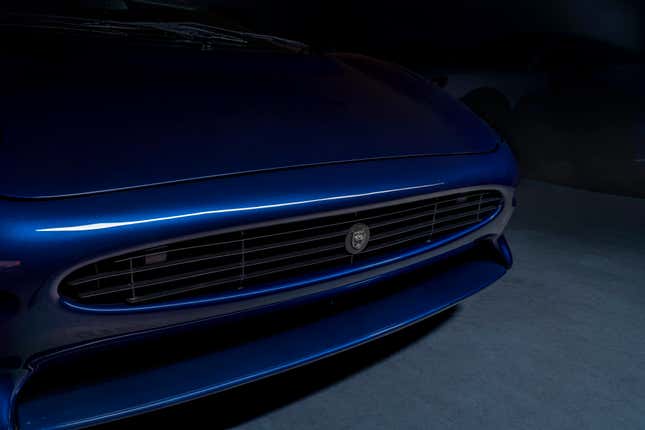
There are no rules to this technique. Different photographers use different methods and equipment, most of which comes down to personal preference. Anyone can use the basic building blocks to create something unique and evocative.
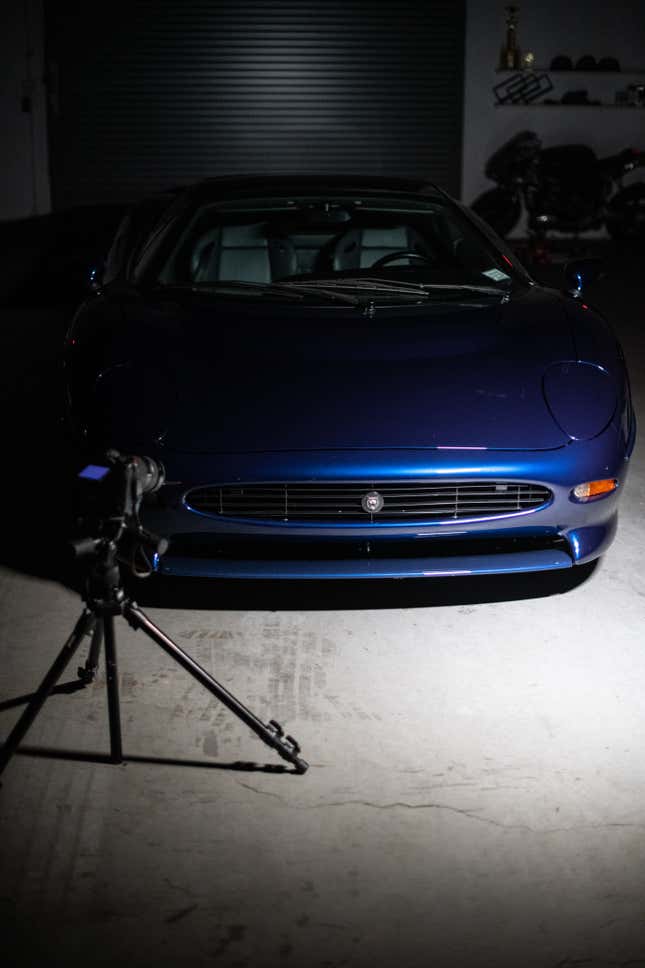
For these XJ220 photos, I used a Sony A7R3 camera with a 24-70mm lens, sitting on a Manfrotto tripod. For light, I used a YN360 LED wand, but any bright LED flashlight will work in a pinch. In fact, when I shot the light-painted photos for this article on the Bridan brothers’ rally-built Alfa Romeo, I forgot to pack my professional-photographer LED light wand. We made do with a cheap LED shop light. All this is to say, you can try this method with just about any level of gear. Patience, and a discerning eye, are most important.
The best locations for automotive light painting are dark and lonely. You’ll need to leave your tripod in one spot for multiple exposures, and you’ll need room to walk your light source back and forth along the length of the car. Hudson Stables provided a perfect venue, especially since a car like the XJ220 would undoubtedly draw a sizable crowd parked somewhere in public. You don’t want strangers wandering into your shot, messing with your gear, or distracting you.
With the car positioned and the garage lights shut off, I got to work. I always start with a few ambient exposures, no added light. These mainly serve as backups, in case I mess something up later and need a clean reference image. I keep the ISO at 100 to avoid extra noise or grain. Depending on the size and shape of the vehicle, a good starting point is aperture at f/8 and an exposure length of 10 to 15 seconds. The goal is to have enough time to move smoothly along the car with your light source, creating an even highlight.
Time to light paint. Hit the shutter button and walk your light source along the car. Keeping the light parallel to the ground will make clean, thin reflections on the body panels. Get the shot, evaluate, repeat.
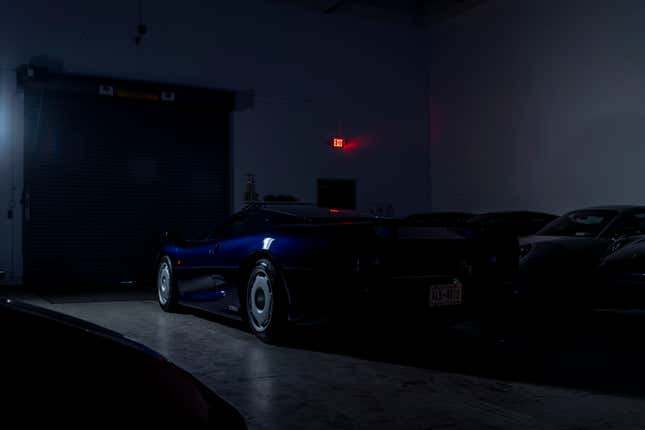
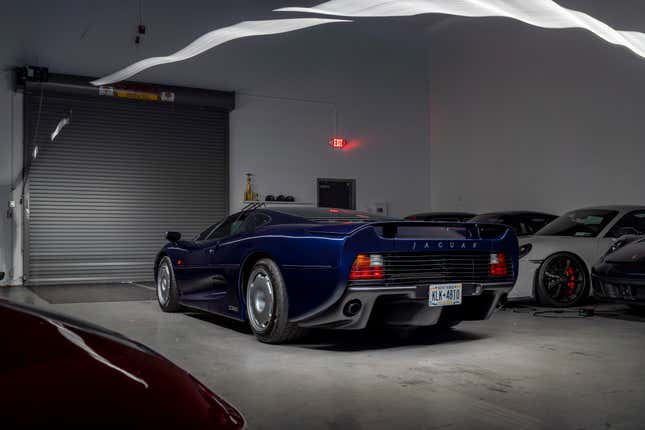
This is where the patience comes in. Even among professional photographers, it’s rare to nail the lighting on the first try. A lot depends on the shape of the vehicle. This XJ220 is one of those rare cars that lights very easily, with long flowing lines running from nose to tail. A car with a more cluttered design, like the new BMW 4-Series, presents a bigger challenge, with character lines and angles that push the light in several different directions.
It takes a few tries to find the right way to light the car you’re shooting. My best results usually come from holding the light as high as I can and keeping it stable as I move along the car. Sometimes you’ll need to change the height of the light, or the distance between you and the car, as you walk the light. Make sure your movements are smooth.
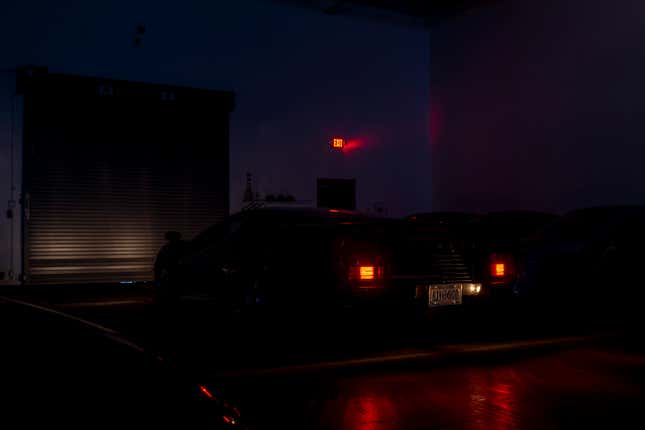
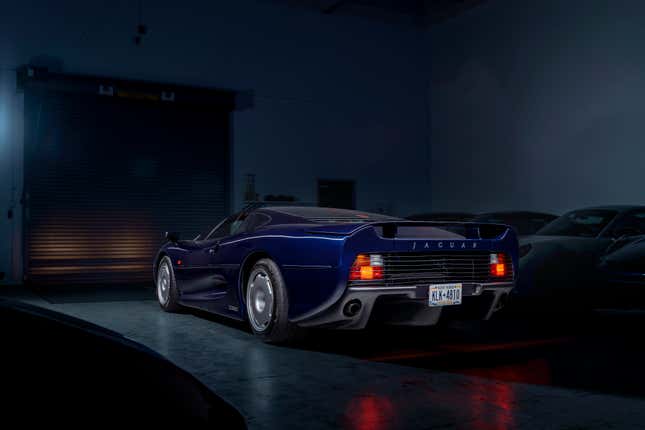
After I captured the ambient (no light painting) layer, and one layer of the car lit with the LED wand, I moved on to the XJ220's headlights. I like to shoot a few variations of low, mid and high for the headlights, which gives me options in Photoshop later. I like to have some “spill” from the headlight onto the floor, but aim to have the headlight itself properly exposed.
Sometimes you need a little directional light to help the realism. For the XJ220, I added an off-camera light source, holding the LED wand stationary for a long enough exposure to reveal the ground and give the car a long shadow.
The results may not look like much initially, but this is where your preferred photo editing program comes into play. I use Adobe Photoshop, but there are free post-production platforms that will give you most of the functions we’ll discuss here.
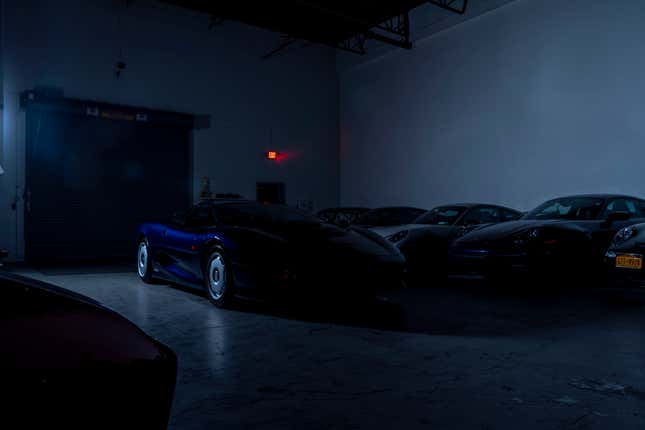
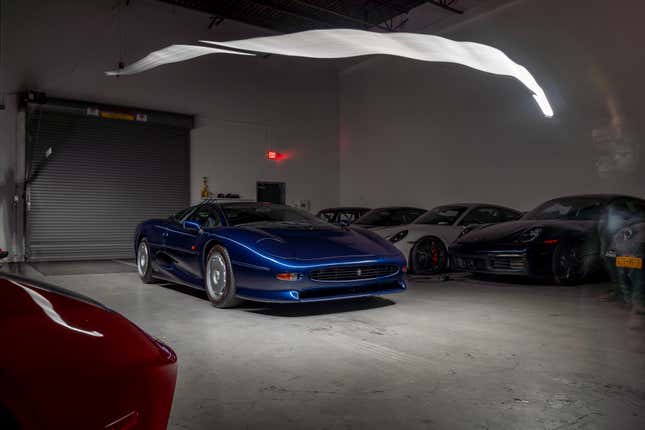
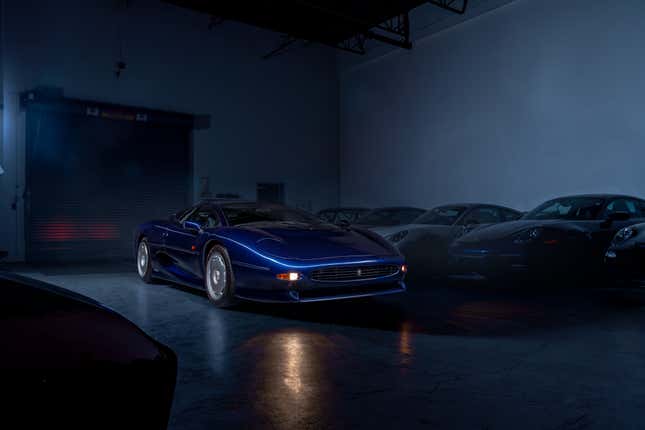
Once I’m done shooting, I combine my selected images as layers in Photoshop. The final image is made up of tiny pieces of each layer, all combined into one. The trick is getting it all to work together without looking completely unrealistic. That said, part of the magic of light painting is having an unnaturally illuminated car on a naturally dark backdrop. Done correctly, the viewer goes wow, look at that car, rather than wow, look at that lighting. It takes practice, but the result can be fantastic.
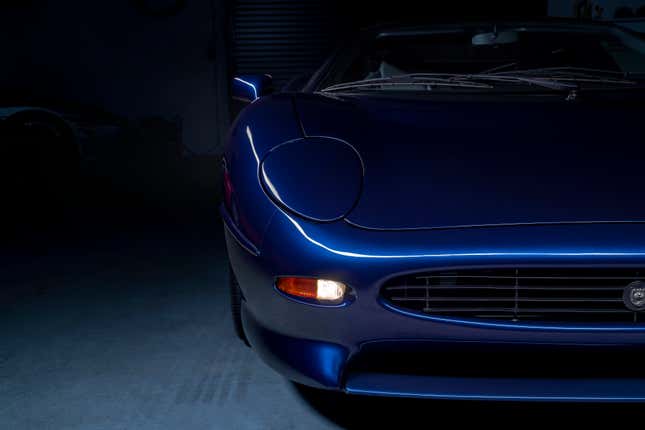
I generally construct my finished composition out of 3 to 5 photos, but it’s totally possible to achieve great results with a single exposure. If you’re trying out light painting for the first time, start with one image. The deep rabbit hole of Photoshop layering and retouching will open itself up from there.
One final point: You don’t need a supercar. One of my favorite light painting shots I’ve ever captured featured my dad’s old Volvo 850 wagon, missing trim and all. That car has since been donated, but a poster-size light-painted print immortalizes it in my dad’s office.
If you use these steps, or have your own techniques for light painting, let us know in the comments!
Jonathan B Harper is a professional automotive photographer working in NYC and LA. You can see his work on his website or Instagram.
Thanks to Dave Tormey of Enthusiast Spec for the behind-the-scenes photos, and a huge thank-you to Hudson Stables for the location and Mister Enthusiast for the car.