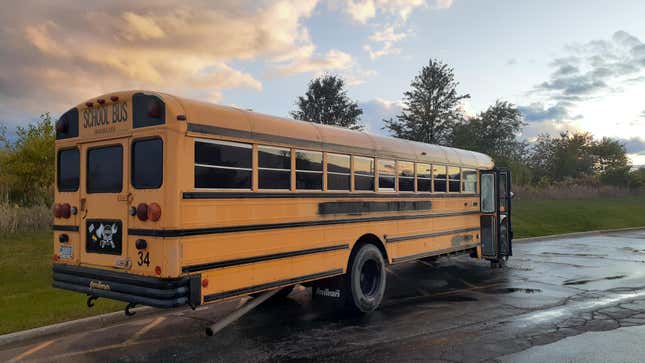
On my third day at Jalopnik I announced an ambitious project. My future wife bought me a 1997 International 3800 school bus. Our intent was to turn it into an RV, but we almost immediately bit off more than we could chew. Then we couldn’t even sell the thing without it breaking. I’m finally closing a chapter on the biggest and most nightmarish project that I’ve ever started.
Long before my time here I had long gotten addicted to large commercial vehicles. I’ve almost always been the one to volunteer to drive those GMC 6500 26-foot U-Haul trucks. And thanks to my dad and his many years on the road as a trucker, I’ve always wanted to drive bigger and bigger vehicles. I mean, a couple of my dream vehicles are transit buses.
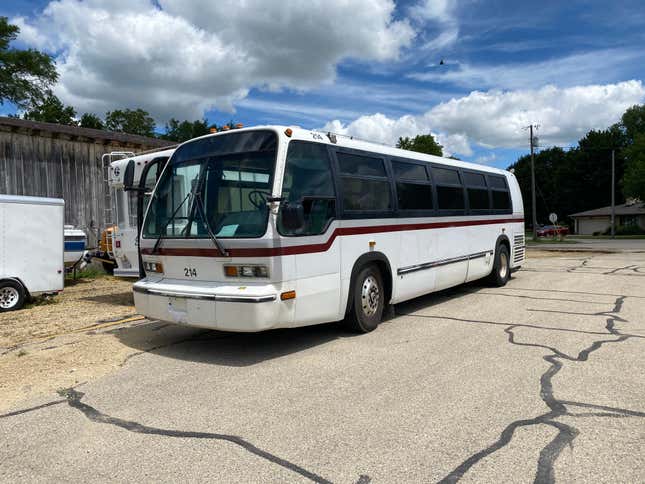
I never thought that I’d ever own a GM RTS transit bus like I do today, but thanks to a couple of good friends I learned that school buses were actually a viable option. They had an old Blue Bird All American school bus that had a minimalist RV conversion done to it. I’ve slept on it, I’ve driven it and I escaped horrible weather on it. That bus convinced me that getting my own skoolie was the way to go.
So it was an exciting day when in fall 2020 my fiancée facilitated a trade. I traded a slightly broken Harley-Davidson Sportster 883 and a little cash from her for a 1997 International 3800 with a 65-passenger American Transportation Corporation (AmTran) body. I was outrageously happy that night, but the bus quickly went from a happy dream to a nightmare.
Everything That Was Wrong With This Cheap Bus
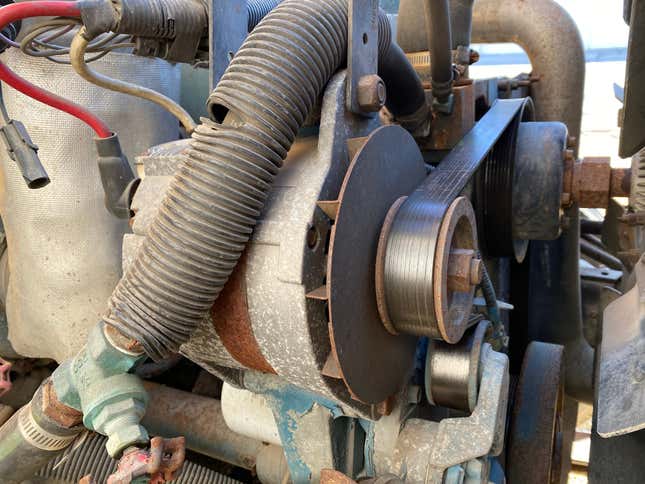
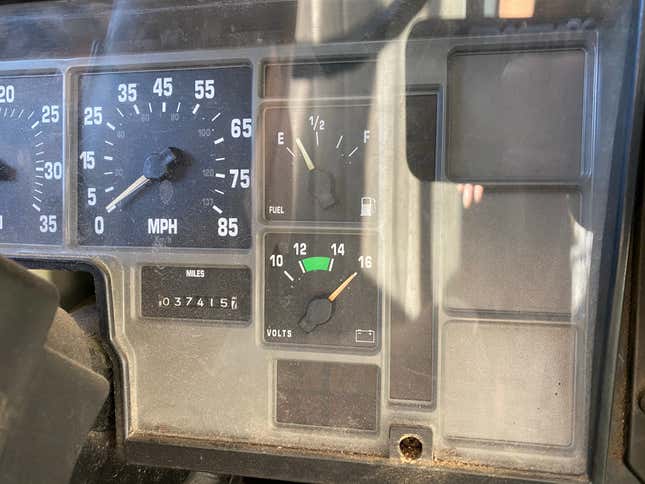
On the very first night with the bus I noticed the telltale sign of a failing voltage regulator. The lights flickered at idle, the engine occasionally stumbled and the voltage gauge was pinned at 16 Volts.
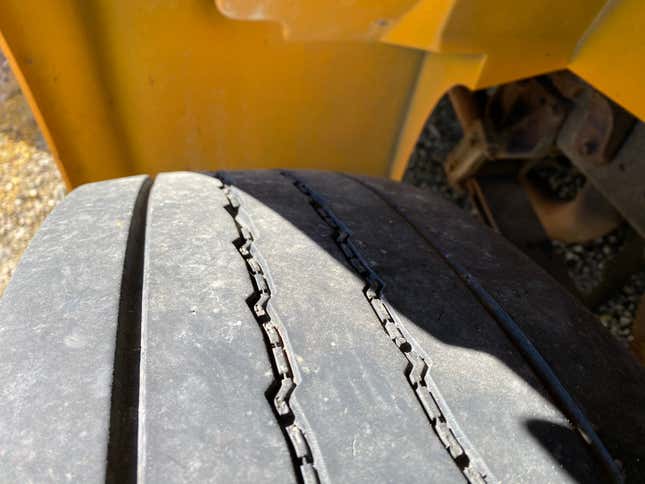
We also noticed that the alignment wasn’t so great. The bus had a slight pull to the left and the tires had some heavy wear on the inside of the tread. I didn’t see that as such a big deal. Local truck service shops offered cheap alignments and it just so happens that a local yard has all sorts of cheap truck tires.
And of course, the biggest issue was that the bus wasn’t registered as an RV, which meant that driving it would have run afoul of driver licensing laws.
Solving some of this was easy. I was able to get the old rig registered as an RV without any problems. And replacing the alternator was a walk in the park as it had just two bolts holding it in.
(Sheryl’s note: Replacing the alternator took six hours, I cut myself thrice and lost two nails. It was only a walk in the park according to some.)
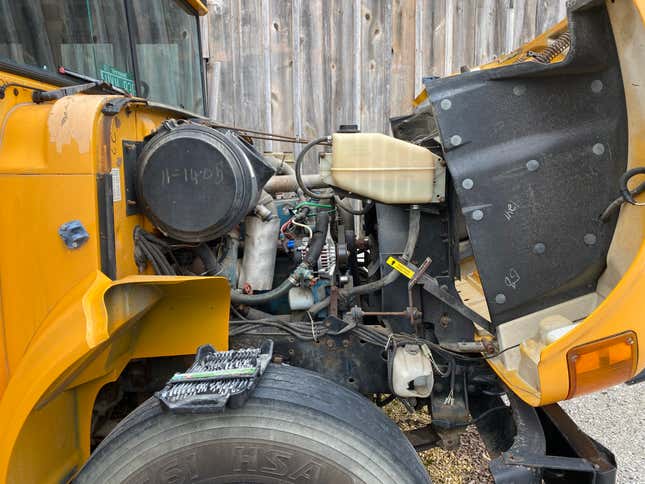
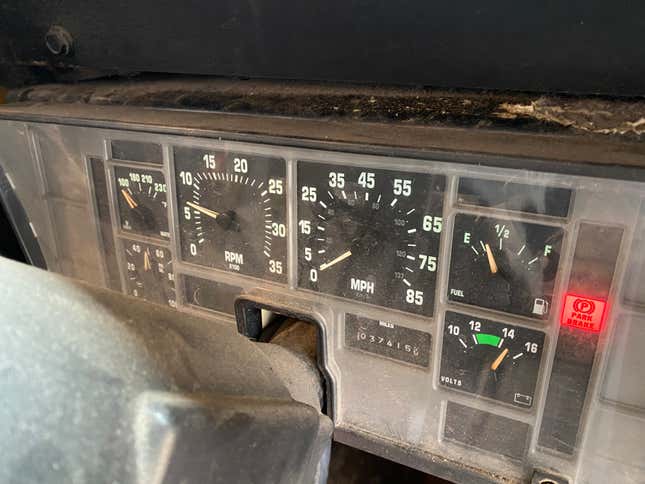
With those two out of the way alone I was able to enjoy some fun drives in the bus. The electrical gremlins had been vanquished and I was able to legally drive it on my regular driver’s license.
But I wasn’t prepared for what came next...
Rust Is A Cruel Mistress
The first step of a school bus RV conversion is simply getting the old seats out. Normally, this should be an easy job. Inside of the bus you have someone with an impact wrench and underneath is a second person. The person with the impact zips out the seat bolts while the person underneath keeps the bolts’ nuts in place.
In our case, we often ran into two problems. Either the bolt would simply snap or the force required to break the bolt actually rounded out the extremely rusty nut below. Other times, the bolt led to a blind area of the frame.
These difficulties and more meant that it took about three hours to remove a scant two rows of seats and in the process we ended up breaking two ratchets and two ratcheting wrenches.
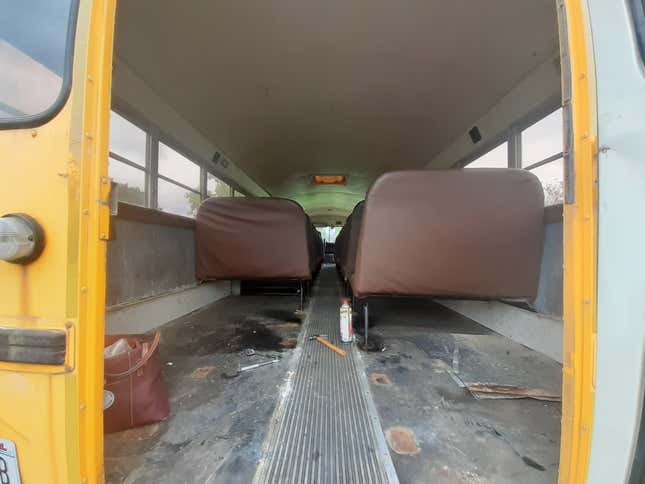
(Sheryl’s note: I absolutely love Mercy with all of my heart, but it was only me under there. She got to be in the bus. It was cold and wet. Also, I was holding nuts with my hands and a ratchet.)
Apparently we’re far from the first people to run into a problem like this and some people get around it with an angle grinder and a lot of cutting wheels.
Either way, we decided to table the seat removal until the weather warmed up again, but that only brought on more issues.
In the spring of 2021 I fired up the bus and took it for a short drive. Thankfully I didn’t get very far outside of its parking spot before a massive brake line leak sprung. Amazingly, I was able to nurse the 17,000-pound bus back to its parking space safely despite the brake line absolutely pissing fluid onto the ground. An ominous brake pressure warning light glowed bright.
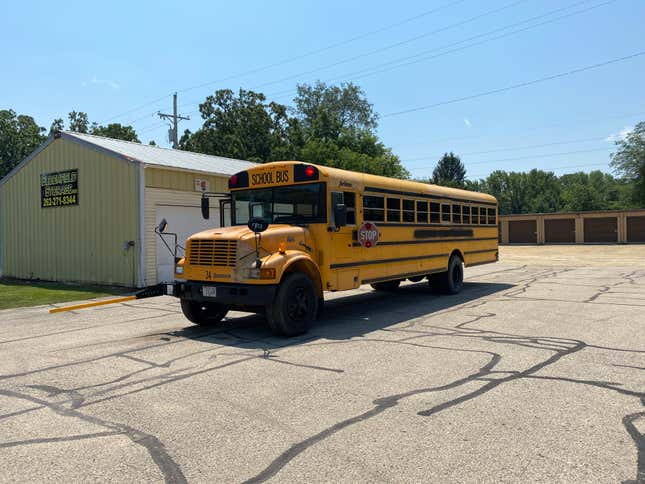
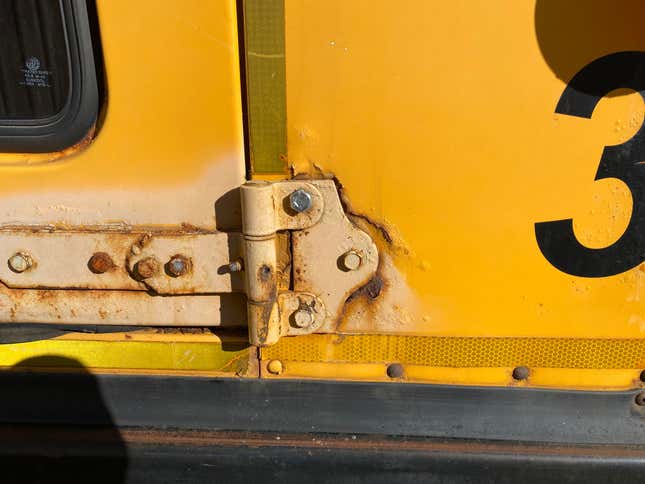
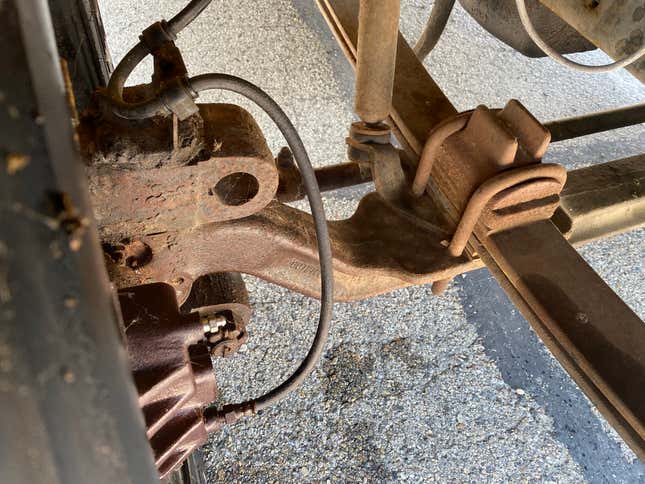
When I crawled underneath the bus to examine the brake line I discovered that the rust had advanced far quicker than I expected. Along with the bad brake line, the bus’ rear door was beginning to fall off and the body was no longer able to hold one of its taillights on. Even the holes mounting the license plate on had rotted away. And the rust holes on the sides of the bus got far larger.
Prior to this bus I hadn’t seen a vehicle rust this fast, and I began to question whether this was actually worth the effort to convert.
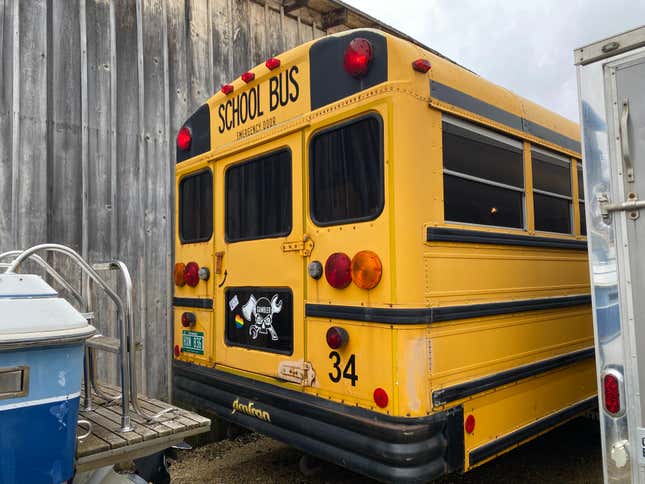
To make things confusing, it looked like someone had broken into the bus. They took nothing, but opened a window and left the rear door open. That wasn’t helping the rust situation as water got between the rubber floor liner and the metal floor. A bus is like a Honda Element; you don’t want water sandwiched between the rubber and the actual floor.
I decided to come back around to the rust later and had the brake line patched. That made the bus drivable again and for a brief moment we decided to make up some lost time by getting back to removing seats, then my dream GM RTS bus showed up for sale. Suddenly, the school bus was old news.
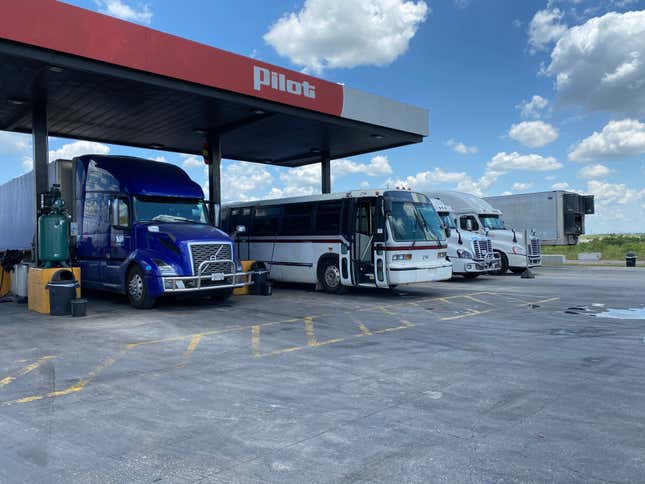
And that RTS? It’s everything that I’ve ever wanted in a bus. It’s a great color scheme, has an ice cold air-conditioner, air ride seats and of course, rides on one of the greatest transit bus platforms of all time. Perhaps most importantly, the transit bus has absolutely no rust because it had spent all of its life shuttling Texas A&M University students around Texas and teaching future bus drivers.
But that suddenly meant that I had two buses. The choice to sell the school bus was an easy one, but amusingly hard to see through. It’s almost like the bus refused to be sold.
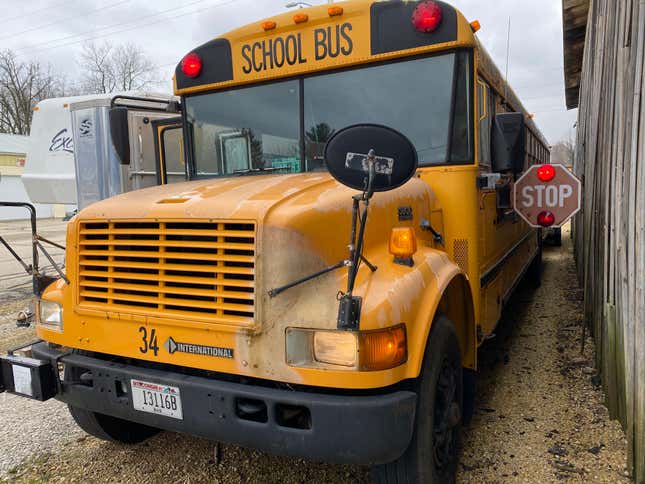
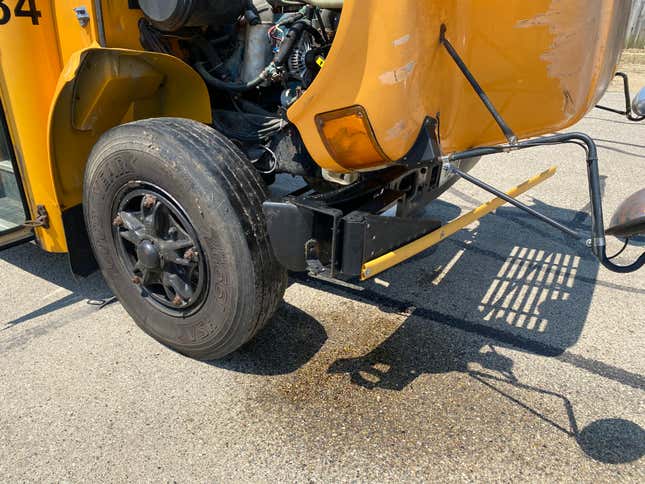
First, the bus decided to blow a brake hose during a test drive. This break was even worse than the first and you could see a visible spray of brake fluid from the driver seat of the bus. But thankfully, once again the bus was nursed back to its parking spot in one piece.
The buyer declined to buy the bus and I couldn’t blame them.
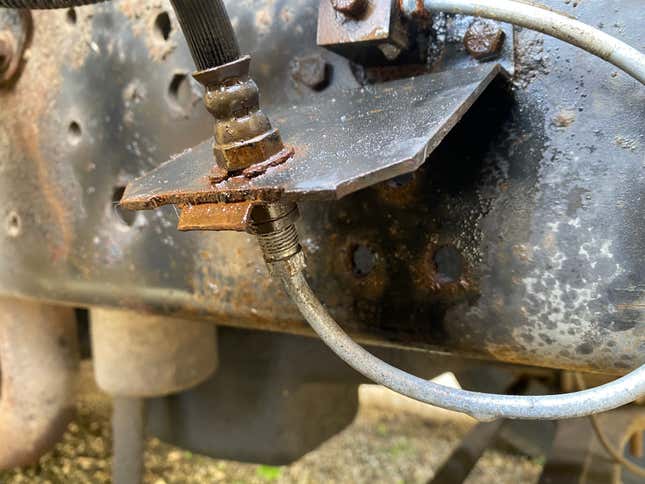
This brake line was a simple rubber line, so I figured that I could replace it myself easy. It probably won’t surprise you to read that it was not easy. It came out of the caliper without much working, but it just wouldn’t come out of the hard brake line. I even deployed some of my favorite Cool Tools like a flare nut wrench and the good ol’ classic Vise Grip. Neither made a dent. I couldn’t even get the line to turn.
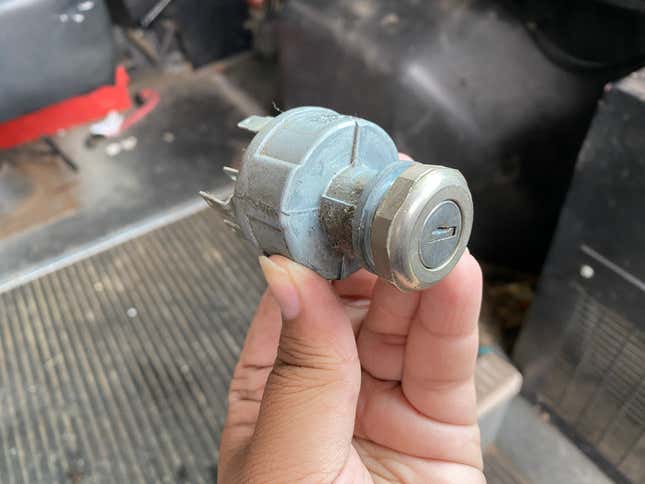
Somewhere in all of this the ignition key disappeared. If I had to wager a guess, I left it in the ignition in all of the confusion and the bus got broken into again. Thankfully, even though the bus is pretty ancient, there were replacement ignitions on eBay.
Thinking that I was doing something wrong, I even threw a diesel mechanic at it. They determined that galvanic corrosion may have taken place or that the lines were secured with red threadlocker. Even absurd amounts of heat wasn’t loosening anything up. We even tried to remove the hard lines and they too wouldn’t budge.
Faced with the premise of paying someone to replace a brake line just to sell the bus, we decided to relist the bus as-is and let the buyer figure it out.
Replacing the ignition was fantastic, at least. The ignitions on these old Internationals are held on using a threaded trim ring. Removing them is as easy as unscrewing the trim ring. And the wiring harness uses a V-shaped connector, so you can’t get it wrong.
Many prospective buyers were people wanting to finish what we had started, but all of them were scared off from the rust. To us, that meant that we made a good decision in deciding to not to continue in the conversion. Everyone else? Well, they were scrappers. My only ask to these guys was that the engine and transmission found a good home. The engine ran like a fine-tuned clock and the transmission reliably shifted, it was just the rest of the bus that was worn out.
We ended up finding an ideal buyer.
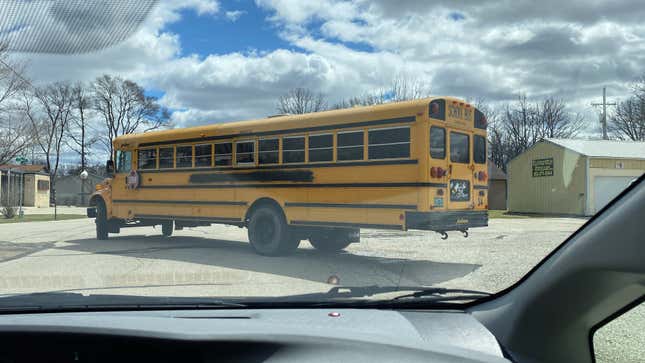
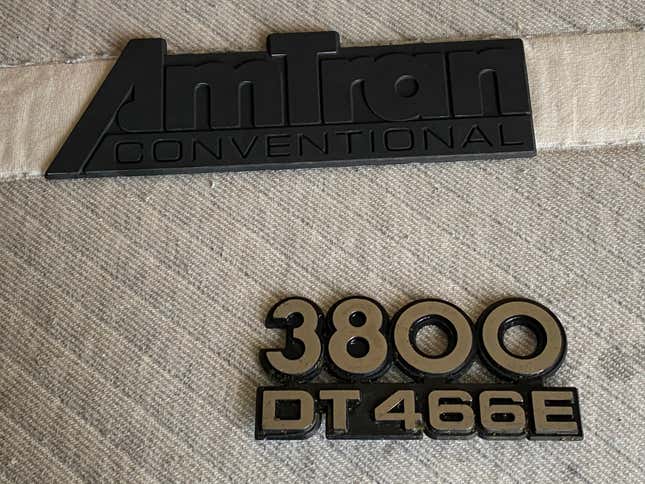
He wanted the bus just for the engine and transmission for another project. I’ve kept a few souvenirs from the International, from its vintage radio to the badging.
We ended up making a little money on the bus and while the body will be scrapped, its heart will live on.
And we learned a lesson along the way. If you’re going to do a big project like this, start with good bones, not rotted out ones. A rust-free bus may cost more money, but you’ll thank me later when you aren’t blowing brake lines and dealing with a door falling off.