These Are The Worst Car Maintenance Tasks You've Ever Attempted
From fitting new headlights to replacing air filters, these are some of the toughest tasks you've ever undertaken on your cars.
It's always fun learning something new, whether that's mastering a few chords on the guitar (why yes, I am teaching myself guitar thanks for asking) or attempting to fix something fiddly on your car. But some tasks are harder than others, so we wanted to find out what the worst wrenching you could attempt might be.
To do this, we turned to you and asked for your picks for the worst car maintenance tasks you've ever attempted. And, thankfully, you can back with some excellent suggestions.
So sit back, relax and enjoy our roundup of the worst tasks you can attempt to complete on your car yourself. This way, you'll know exactly when it's time to call in the experts when something next needs upgrading on your precious project car.
Replacing Running Lights
"I am putting this on the list because it is waaaaaay to time consuming for what it is. It is not really all that difficult.
"I bought a used 2012 Suburban back in 2018 and the DRL's went out.
"I figured like any other bulb change I have done in the last it was a matter of buying a cheap bulb – popping the old one out of the back of the housing and popping the new one in.
"Yes..... AAAAAND No. On my Silverado it is a five min job. On this model 'Burban and Tahoe you have to remove the inner wheel well lining to access the back of the headlight housing. I ended up removing the front wheel as well since it has 20-inch rims with tires that fill the wheel well. It was super cramped trying to do it with the wheel on.
"Took me over an hour to replace two DRL's – and the new bulbs failed within a few weeks so I decided to just not have them anymore."
That's far too many steps for a job like this.
Suggested by: klurejr
New Grille, Who Dis?
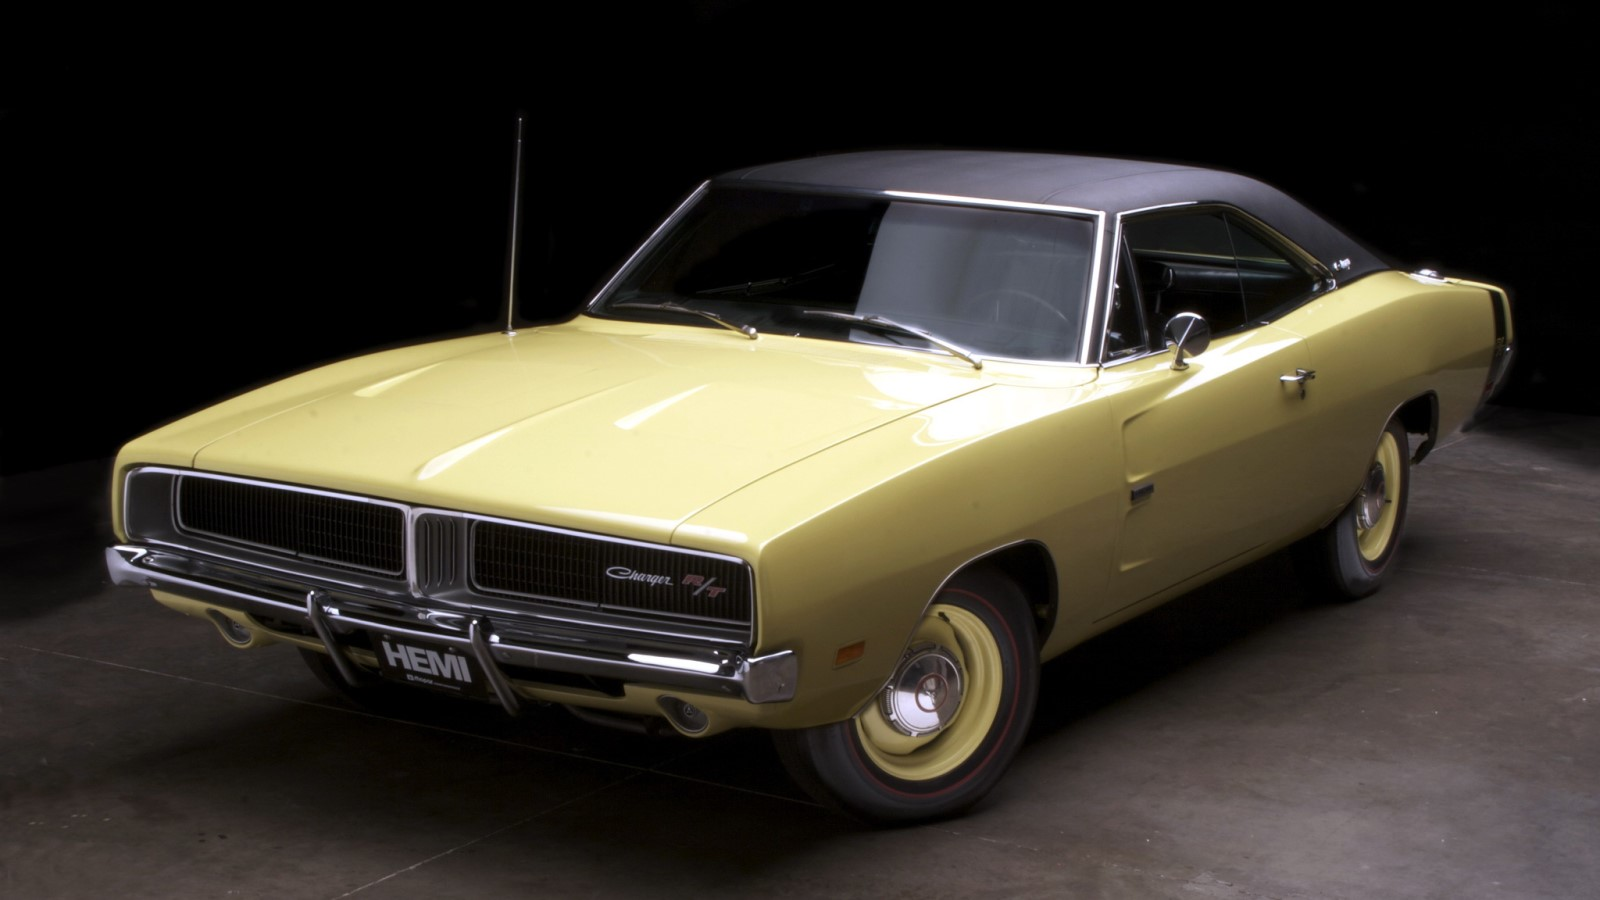
"Replacing the grille on the Charger. (Don't even ask how much it cost off Ebay.)
"You would not believe the number of tiny screws, bolts and nuts holding it in place and attaching the hideaway headlight doors to their pneumatic actuators. See the 3/8" wide crack between the outer sides of the doors and the rest of the grille? I'd had to get a wrench in there with a tiny nut to complete attaching door to the actuator. I was practically sobbing from how frustrating it was. Ended up using that sticky putty for putting up posters to hold the tiny nut in the box end of a wrench. Then I could give the nut about 20 degrees of turn before I had to reposition the wrench and keep sloooooooooooooowly incrementing as I torqued the nut down. Then I had to repeat the process three more times—two nuts each side—plus all the other tiny bolts and screws which weren't evil to get to at least.
"And yes, the result was worth it."
As long as it was worth it, that's all that matters in the end.
Suggested by: the1969dodgechargerfan
Right Place, Wrong Timing Belt
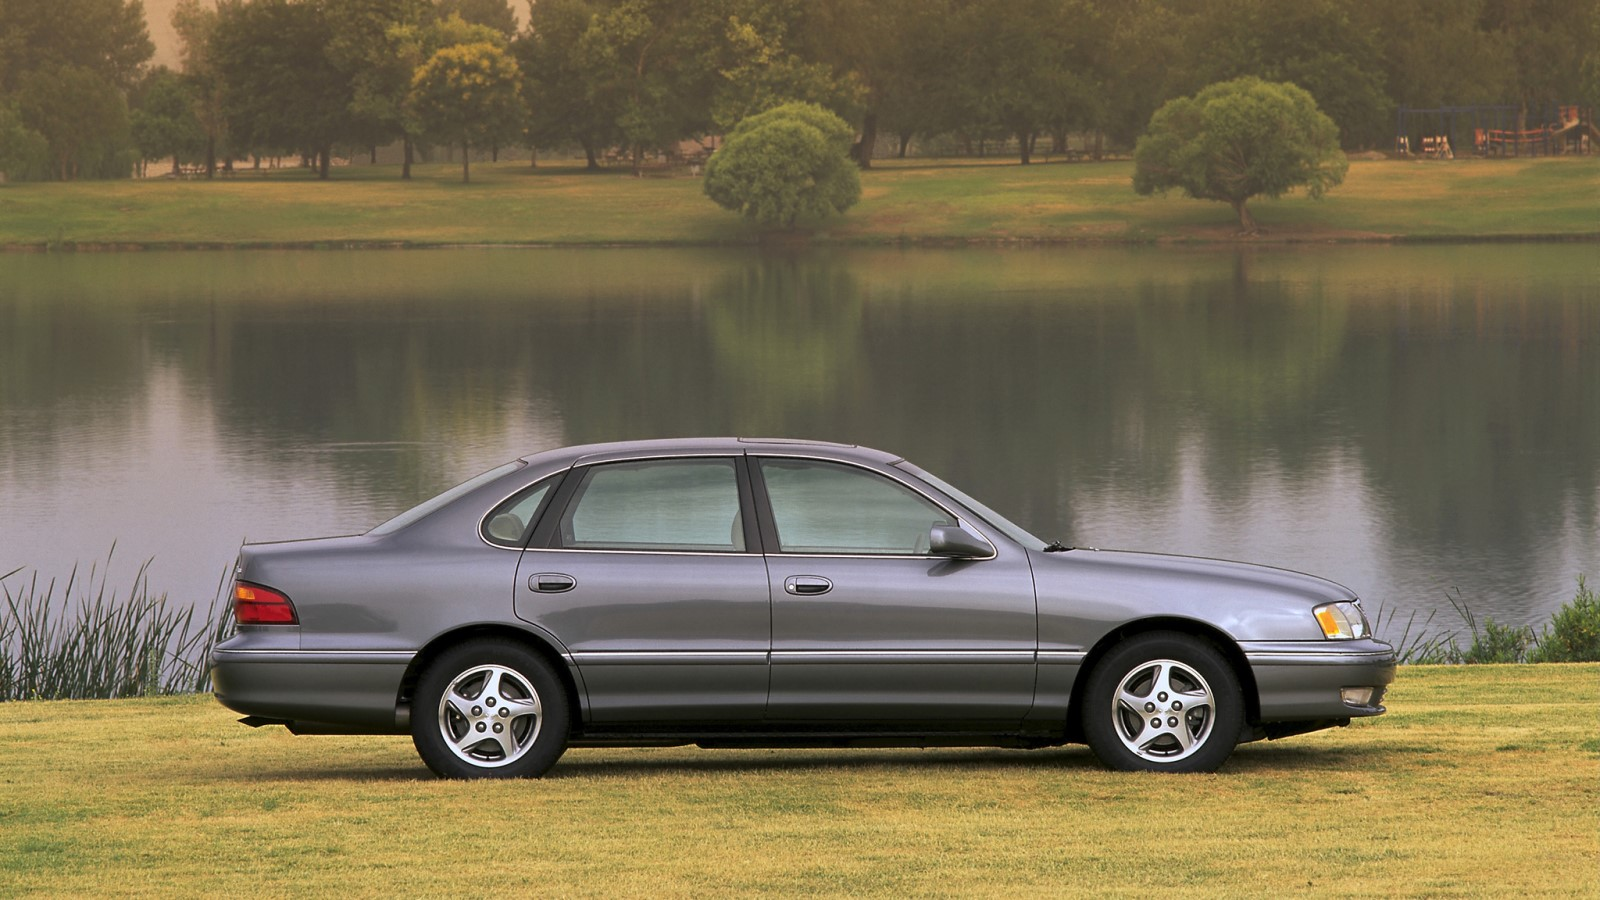
"Probably because I didn't know what I was doing but it was when I decided it would be a great idea to change the timing belt on my brother's 1998 Avalon.
"It took all weekend. First of all the harmonic balancer was held on with something like 200 pounds of torque. We had no air compressor or air wrenches. So I fabricated a wrench out of some scrap metal and we attached a long pipe to the end. We just about lifted the car off the ground breaking that free. Getting to the belt required removing the intake plenum which had around 250 little hoses and cables. And since we also figured we should replace the water pump that too required removing a bunch of shit to get at it.
"I can't remember all the rest as this was a long time ago. But at one point I felt that half of the engine was apart and in the driveway and I was very concerned we would not put it all back together correctly. In the end we did succeed. Next time I'll just pay a shop to do it."
It's always best to make sure you know what you're doing before starting a task like this.
Suggested by: the-easter-bunny
Damn Europeans Making Everything Hard
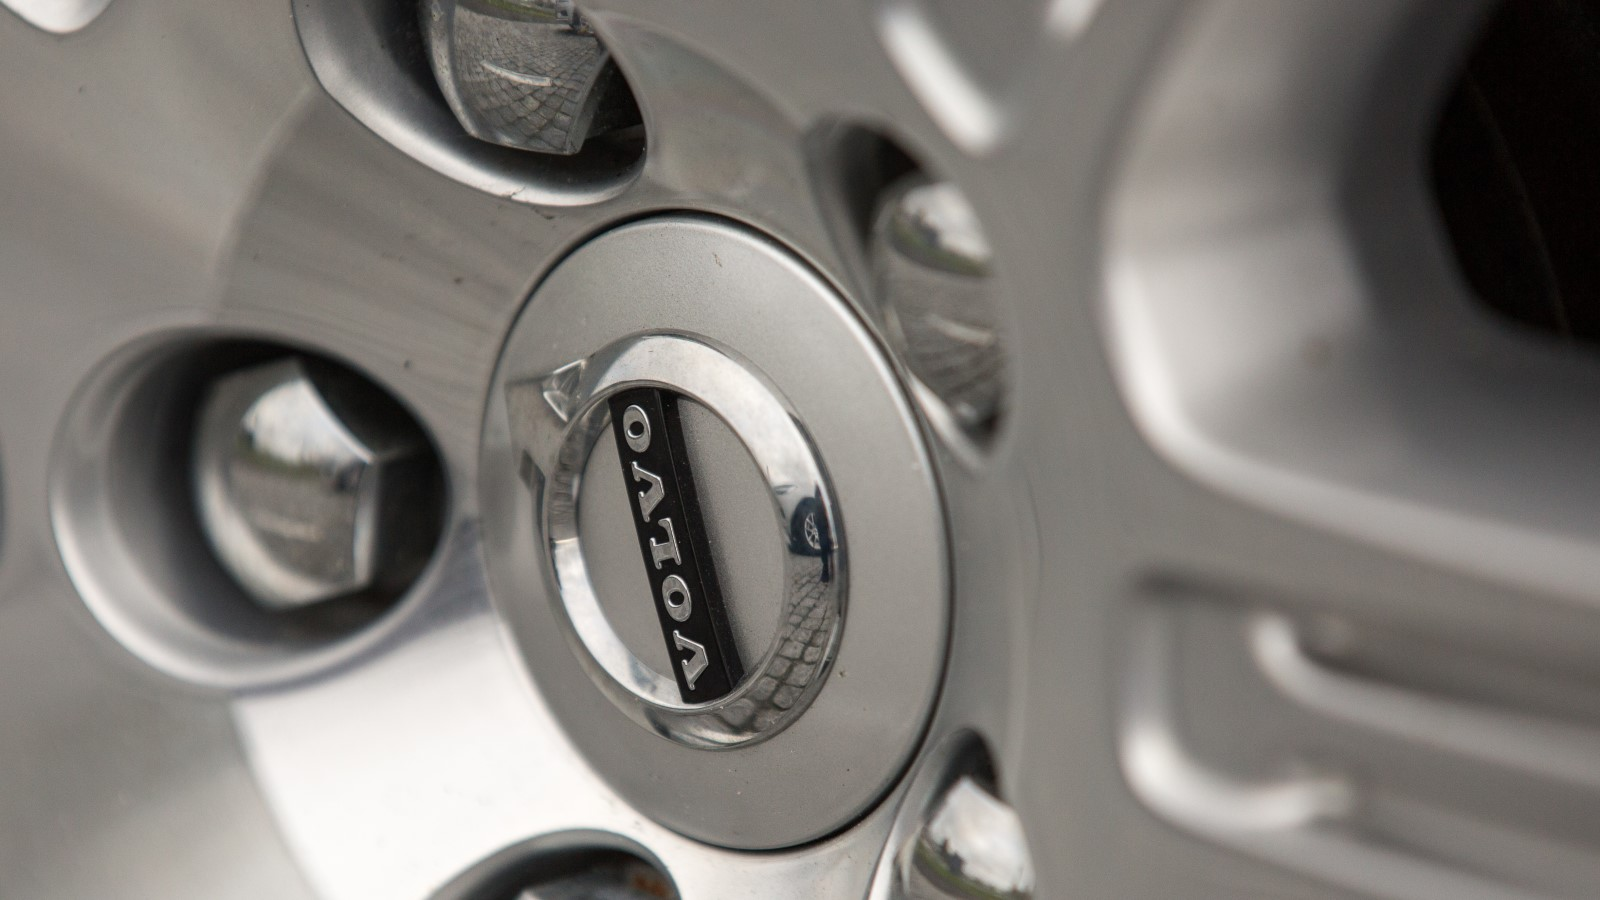
"The simplest task is a monumental undertaking: Putting on the spare tire on a Volvo
"My Volvo has massive front brakes from the factory, so the spare will not fit on the front. You must take a rear wheel then, place the spare on the rear, and place the rear on the front.
"Simple. No, Volvo uses lug BOLTS, like many European OEMs.
"You must, on the side of the freeway, narrowly teeter your prized vehicle at precisely the correct height or muster the strength of a gorilla, remove the busted front tire, remove a rear tire, mount the unmountable rear to the front using fkin BOLTS, then and only then can you install the spare.
"Oh, you also only have the one Jack..."
The moral of the story here? Don't buy European cars, I think?
Suggested by: zippiot
More Volvo Problems
"2005 Volvo V50: Elderly car find with only 24K miles that I found in December of 2022 (currently has like 30K miles); the perfect first car for my son.
"Knock on wood: It has treated us well since the initial clean-up and mechanical freshening, and there were no surprises, except this one that afflicts all Volvo P1 cars (C30, S40, V50, C70):
"Cabin air filter: No way was I paying about $90 to replace this, so after spending about $20 bucks on the filter, I then spent about four to five hours trying to get the fkin@ little door off so that I could insert the filter. Why was this a problem? Well, if we were in Europe with a RHD car, it would've taken me like 10 minutes. But since this is a LHD car, the door is, you guessed it, hard up against the accelerator. The book instructions call for the ACCELERATOR TO BE REMOVED, so I tried just that while laying prone like a sideways-Superman (with a moving blanket over the door sill) trying to get these 3 stupid screws out. These were screws that you could barely see, even with craning your neck in an unnatural way. Of course, I stripped the last one way up high and to the right, so when it wouldn't come out, I calmly placed the two other screws back and forgot about removing the accelerator. Then, I did what I had to do to wiggle and finagle that filter little by little around the brake and accelerator pedals while squeezing it into the opening. I actually did this the correct way, and let out an audible gasp when the last movement finally secured it inside its home.
"Oh, did I mention the door for the filter also was attached with three screws?? And that the previous technician had stuffed the filter in the wrong way (both the side and the horizontal/vertical orientation)? Well, I corrected these two flaws by installing it the correct way, and by replacing the three screws on the filter door with those little winglet screws that you can tighten by hand. What a total P.I.T.A! I don't know what Volvo (and Ford) were thinking!"
That sure sounds like a great way to save $70.
Suggested by: ldl20
Caution: Graphic Content
"My hand scar story.
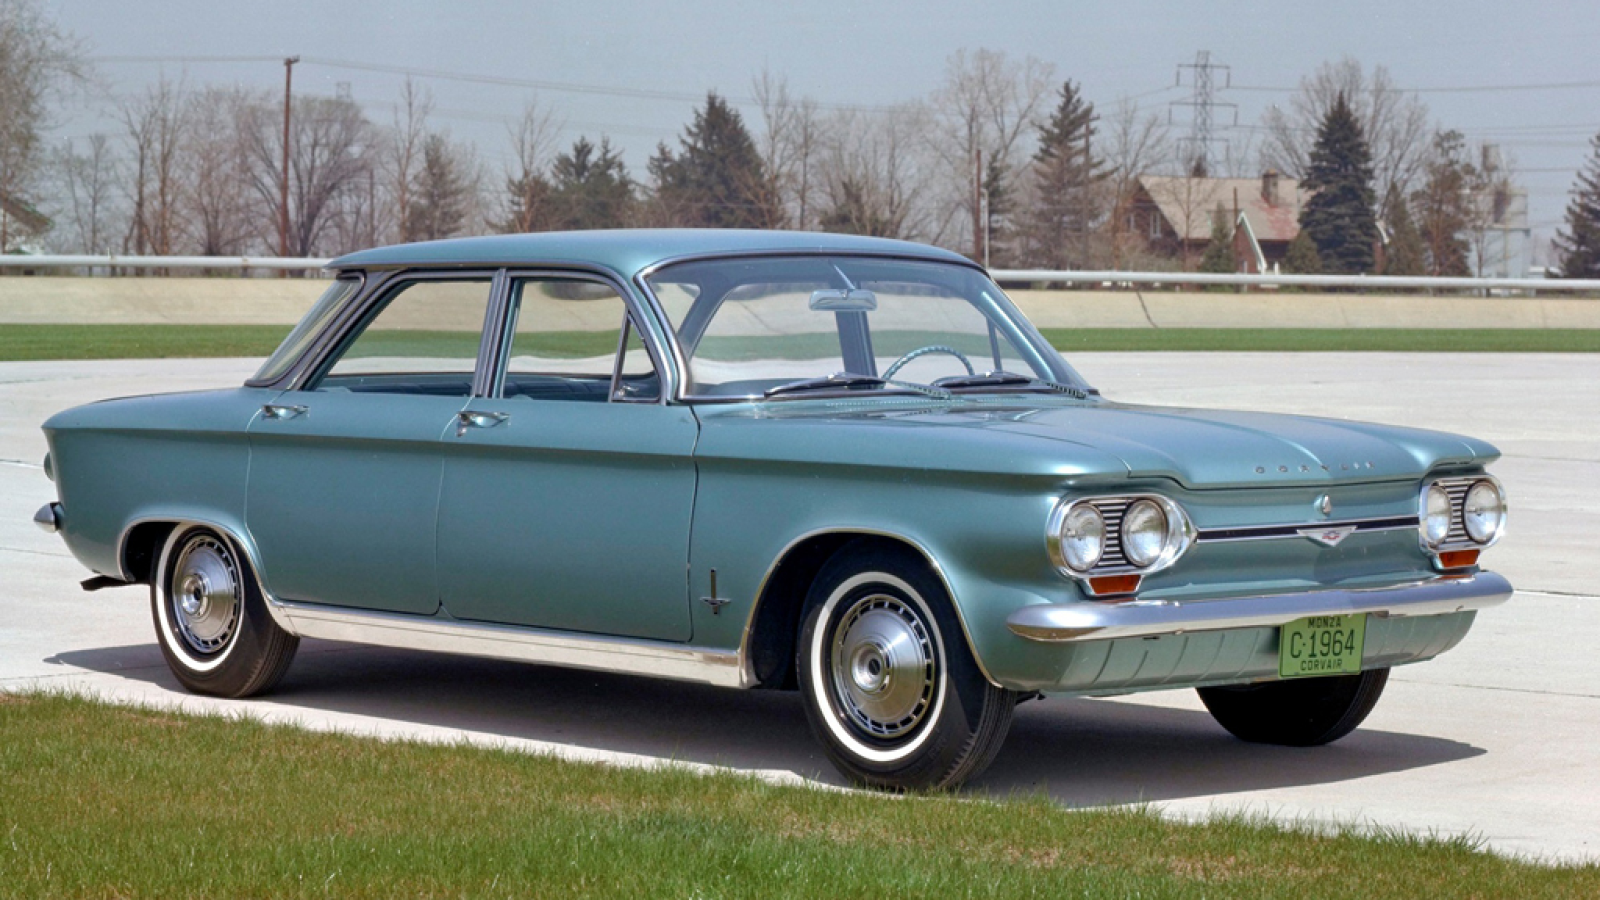
"I decided to rebuild a 64 Corvair that had been in a fire (PS don't rebuild a fire damaged car).
"When I was re-assembling the engine, I did a trick to put in oversides spacers between the jugs and the block. This lowers the compression about 0.5 point and makes the engine more friendly to 92 octane gas.
"The problem is that with the spacers AND the warped sheet metal on the heat shrouds, not everything lined up well. I had gotten a bolt started finally with some prying and cussing and bent over to get a second bolt when the first bolt popped loose.
"When the bolt popped loose the shroud flew back towards my face and I automatically threw up a hand to block it.
"Then stared in horror as I saw the BACK of my hand bleeding with a piece of sheet metal sticking out of it.
"I got hit by a corner of that shroud and in GM fashion, it was sharper than any razor blade. It went between the knuckles of my ring and middle finger and came out the back of my hand. The resulting scar is about 3/4" wide in the palm and a dot on the back.
"The worse part was that I was stuck to the engine and knew I had to pull out the fan shroud to get it out of my hand. I decided to do it quickly before the pain came."
Hey, at least it was your hand that was bleeding and not your face. Every cloud and all that.
Suggested by: yeardley68
Lesson Learned
"Helping a friend change his spark plugs on his F-150... My friend is technically sound minded and understands how torque and things work. We did the first two plugs and he was using my torque wrench set properly, myself being dumb and thinking okay he has done two with me walking him through it and he knows to listen for the wrench to tell him it's at the appropriate spec.
"I run inside to use the bathroom while he starts the third cylinder, next thing I know while I am in the bathroom I hear from the garage a big thud and an 'OH SHIT'... He must have not listened to the wrench and over torqued the shit out of the third cylinder which screwed up the threads and also broke the spark plug off inside of the head itself.
"What was supposed to be a fun and quick learning experience for him turned into a nightmare for me. Many dollars and hours of labor later we got everything fixed but it was an awful process for what should have been an hour worth of work."
I guess you can't say a poor workman blames their tools in this scenario, can you?
Suggested by: Who-the-hell-is-Mac
Not Considered Maintenance
"I replaced the oil pump pickup seal (which bridges the engine-mounted oil pump and the oil-pan-mounted pickup) in our '14 Cruze Diesel a couple of summers ago and that was a lot of work. It isn't typically considered "maintenance", but over time it hardens up, becomes brittle, and can crack and suck in air instead of oil on a cold start which is obviously bad.
"We don't have any for-sure US failures on the Cruze forum, but this engine is used in Europe where these have failed, enough so to where custom ones exist that are made of aluminum with a pair of Viton seals that will never have the failure mode of the OE one that has a "skirt" that squishes to form the seal (and is what hardens).
"Anyway, it seems pretty straightforward: drop the pan and replace it, but not quite...
"Dropping the pan requires dropping the front half of the exhaust (I removed it to get it out of my way), removing the passenger CV shaft (which requires pulling the knuckle off the ball joint which was a nightmare to break free) in order to also remove the intermediate shaft because it is bolted to the oil pan. Then you can remove the oil pan (obviously you had to have drained the oil and the trans fluid prior to all of this) – which had no interest in releasing, even after beating it with a hammer for a day (it eventually dropped when I left the bolts loose). Oh, and the PCV breather that attaches to the oil pan? Yeah, that has a 'tamper-proof' bolt which requires drilling a slot in it to remove... or hammering a socket onto it to get it out.
"Now that you've got the oil pan out, pull the seal and install the new one. Super easy! Clean off the RTV off the pan and apply new stuff and... oh, wait, loading the pan is borderline impossible to do without wiping half the RTV off because the back of the pan has two bolts in the bellhousing, and the shield between the trans and engine has cutouts the same size as the flange of the oil pan – so you cannot load it upwards at all (I suspect this is where one of my oil leaks now is).
"Oh, and nevermind the fact that the aftermarket seal now makes aligning it to the opening in the pickup quite a lot of work (though it eventually seats as you tighten the bolts – something that took me multiple dry-fits to find out). Once you finally have the oil pan reinstalled, reassembly is pretty simple (putting all that shit you took off back on) and then fill it with oil. Then you get to put in roughly how much trans fluid you took out and go through the bizarre fluid level check of that Aisin AF40/6 transmission and you're finally done! So easy!"
Yeah, sounds "so easy."
Suggested by: mp81440
Simple Mistake
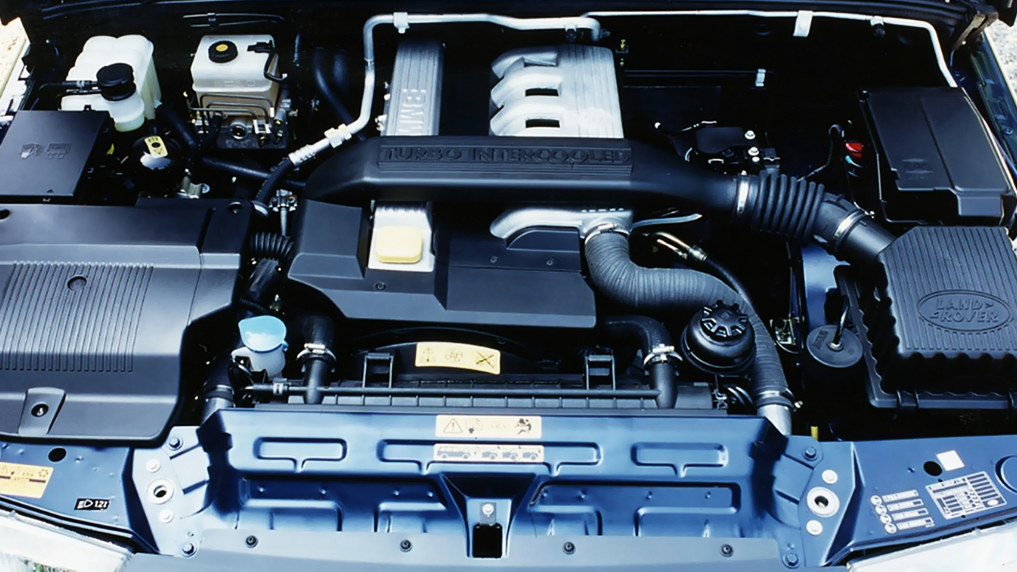
"I had a Range Rover circa 1995. That was my first mistake. Then the rear rotors went bad. Or so the dealer claimed. Why would the rears go bad before the fronts? All I knew was that I wasn't paying what the dealer wanted. I ordered up some rotors off the internet which was like a new and amazing thing then. I think I paid $275 for two rotors and set to work in my freezing garage in Anchorage in the dead of winter. The first side took me two weeks to figure out. The second side I did in a few hours. Bled the brakes and back out into the snow it went. Amazing snow vehicle with studs on a set of imported steel rims. Thing would not go sideways no matter how hard I tried."
It's alarming how many of these horror stories start with something along the lines of "I wasn't paying what the dealer wanted."
Suggested by: theblightofgrey
Seize The Day
"My son called and said his 2014 Audi Allroad's engine had seized. The dealer in Pensacola had quoted him $10k-15k to replace it, once he's bought a new engine. We found a rebuilt and warrantied engine on eBay out of DFW, $4,200 later and it showed up in my drive way. I found a series of videos from Naptown Tuner walking me through pulling the engine. I made detailed lists of steps and sketches with bolt locations and sizes, just to make sure we didn't miss anything.
"Then we both took a week off from work and my daughter helped out in the evenings after school/work. Monday we pulled the hood, bumper cover, bumper, radiator and supports. Tuesday we pulled disconnected everything using the disassembly procedure I'd built and pulled the engine out. Wednesday we moved all the accessories over to the new engine and got it back in, connected to the transmission. Thursday we reconnected everything, again working the procedure list backwards. Friday we got the radiator, bumper and hood back on. Saturday was a down day for us, but my son took the time to replace the factory amp and sub. On Sunday he drove back to Pensacola.
"And it turned out the timing chain tensioner was fine, it was the balance shaft that seized, so there was no damage to the valves. A year later, he found a Passat CC with a thrown rod for $2k, he replaced the balance shaft for $100 and swapped the Audi engine into the CC, selling it for $4k."
That's quite the mechanical adventure you've had there.
Suggested by: notgopadge
Appropriate Clothing Required
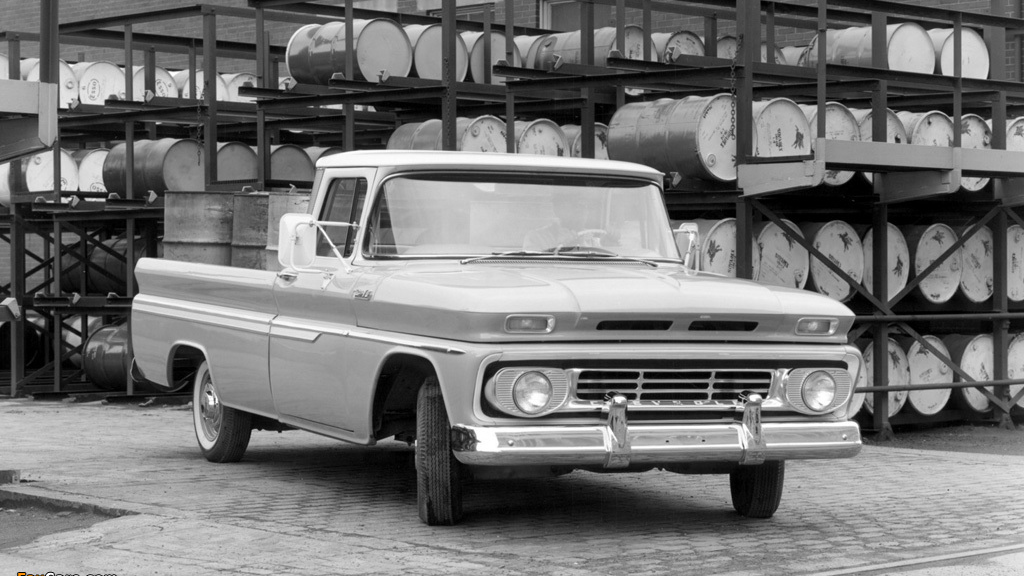
"This goes beyond maintenance but my worst stuff I have experienced is clutch replacement on cars that have had oil leaks that went on for years and years. The last 2 times I just wore a tyvek suit and face shield and crawled underneath with a power washer wand and blew all the stuff off as best I could to help make it easy to grab ahold of the transmission on its way out. It was a 64 C10 and probably ever but of 60 years of dirt, mud and hard packed grease."
Anything that requires donning a tyvek suit is something that's maybe best not attempted at home.
Suggested by: thewackokid
Old Beemer, Old Problems
"I was trying to troubleshoot the ignition on my then-new-to-me '78 Beemer and was removing the timing advance unit for the first time. As I'm undoing the nut, I feel the sickening sensation of metal plasticizing and the threads break off. What's worse: the timing advance unit is directly mounted on the tip of the camshaft for the motor.
"This very small issue forced a bottom-end engine rebuild."
A bolt crumbling in your hands is an awful feeling that we all know.
Suggested by: theschrat
Rural Rotors
"Went to change the brakes on the XC60- it came from a rural area and the rotors were really grooved. I get the calipers off no problem but the little set screw on the rotors, seized so I drill it out, so a couple of taps with a hammer and the rotors come off, nope I hit them I turned them around I used a torch and no dice.
"So I get a hydraulic gear puller with four arms and bolt it up. I put pressure on them and nothing I keep pumping the puller, nope nothing I hit the back with a mallet, then a sledge, nothing I heat them up again, nothing I let it sit overnight with the puller and then hit with about a 5 lb hammer, finally the drivers side lets loose. I go the passenger side and repeat, nothing. I pump the puller some more and hear the bang of the rotor breaking free, yay. Nope there are four notches in the rotor where the puller broke them. I rotate the puller, put as much pressure as I can and break out the 12 lb sledge with the long handle, after over 250 hits it comes loose.
"Needless to say the new rotors got a good coating of anti seize on the mating surface, the rust was actually on the edge of the hub that had just about welded to the rotor. Now I have to do the backs, someday maybe."
Maybe for the rears it might be worth admitting defeat and taking this one to a shop?
Suggested by: sklooner
Digging For Parts
"Changing the starter on my Renault 6 (same layout as the Le Car). It was easily accessible on the rear engine Renault 4CV, but turning it around for a FWD car meant that if you want it out, so goes the steering stem, one engine mount and part of the exhaust system. First time it took three hours, but by the third time it had become a one hour job (all bolts were new)."
I wonder what the most inaccessible part is in any car? Answers on a postcard, please.
Suggested by: ccc40821
