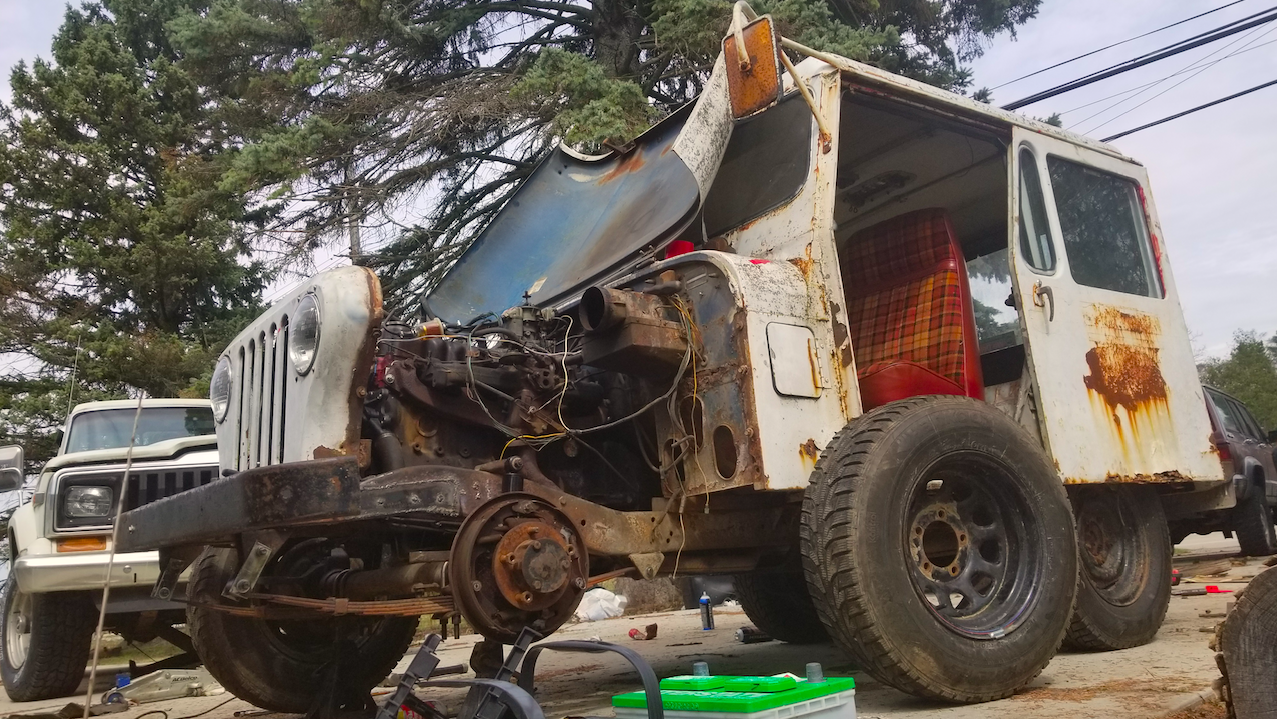
My 1,800 Mile Trip In This $500 Postal Jeep Is Starting To Look Less Hopeless
The engine now sounds better than ever, I have the front axle all hooked up, the brakes up front are done, and I fixed the gas tank.
I'm supposed to leave tomorrow on an 1,800 mile expedition to Moab, Utah, but the amount of work I have to do to get my 1976 Jeep DJ-5D—dubbed Project POStal—ready will likely push that back. Still, I have lots of great news to report: The engine now sounds better than ever, I have the front axle all hooked up, the brakes up front are done, and I fixed the gas tank.
However, I now have to run around town to source a needle bearing for my steering box (more on that in a sec). But let's start with the motor, which—I know—I said last week "runs pretty well." But as a bit of an inline-six connoisseur, I knew it still didn't sound good enough.
So I ran to the ex-Jeep engineer who sold me the used cylinder head that replaced my cracked one, and bought a set of new, 0.01" longer pushrods he had sitting in a box on a shelf. A bit of research showed that these were essentially the longest pushrods offered on AMC inline-sixes, and as I had a ton of slop in my rockers, surely these new pushrods would fix my top-end engine noise. And my god did they.
A reader named Charles came over and helped me remove the valve cover and replace the old pushrods (which I had already replaced, but with pushrods that were still too short). As I had read online, I marked the valve stems with a Sharpie, installed the new pair of significantly longer pushrods, and turned the engine over by hand. Based on the marks made by the rocker on the valve stem tip, it appeared these pushrods were the right length.
And the sound the motor makes now that Charles and I replaced all twelve of the big hollow steel sticks confirms that the source of my engine's diesel-y noise was indeed improperly sized pushrods. The engine truly sounds incredible, and I think the General Motors HEI ignition setup I installed last week was a big part of this.
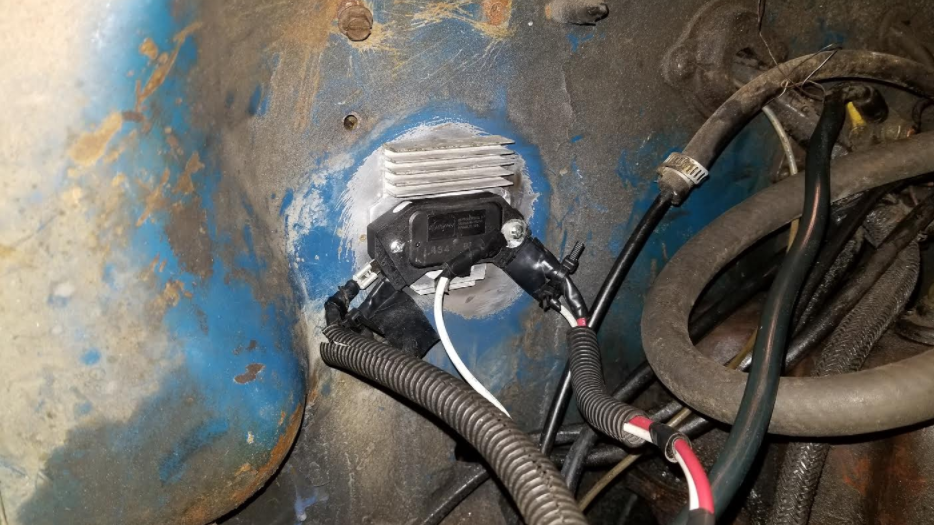
Speaking of the HEI ignition, last weekend, I ran to the junkyard and picked up a heat sink for the GM ignition module out of a Chevy Silverado. My friend Eric cleaned Project POStal's firewall, drilled a few holes into it, slapped the module onto the heat sink (whose front and rear we'd leathered with thermal paste), and bolted it down. The result looks elegant (well, for this vehicle):
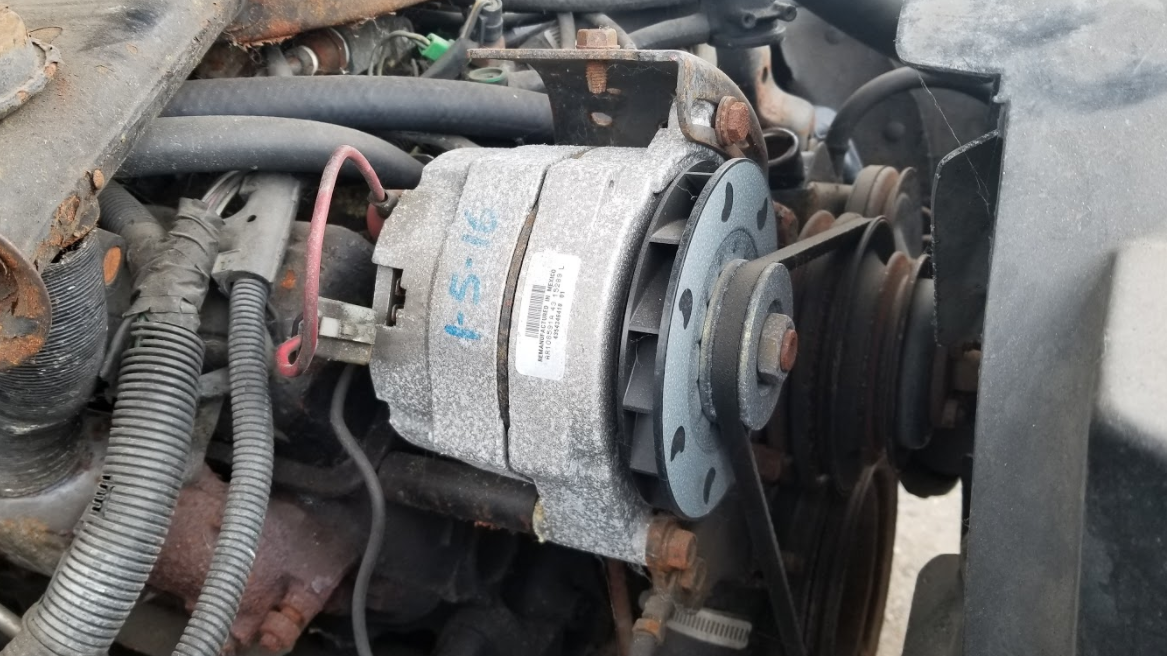
On the topic of electrical systems, I scored a sweet remanufactured Delco Remy alternator from a Junkyard 1985 Pontiac Parisienne, and after installing it into my Jeep, my charging system seems to be working well.
I also made a lot of progress on the front axle, which—as you might have surmised from the photo at the top of this article—is no longer rolling around in my garage, tripping me, but instead is actually bolted to the Jeep, as it should be.
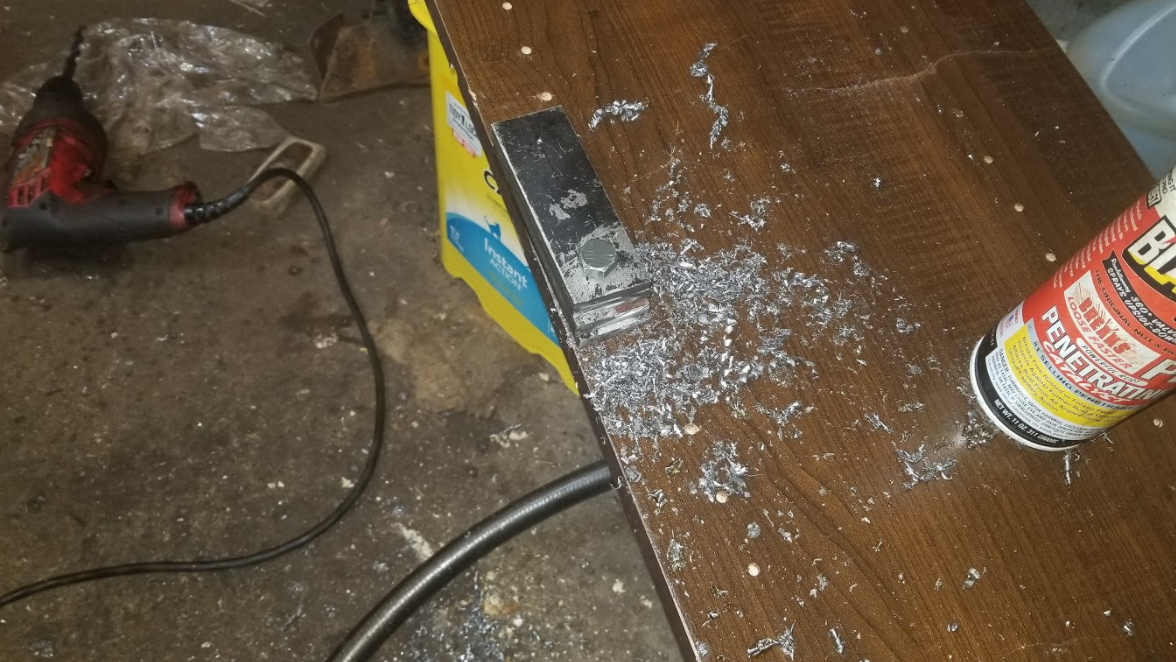
I will say, making the custom front shackles wasn't fun without a drill press. My angle-grinder sliced through the thick steel in short order, but my drill bits took about 10 minutes a hole, and I had eight holes to drill.
I also had a hell of a time finding 2.75-inch wide U-bolts, so I drove to a local shop that specializes in springs (John R. Spring Services, for those of you Michiganders wondering), and a gentleman named Fred custom-made them for me for a reasonable $27-ish for a set of four. Watch this craftsman operate this incredible press:
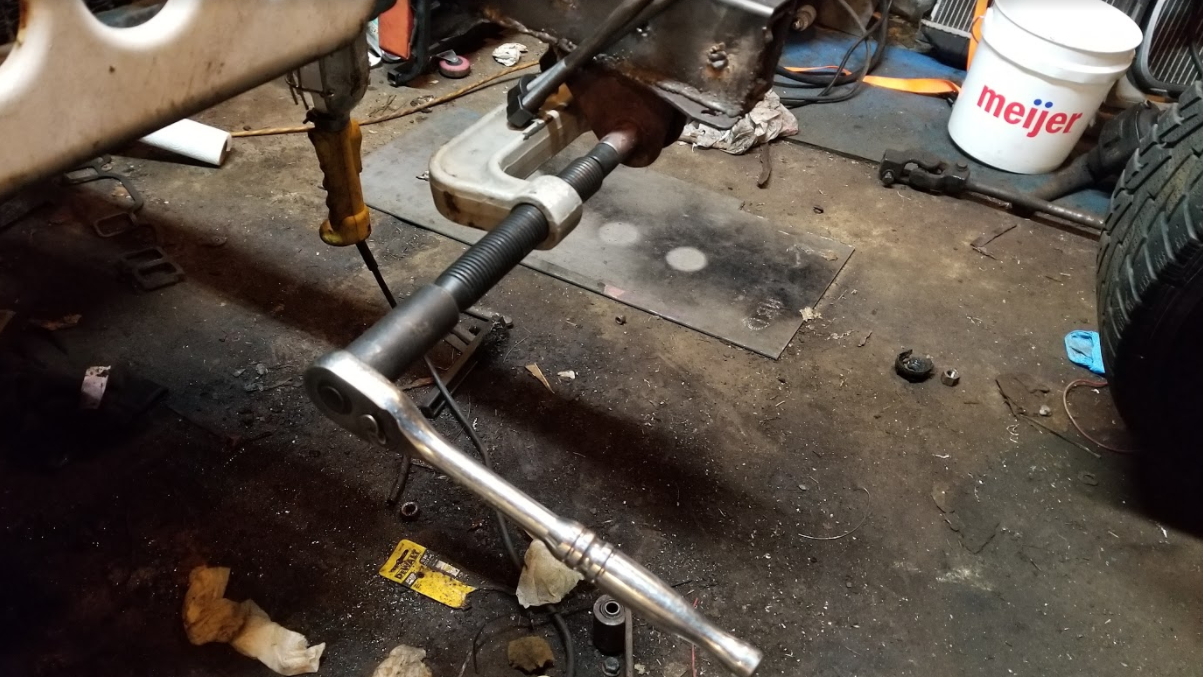
I also hammered in some new bushings, since my leaf springs literally had none in them (the previous owner "fixed" this by simply installing larger, 1/2-inch diameter bolts instead of 7/16 inchers). I hammered the bushings into the springs, but since I didn't want to risk bending anything, I pressed the bushings into the shackle mount on the frame with a power screw-based ball-joint tool:
With the shackles cut and drilled, the U-bolts holding the axle to the springs, and the bushings in place, a reader named Liam—a Jeep fanatic and YouTuber—and I slid the axle under the Jeep, bolted everything up, and installed my new shocks.
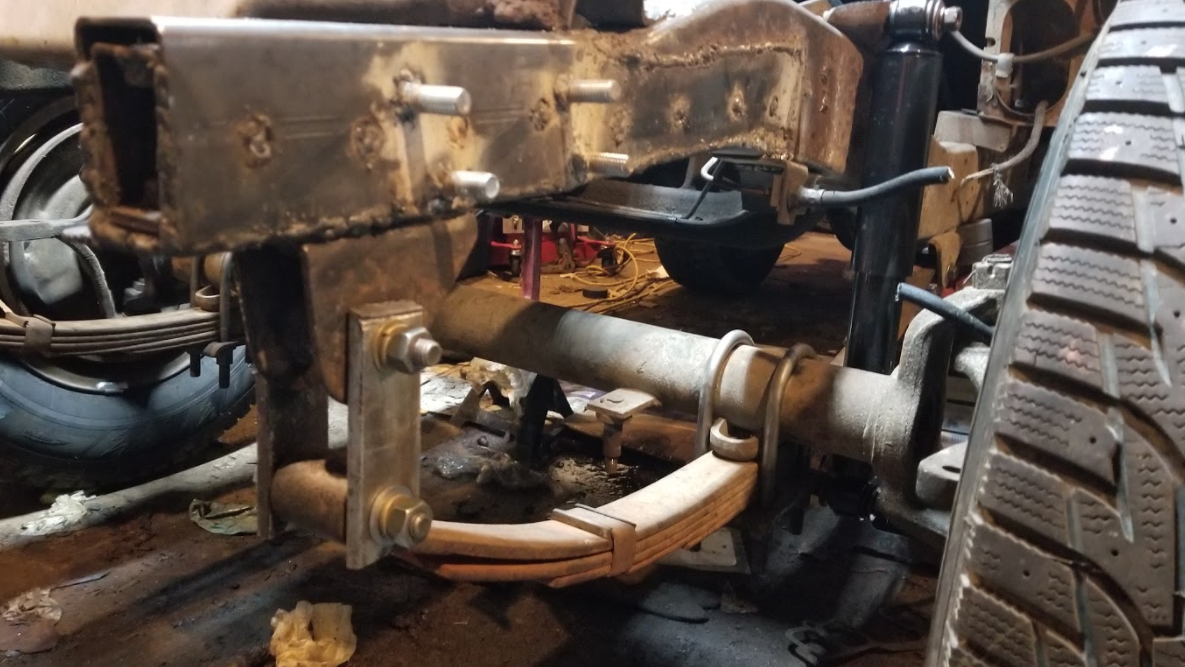
We dropped the vehicle off the jack stands, torqued everything to spec, and finally, the front suspension was complete:
Then it was time for me to turn my attention to the rear springs, which had huge lift blocks on them. While the idea of a lift kit for off-roading is enticing, the handling compromises it brings aren't something I want to deal with on a vehicle this tall and narrow:
I also inspected the rear spring and shackle bushings, which looked fine. Ditching the lift blocks, and re-torquing the spring to the axle via another set of custom U-bolts yielded a new, lower ride height. But it still looks like it'll do okay off-road (for a two-wheel drive Jeep):
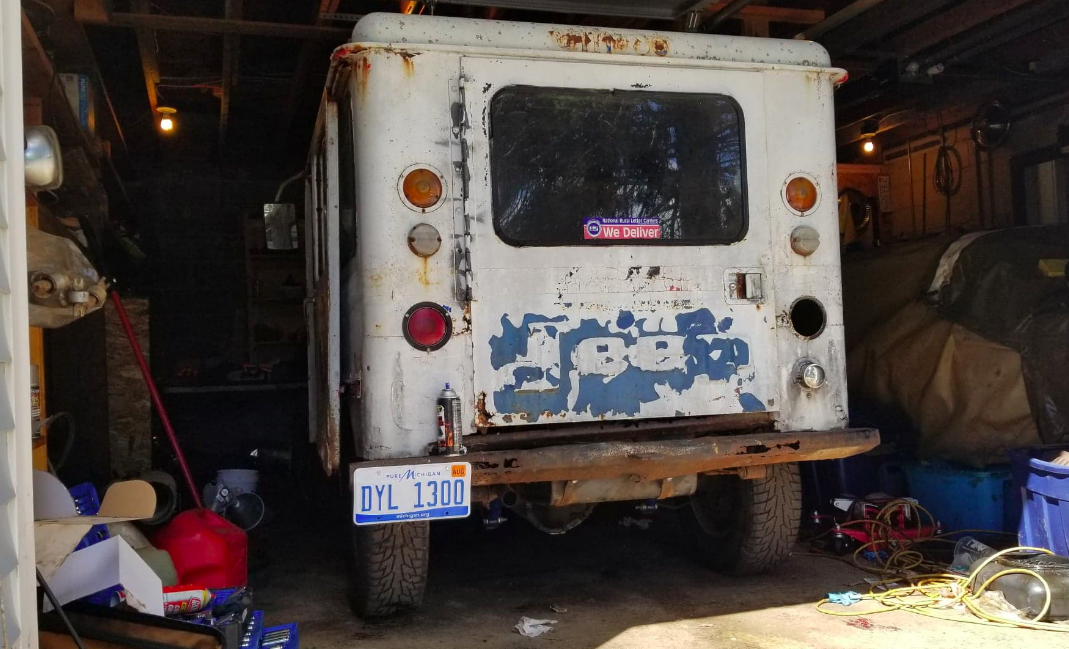
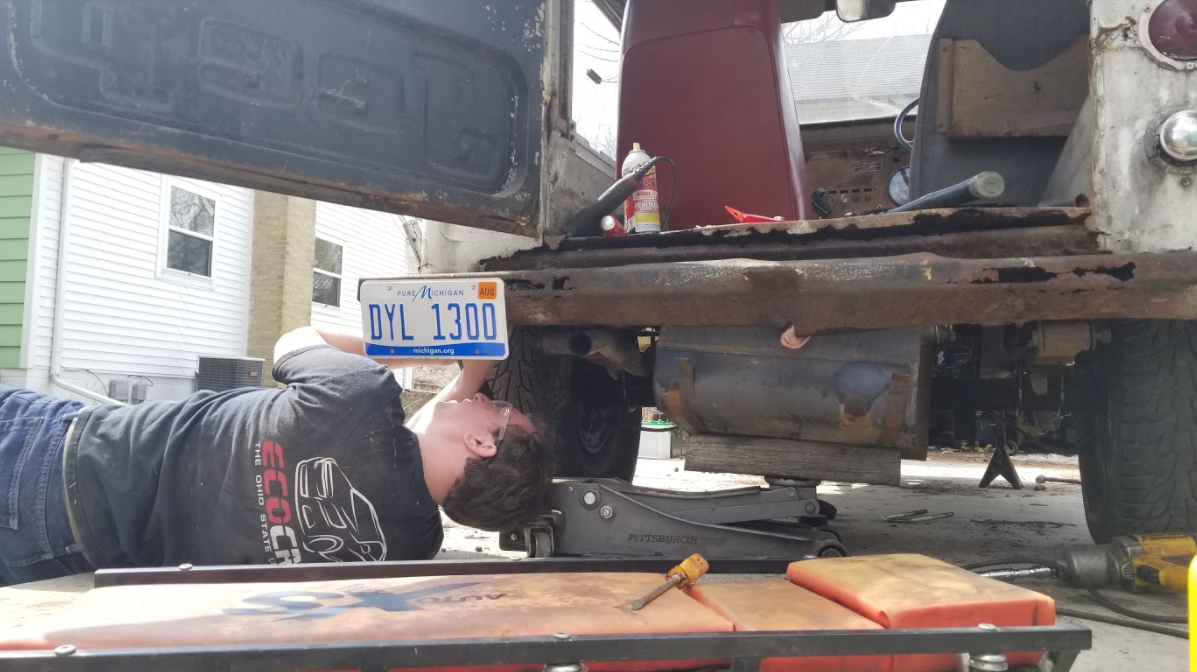
My friend Chris also came over to help. He helped me drop the gas tank, which was not only necessary to install the new rear shocks (you can see them hanging below in the image above), but I also had to fix the fuel tank leak, which I suspected was a result of some bad hoses.
The first thing I had to do was drill out some seized screws so we could pull off the fuel lines and electrical connectors:
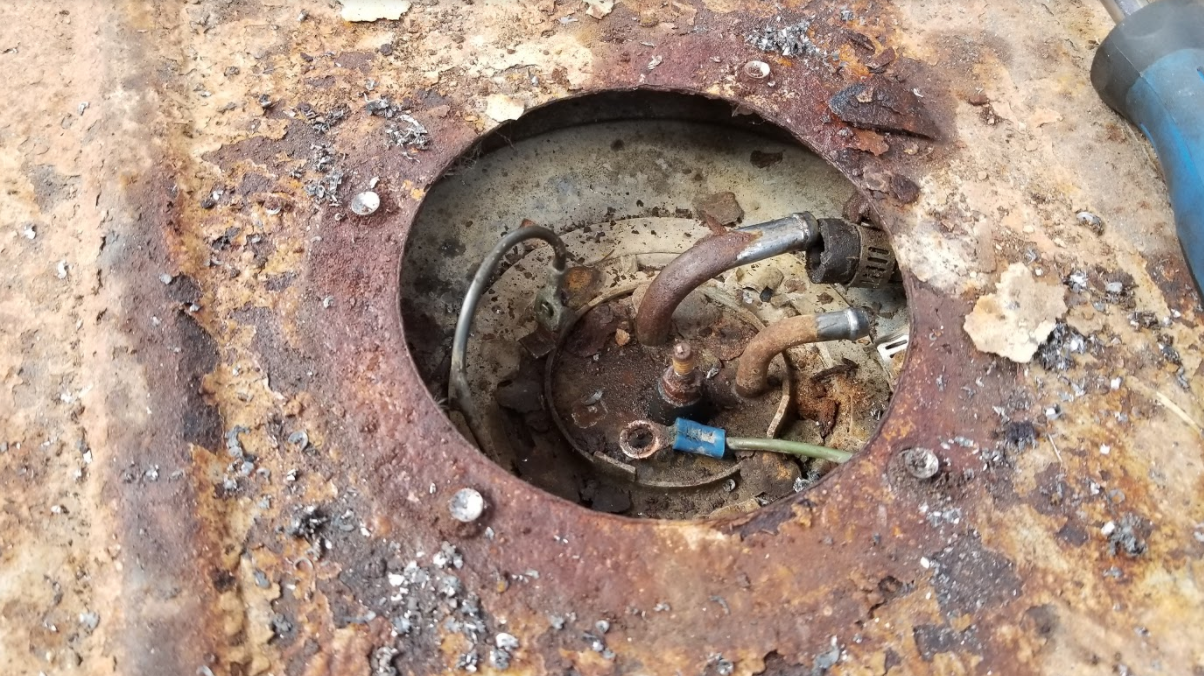
We also unhooked the main fuel filler hose, and a little vent on the side. From there, it was just four bolts holding the two fuel tank straps in place, and in short order, the tiny 11-gallon tank was down:
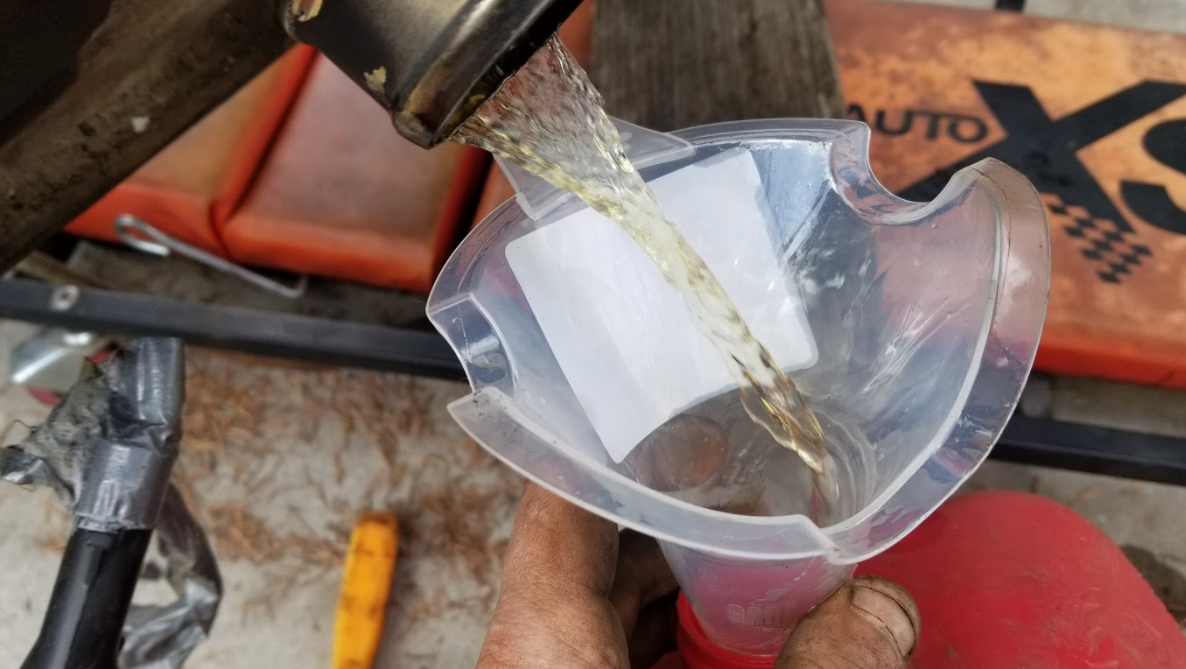
We drained the tank for easier installation, and also because I suspected the fuel was old. My suspicions were right:

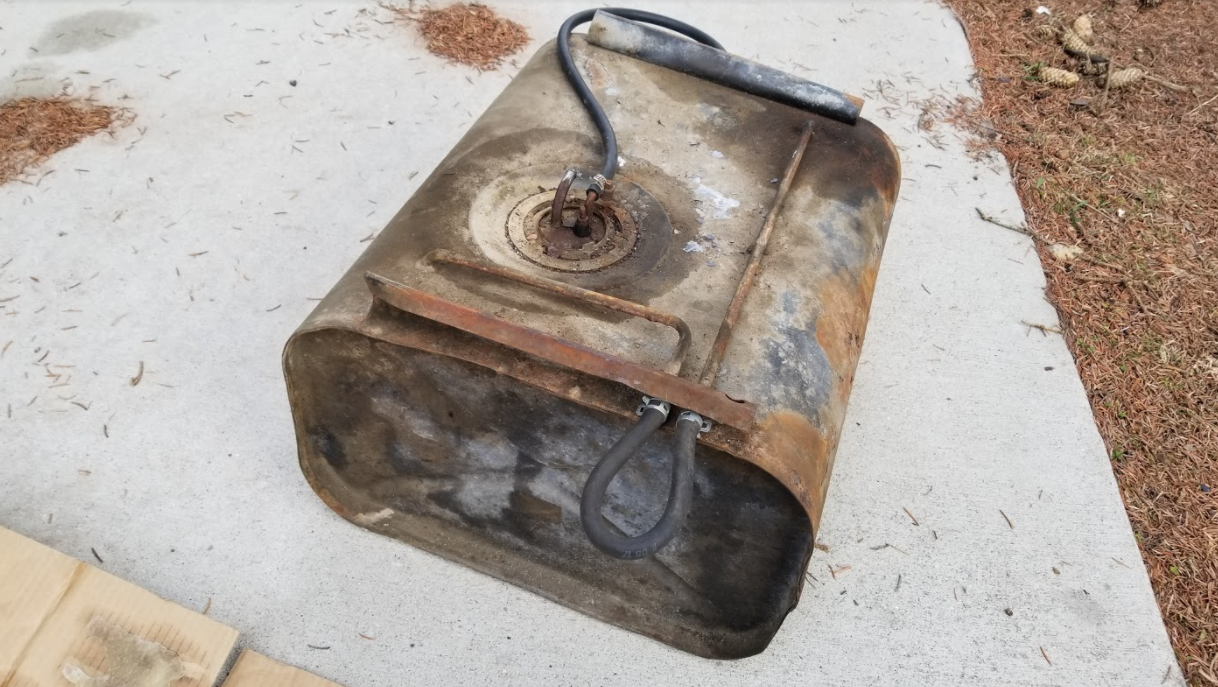
The tank had a bunch of hoses that had rotted out, and some of which simply had nowhere to go since the charcoal canister was long-gone. So Chris and I simply hooked the ports to one another via some hoses, and called it good.
Chris also read through my service manual and figured out how to get my doors into their lower tracks, and how to grease the ball bearings.
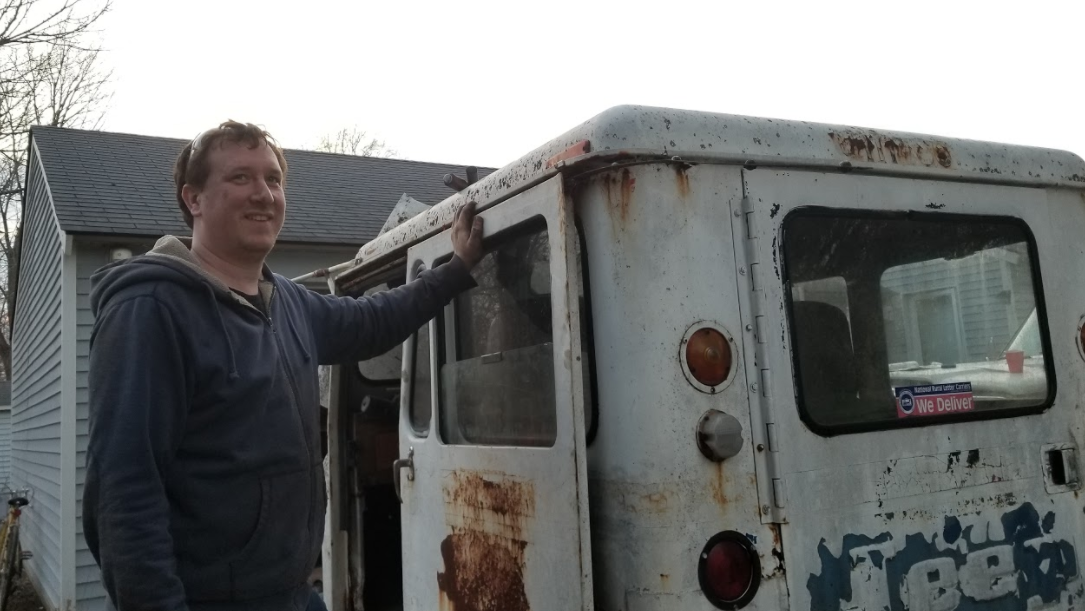
The door now glides beautifully on some greasy ball bearings:
I also finished up my front brakes, which didn't appear to be in terrible shape, but I have a hard rule on wheel cylinders on dilapidated shipwrecks, and that is: replace them. They're too cheap and failure prone not to.
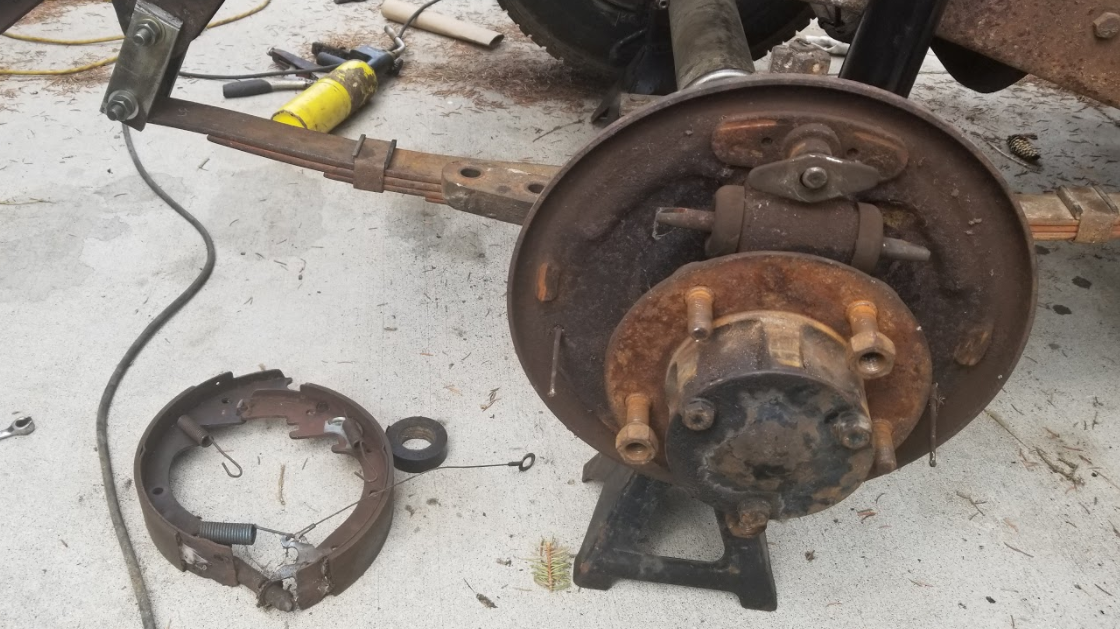
Of course, I replaced the shoes, springs, and adjusters while I was in there, though my drums were in nice shape, so I kept those.
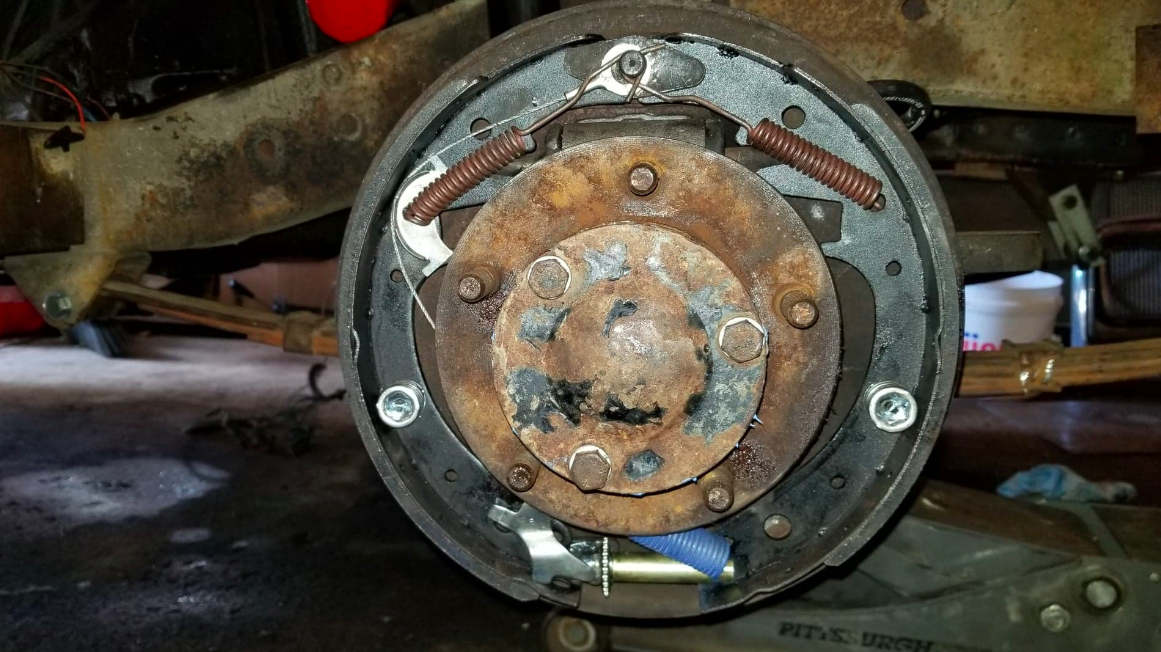
Notice on the image above the three small screws in the center of the hub. Those contain the wheel bearings, which I inspected.
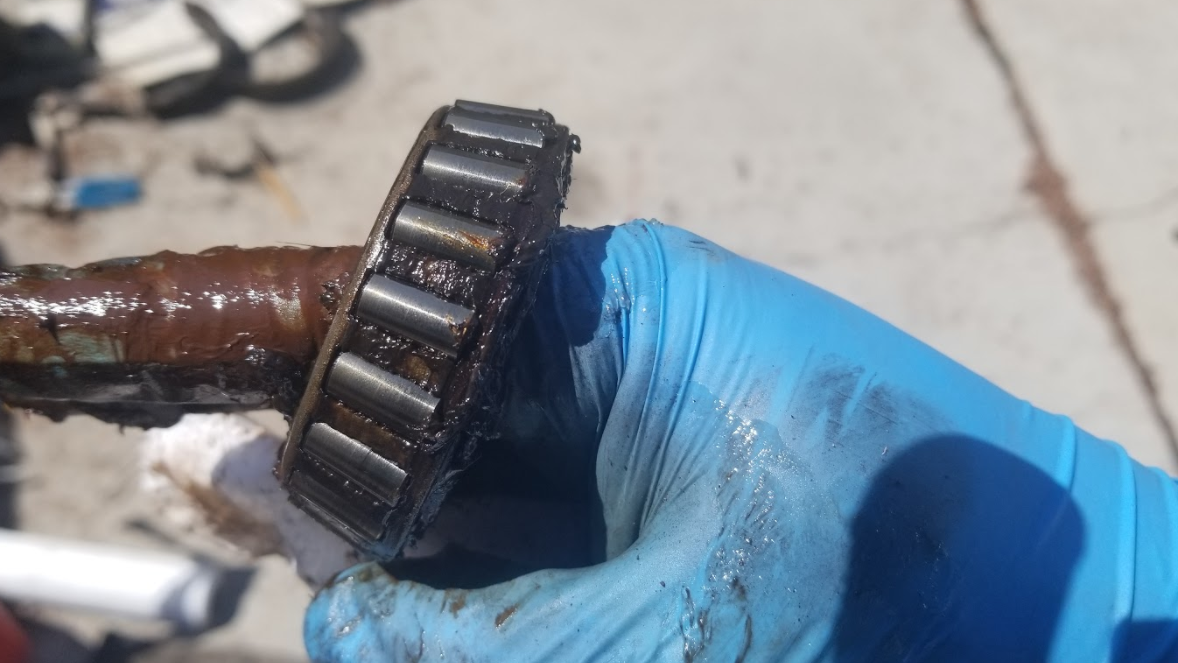
On each front wheel hub are two tapered roller bearings. All of the bearings looked okay, but just because I could easily access them, I went ahead and re-packed the outer ones on each side (I left the inner bearings, since I was worried I'd ruin a seal trying to remove them):
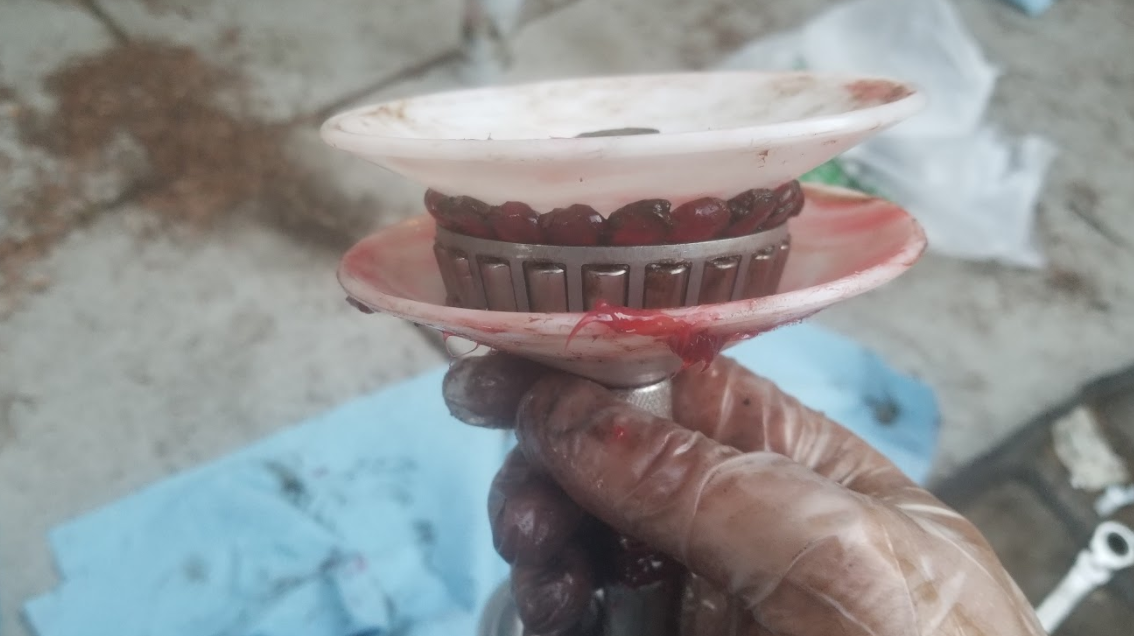
I re-installed the bearings, torqued them as instructed in my service manual, and then fiddled with some more grease—namely, inside of my steering box, which has a little more play than I'd like:
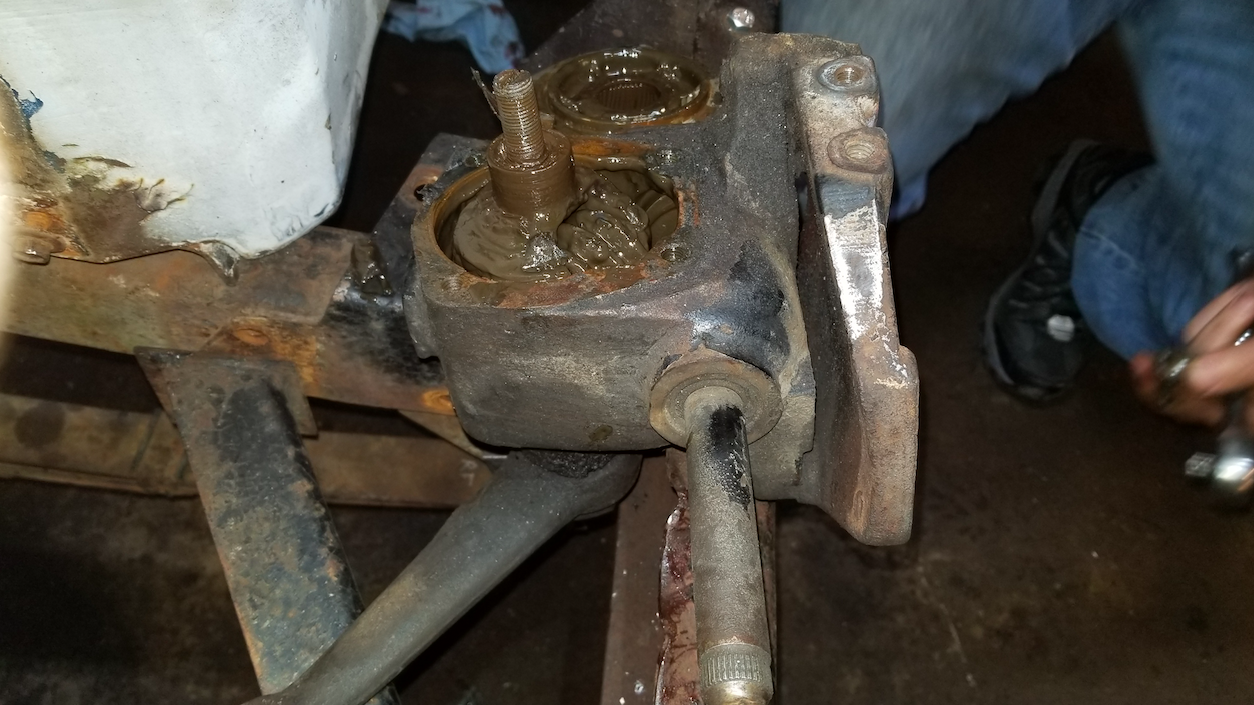
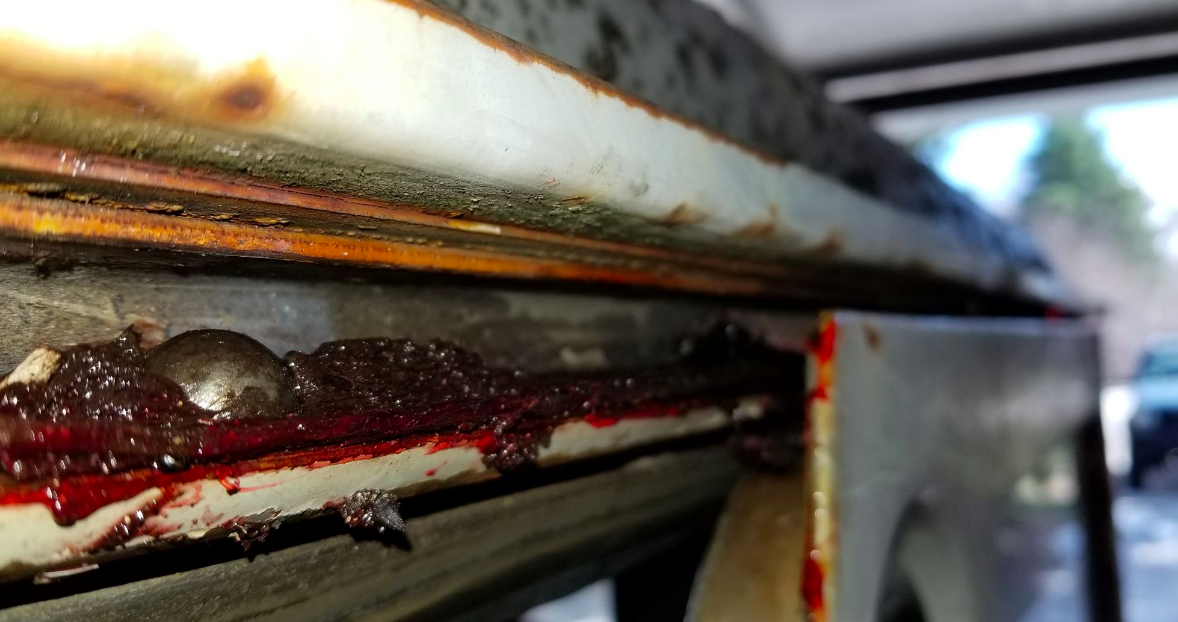
Upon inspecting the innards of the steering box, Charles and I saw that the gears looked mostly fine, but there was a decent amount of shiny silver paste that looked very much like ground-down steel. You can see that below—it looks quite different from the rest of that brown grease:
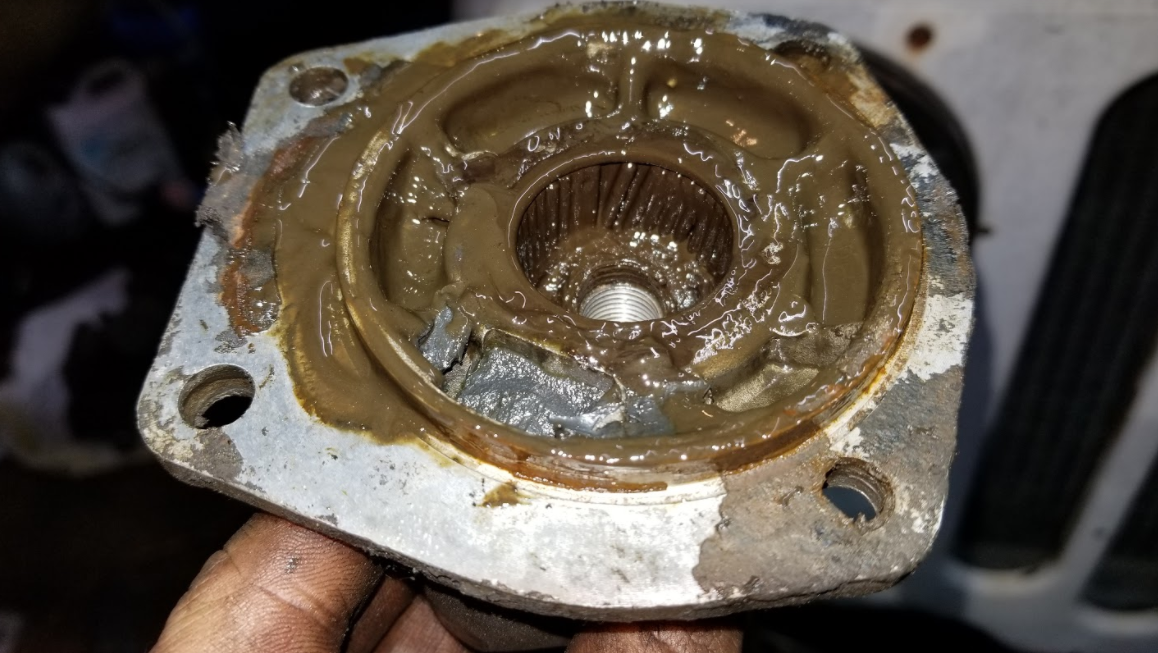
Look closer at that image above, and you'll see needle rollers that aren't lined up perfectly vertically, indicating that some are missing. I'd guess that silver paste is what's left of them.
Anyway, now I need to find some needle bearings of that exact size, and hopefully it'll help with my steering play situation.
There's plenty more for me to report, but it'll have to wait, as I've got rear brakes to fix; a floor, seats, and seat belts to wend in; a steering box to repair; tie rod ends and drag links to throw in; an electrical system to mend; and a whole lot more.
I'm supposed to leave tomorrow, but at this point, I doubt it. Maybe Thursday? Even that will be pushing it, because as much progress as I've made lately, I still haven't driven this Jeep. And who knows what faults will shake out when I do.
