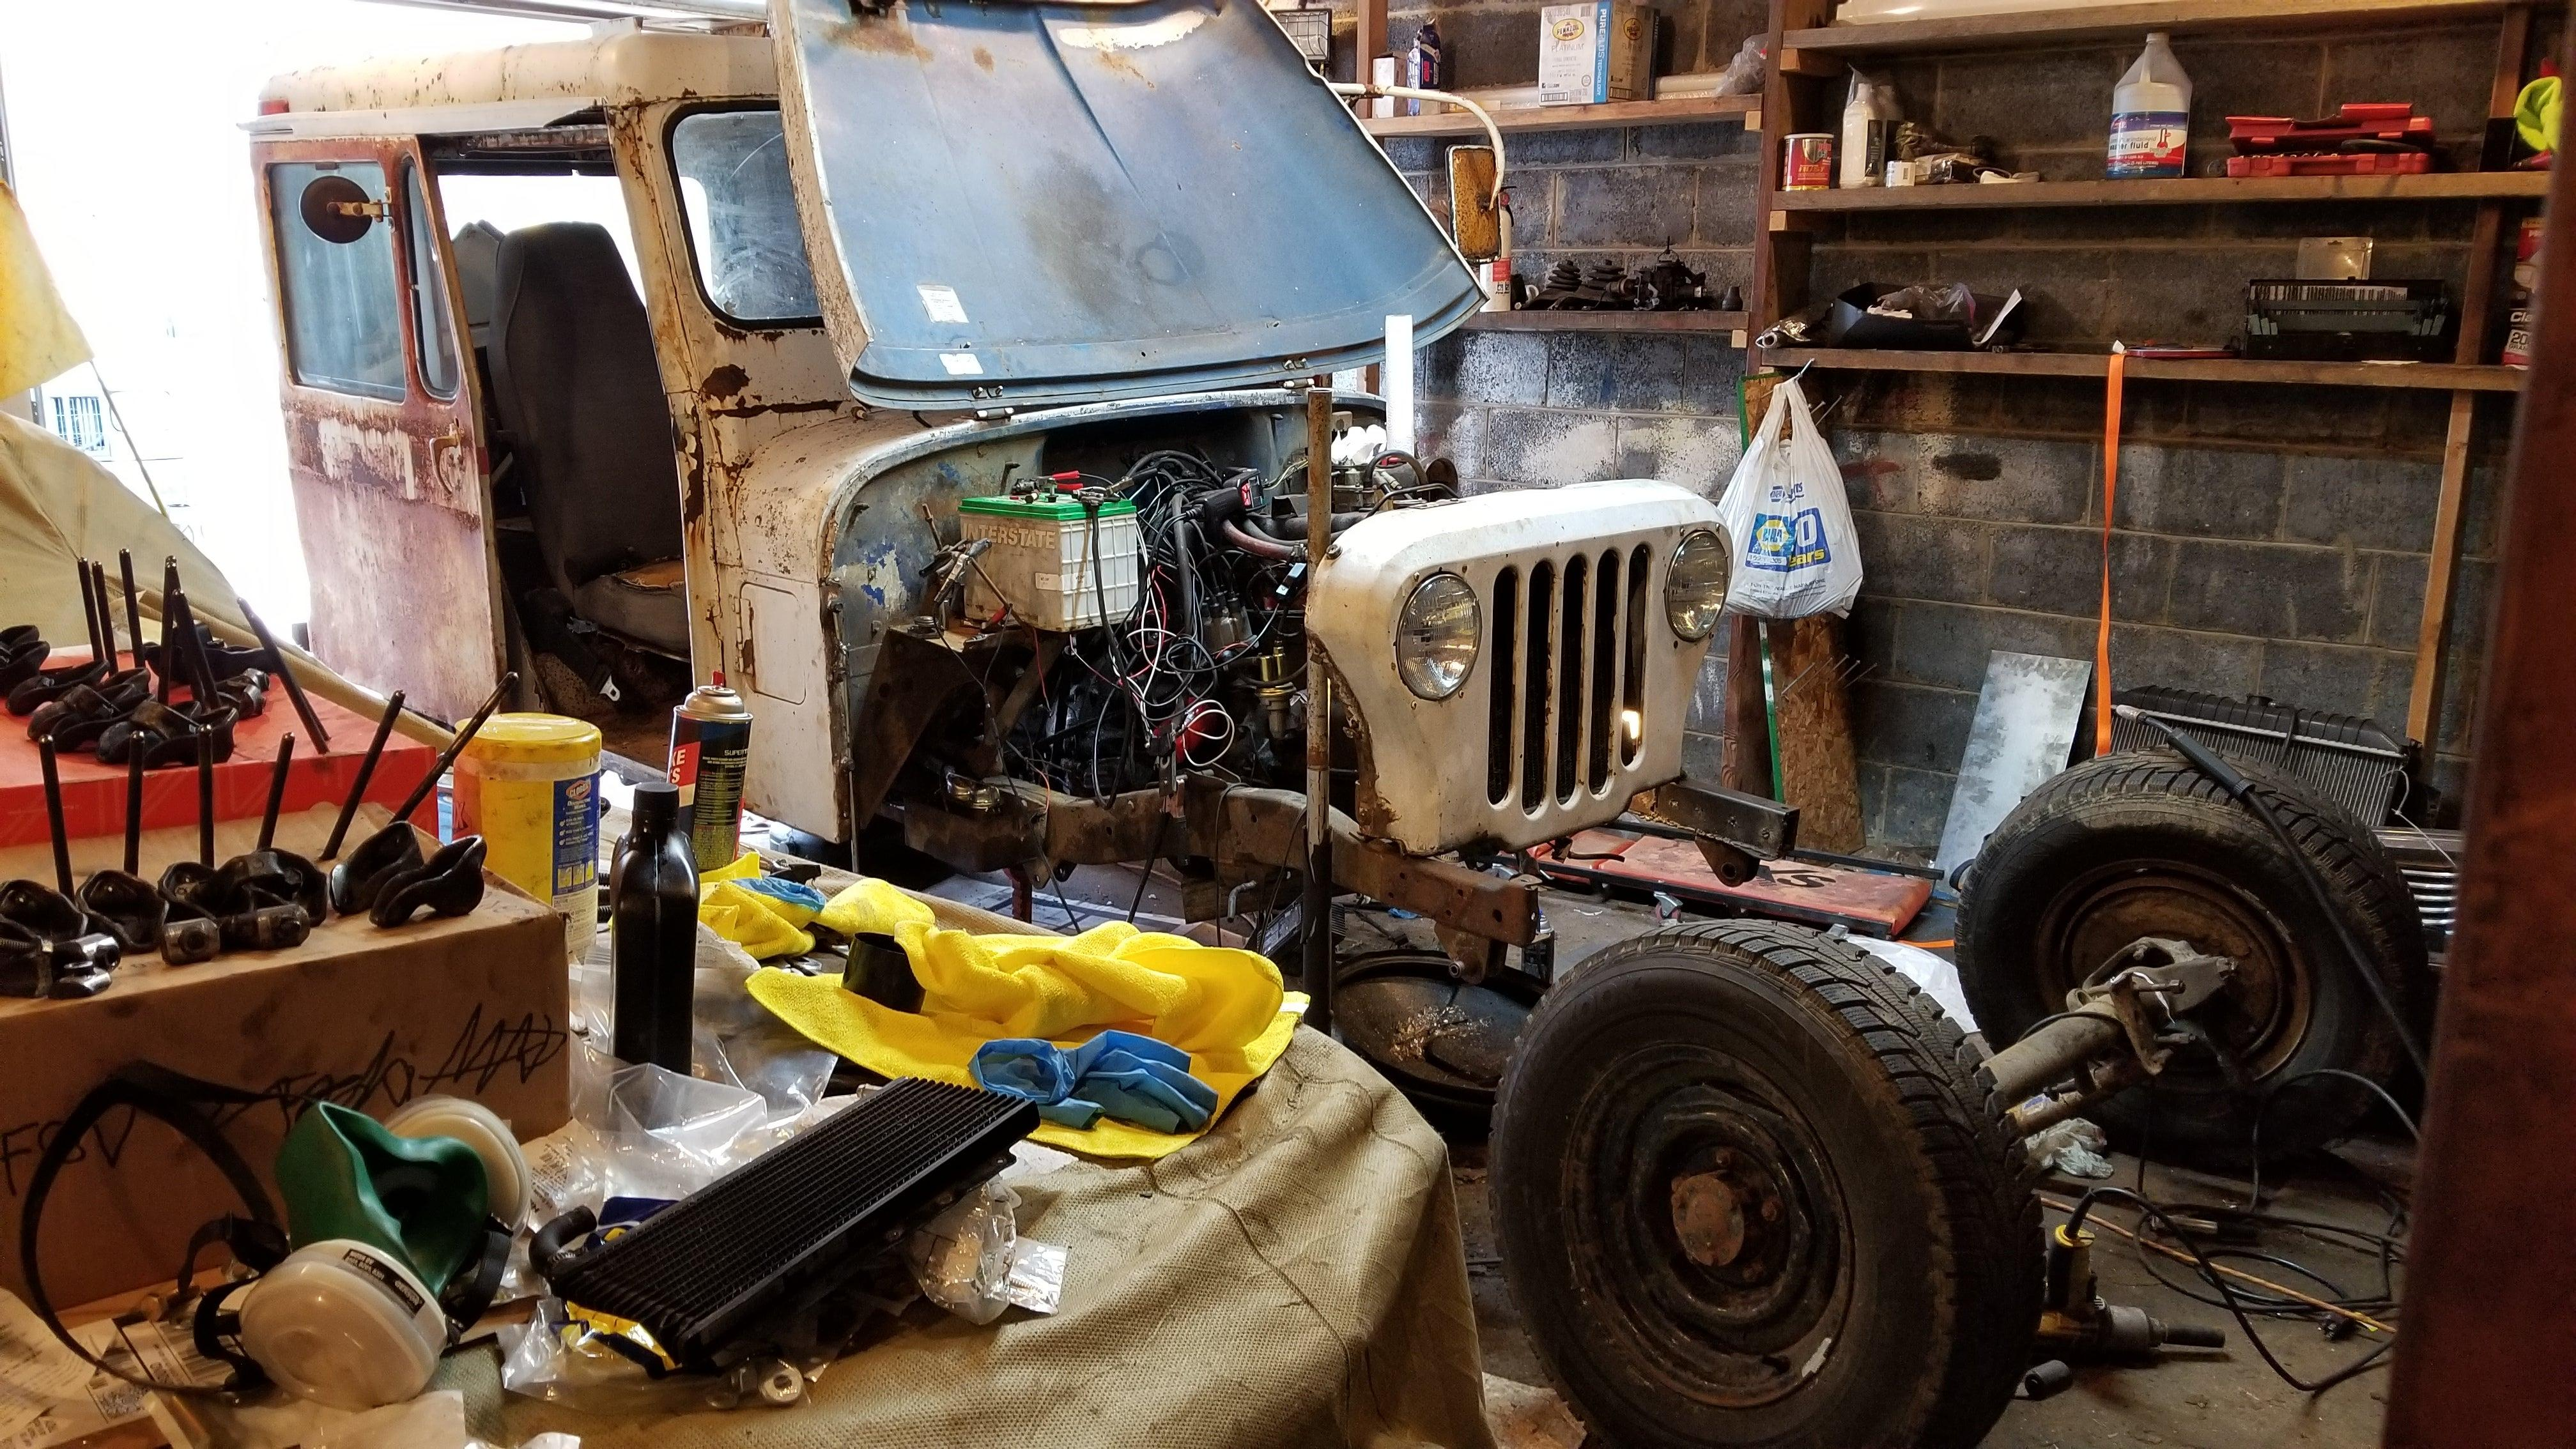
By The Grace Of The Car Gods My $500 Postal Jeep Actually Runs Pretty Well
It runs! And not only does it run, it runs well (ish). Here’s where my build stands just six days from departure.
Good news on Project POStal, my seemingly hopeless rusted-out $500 Postal Jeep that will soon be tasked with an 1,800 mile trip to Utah: It runs! And not only does it run, it runs well (ish). Here's where my build stands just six days from departure.
The last update I wrote chronicled an issue I was having with my distributor—it wasn't sending a signal to my ignition module, and therefore, I wasn't getting any spark to run my lovely 232 AMC inline-six. Upon realizing the problem, I began researching alternative ignition setups. "Should I just ditch the computers entirely and go with a points-based ignition system?" I pondered. "What if I replace my distributor with another one of the same flavor since I already purchased a new computer module?"These options were expensive, and what I really wanted to do was use an old distributor I had gotten as a package deal when I picked up the used cylinder head that replaced my cracked one. The former Jeep engineer I had bought the head from had this distributor and a bunch of other AMC parts just sitting in a giant bin, awaiting a trip to the scrapyard. I didn't think I needed a distributor, but I don't like things going to waste, so I snagged it.
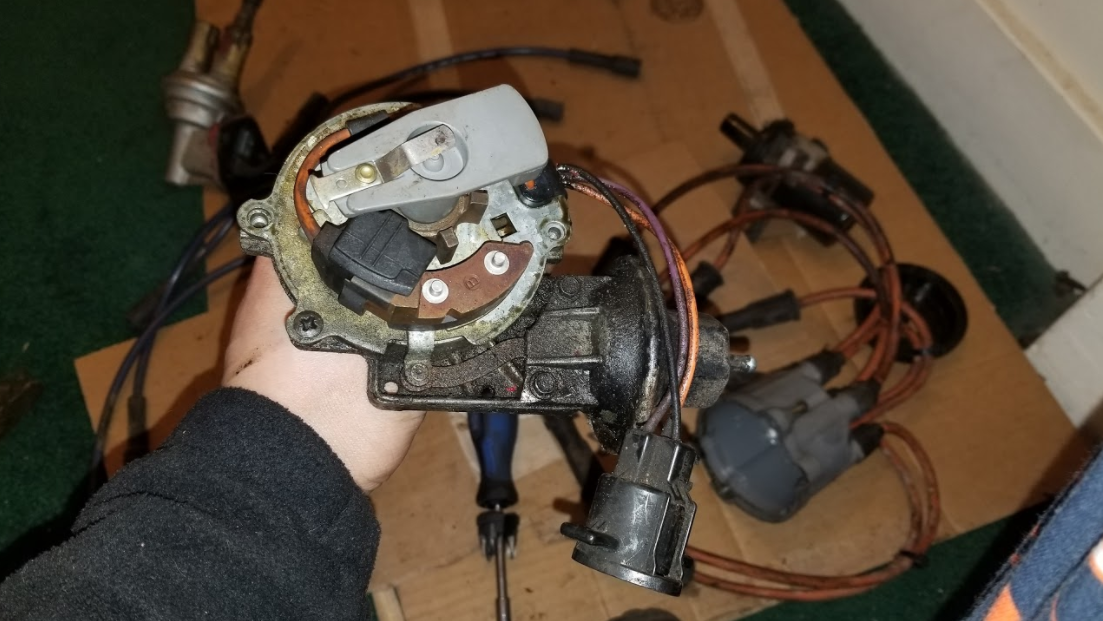
I'm glad I did, too, because that spare distributor actually fit into my engine, with its gears meshing nicely with those on my camshaft. But of course, I couldn't just throw the Ford-style "Duraspark" distributor in all willy-nilly. I had to make sure that it was installed in such a way that would yield spark at the right time. (A spark during a piston's intake stroke, for example, would be useless.)
I removed the spark plug from cylinder one, placed my left index finger over the threaded hole in the head, and began cranking the engine over by hand via its crankshaft pulley with a three-quarter inch wrench. Once I could feel a positive pressure pushing against my finger, I knew cylinder one was in its compression stroke. I continued turning the crank until I noticed that the timing mark on the crankshaft pulley lined up with zero degrees on the nearby scale (I also looked into my spark plug hole and saw the head of the piston, confirming I was at top dead center).
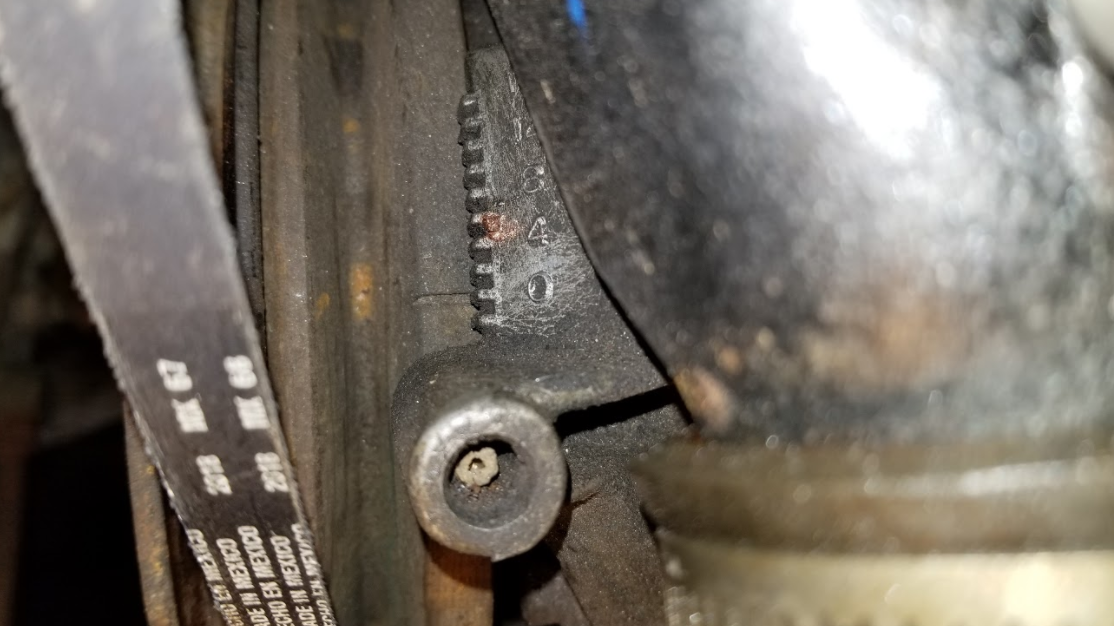
With cylinder one at TDC, I installed the distributor such that its rotor was pointing in the direction of the post that fed my number one spark plug wire, and then I tightened the distributor down. At this point, I had set my engine up such that cylinder one was going to get spark just as it hit top dead center.
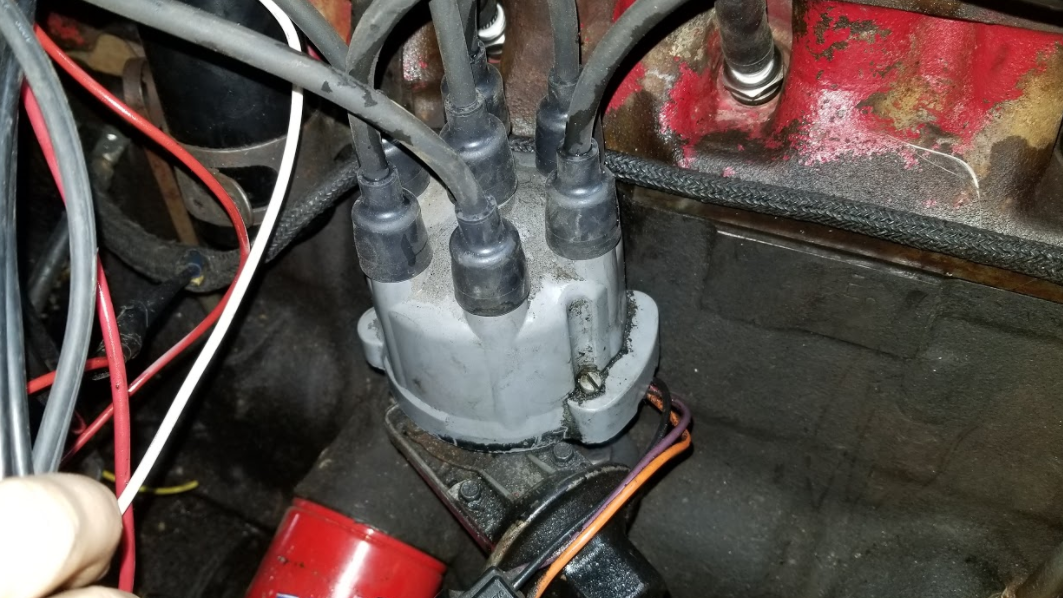
From there, I jerry-rigged that Ford-style distributor to work with my "Prestolite" ignition module, and fired the engine up. It worked, but it didn't sound great. Some research on various internet forums indicated that running my old ignition module with that distributor might not be a great idea.
Then I received an email from the heavens, and by "heavens," I mean "a guy named Tim."
"While I am not familiar with the Duraspark system used in your Jeep," he wrote, "there are Ford people that use a GM 4-pin HEI module with a Ford Duraspark distributor (and a more modern ignition coil to boot!)." He provided these two links in the email.
Keen to avoid a $100 bill for a new distributor, I ran to O'Reilly Auto Parts and snagged this GM four-pin HEI module for $30. (The junkyard was closed; I'll be snagging a spare there later today.) Then I removed my distributor and began assembling my ignition system using the sources Tim had provided:
I stripped a few wires, crimped a few connectors, pushed those connectors onto some metal contactors on the ignition module and distributor, wrapped a few bits in electrical tape, and headed back out to the garage, where I re-set my distributor to the right orientation using the aforementioned timing mark/distributor rotor orientation process.
Then, after double-checking that the wiring between the GM HEI ignition module and the distributor was properly connected, I turned the engine over with the starter:
It fired up! The only issue was, the idle wasn't exactly smooth. So a buddy of mine came over a few days ago, and I broke out my timing light.
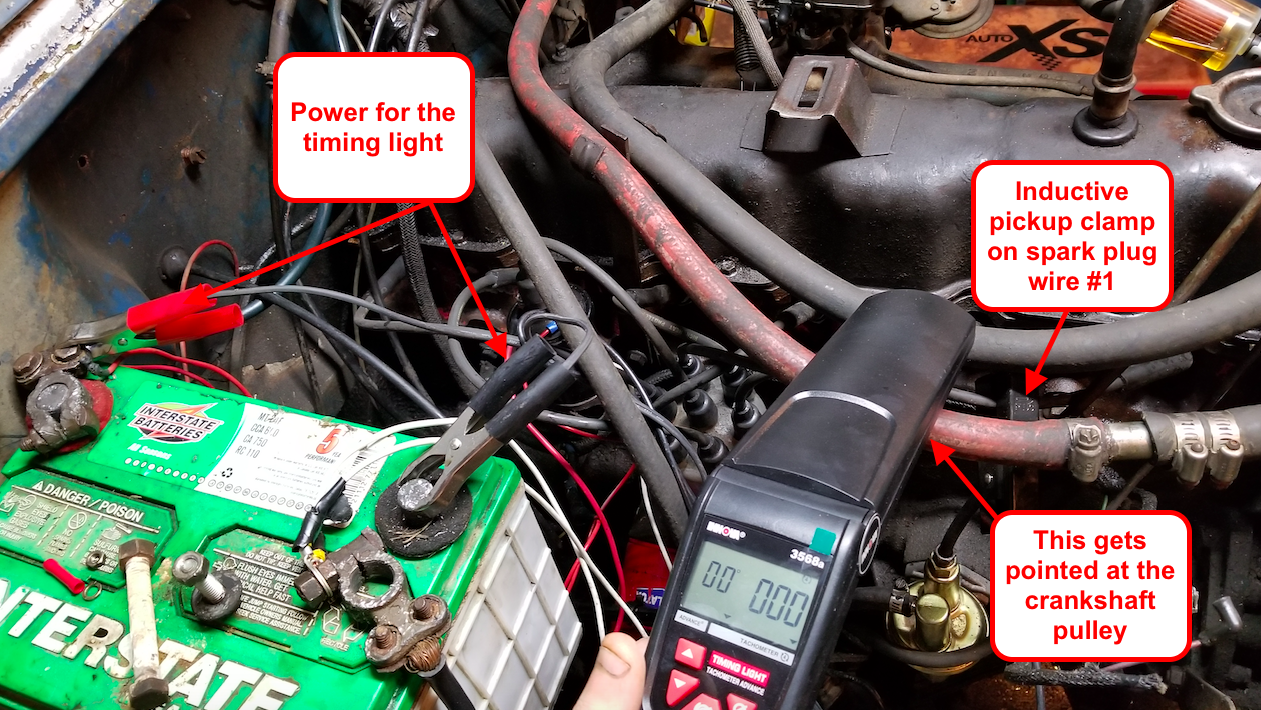
It's basically a stroboscope, and it's quite simple, especially since I bought one with a built-in tachometer. Basically, all I did was slip the inductive pickup clamp over cylinder one's spark plug wire, hooked the timing light's red and black leads to my battery's positive and negative posts, and cranked on the engine, watching as the light flashed every time the No. 1 spark plug fired.
I pointed this strobe light at my crankshaft pulley, and watched as it visually "froze" the timing mark every time spark plug number one shot off. The location of that "frozen" crankshaft timing mark relative to the scale is what I had to adjust.
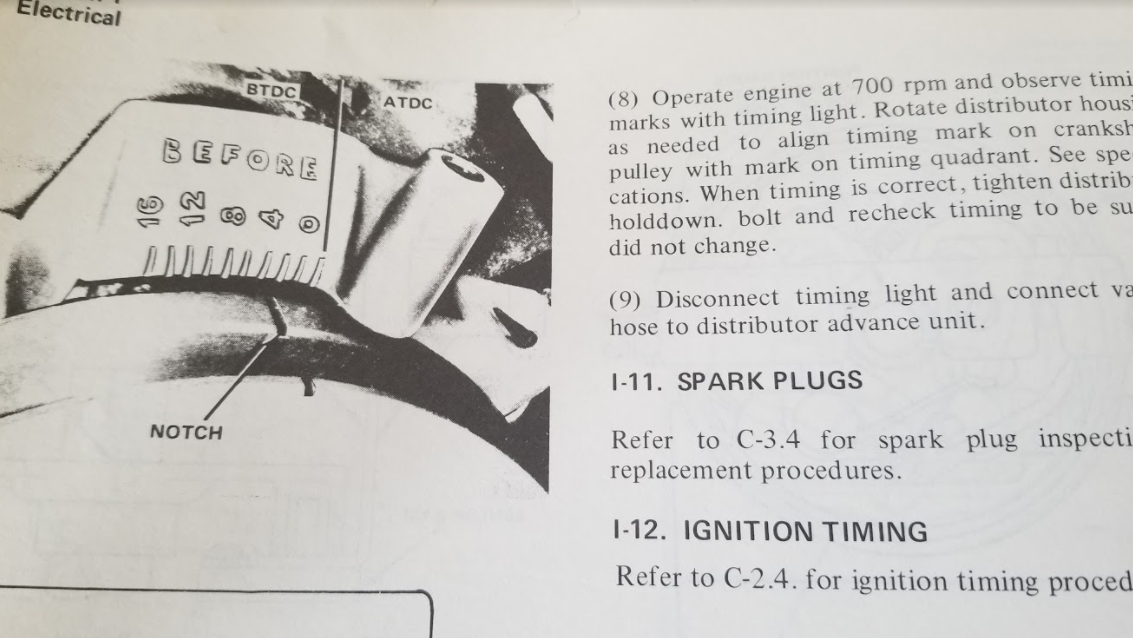
My service manual says I need to set my ignition timing to five degrees before top dead center while running at 700 RPM—in other words, my spark needs to fire five crankshaft degrees prior to my piston reaching the top of its stroke. So I put a dab of anti-seize on the scale near my crank pulley right over where five degrees is, and then I loosened the bolt on my distributor.
With the engine running and warmed up to idle (if I recall correctly, it was running at 600 RPM and not 700, so I may have to re-check this), and the vacuum advance hose to my distributor (this changes how far before TDC the spark shoots based on engine load; a mechanical mechanism changes spark timing based on RPM) removed and plugged as instructed by the service manual, I twisted the distributor as my friend Eric called out where the timing mark was in relation to the scale.
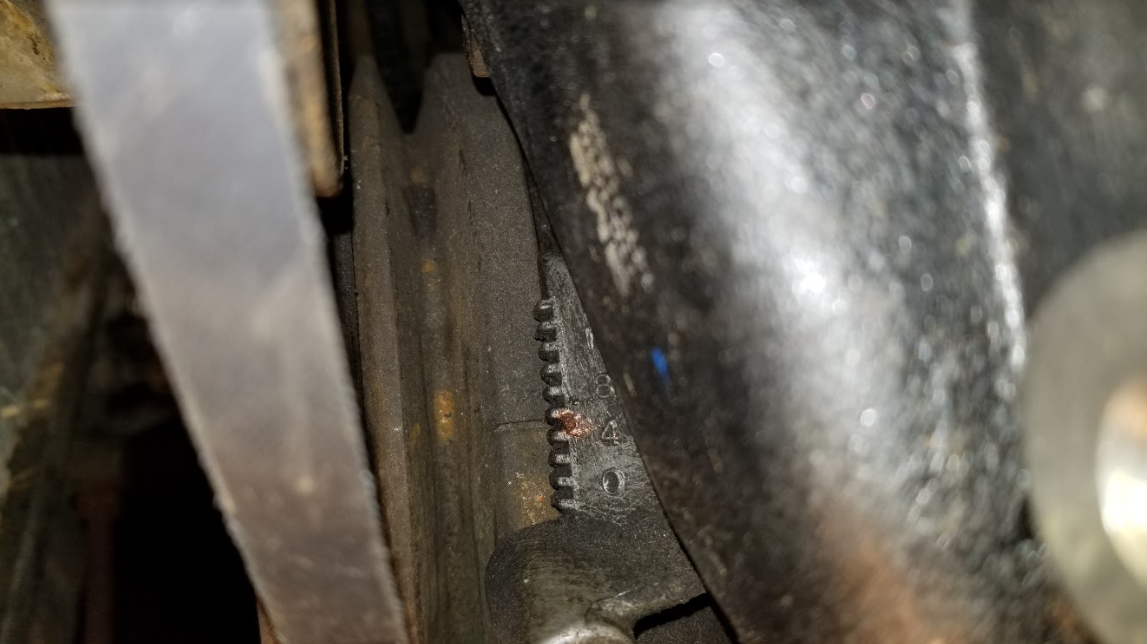
"You're almost at the dab of antiseize. Just twist it a little more. Okay, now go back a bit. Now the other way. Just a tiny bit more. Stop!" I re-installed the vacuum advance hose into the distributor, and the base timing was set. The results were glorious:
It runs well, and doesn't smoke even a tiny bit from the exhaust pipe, but it does seem to hesitate a bit under heavy throttle, so I'll fiddle with the air/fuel mixture and check spark advance along the rev range.
It's also loud, and I can thank my loose rocker arms for that:
I did have my head milled, but I'm still not sure why the rockers are so loose, even after I installed what I could have sworn were the right set of new pushrods for this head. It looks like I'll have to buy a pushrod measurement tool, and figure out what size I need to get rid of all the slop in those rocker arms.
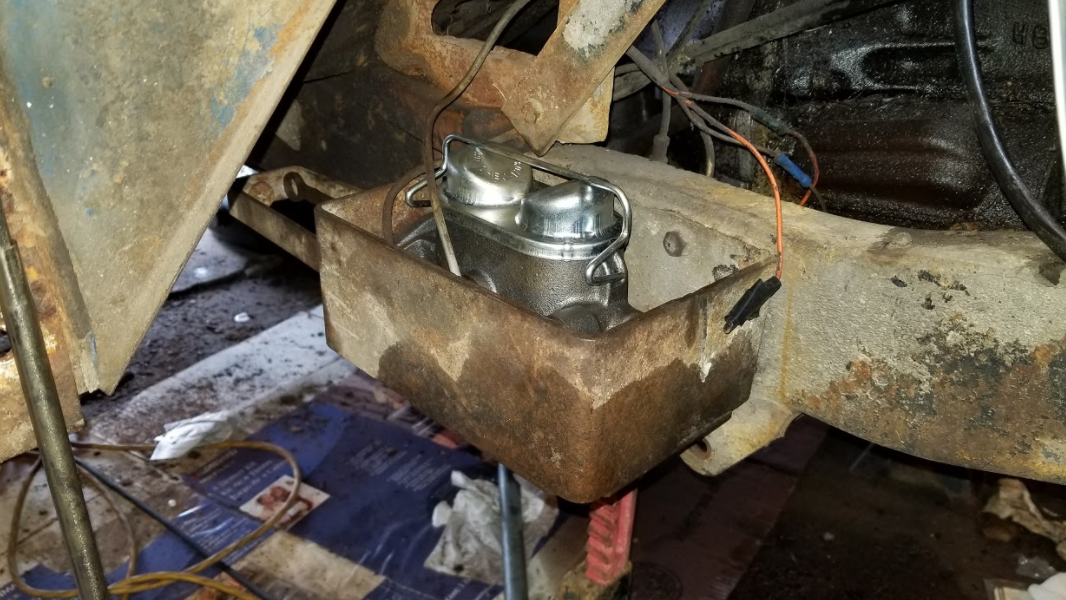
Other than that, I haven't done much. I did bleed and install a new master cylinder:
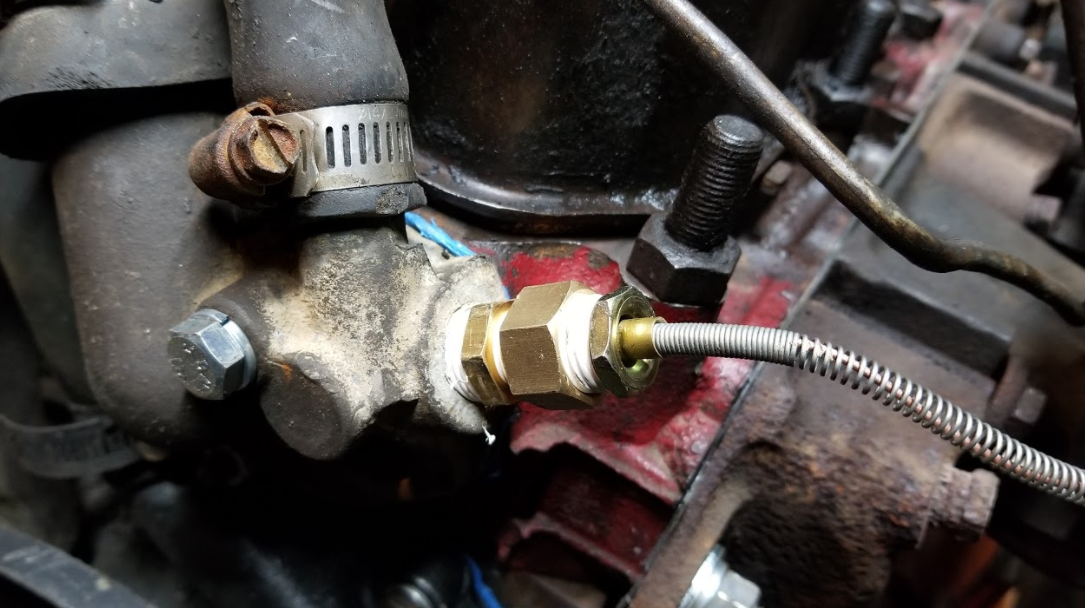
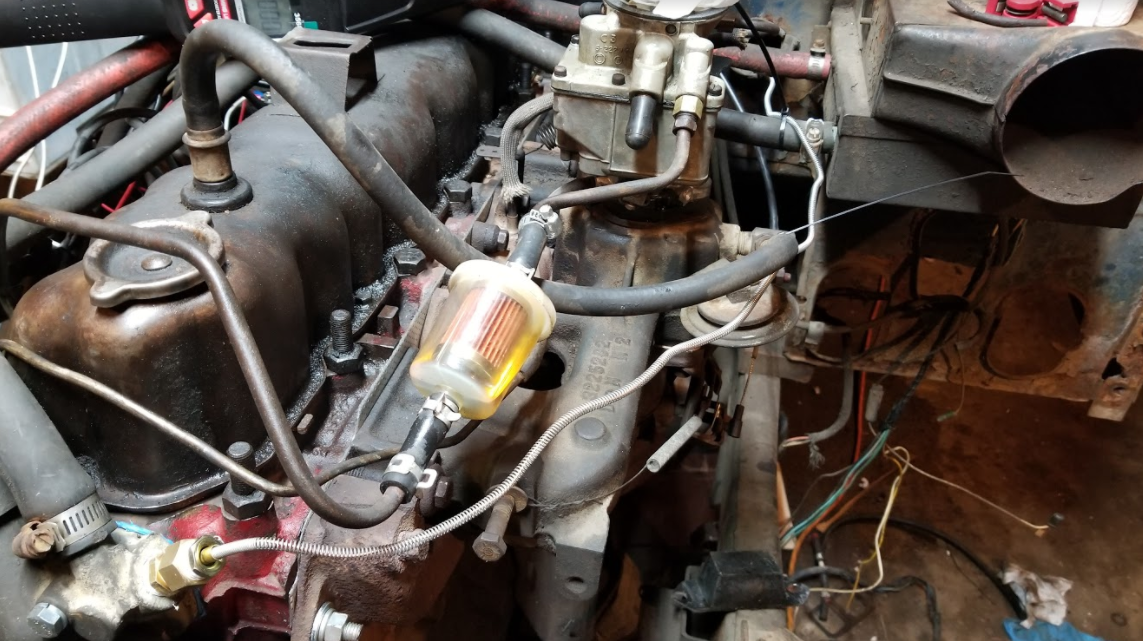
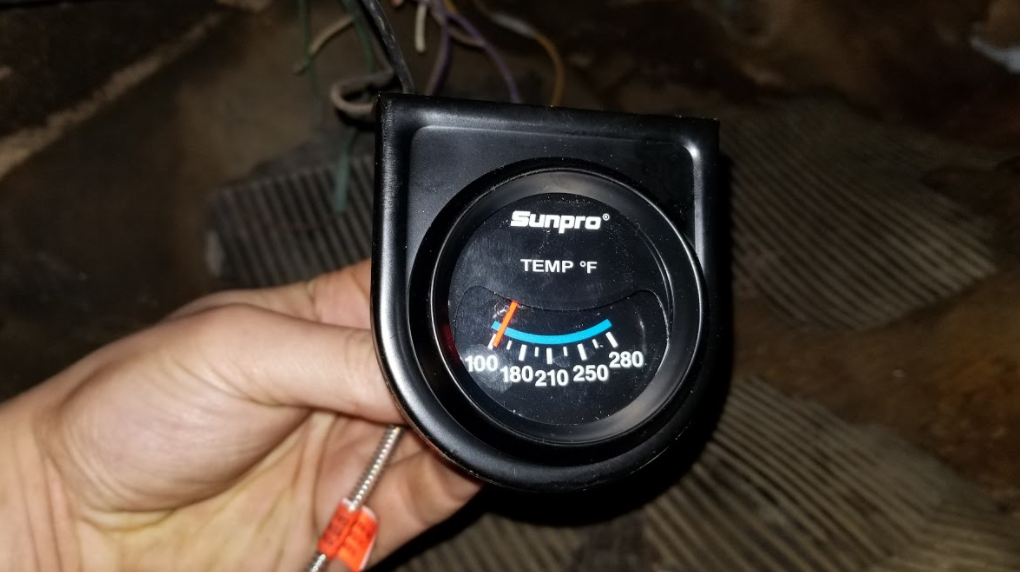
And as shown in the previous video, Eric and I threw in a mechanical coolant temperature gauge, which I bought from Amazon for $20:
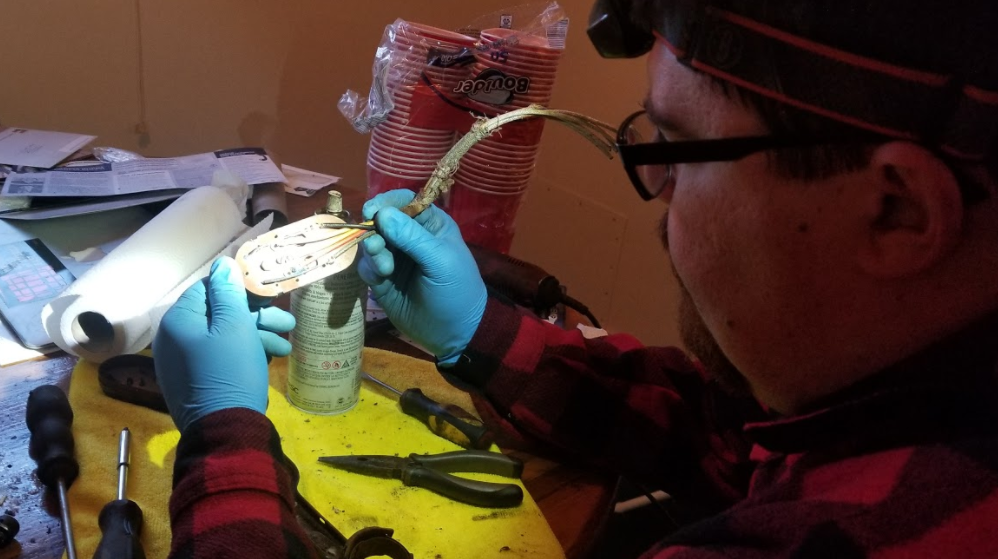
My friend Steve came over last night and began working on a turn signal switch, since the toggle on my dashboard is total garbage. He even hit it with a brass wire wheel and painted it. It's going to look beautiful when it's completely assembled:
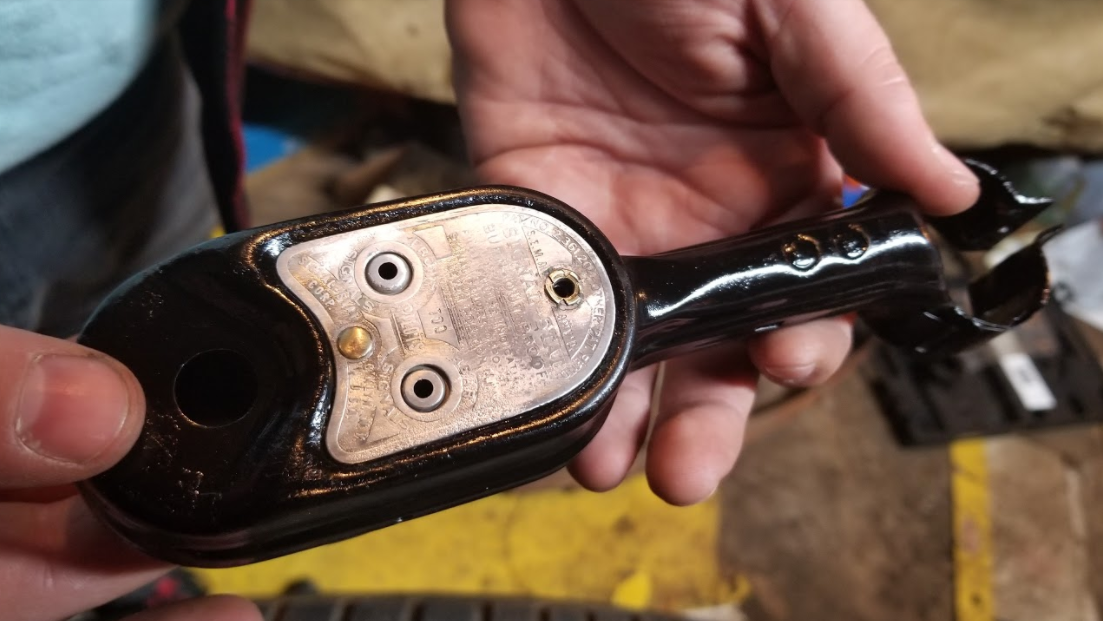
I'm now headed to a suspension shop to have custom U-bolts made for my front axle (since I'm not in the business of re-using old U-bolts), and then I'll snag a heat sink for the ignition module from the junkyard since that module gets quite hot.
Then I have to do some welding to fix my brake system, and of course, I'll need to replace my rubber hoses, rebuild and adjust my drum brakes, bleed the system, etc. Plus I have to fix my steering box, throw in new ball joints and tie rod ends, replace suspension bushings—the list goes on, and frankly, I just don't have time to describe the crap-ton of work I have to do right now. It's best I just go and do it.
