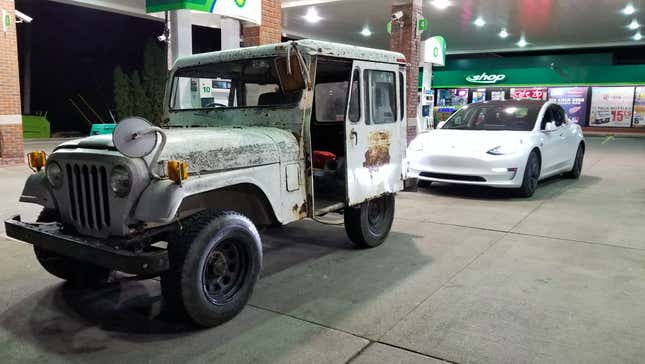
“That’s it. I’m calling it—Project POStal is officially dead. I cannot drive this Jeep,” I declared a day after I’d planned to leave Michigan on an 1,800 mile journey to Utah. I didn’t feel comfortable driving the $500 postal Jeep, so I had no choice but to give up. Here’s the story of the valiant wrenching effort that changed my mind.
By now, you know that my rusty junkyard-grade postal Jeep made it to the off-road mecca that is Moab, Utah, and that the only issues along the way were a small gas tank that never could quite fill properly, an oil leak, and a faulty brake part from Autozone. And while there’s still lots more to tell about the road trip itself, my tight timeline meant I never did finish describing the amazing, improbable wrenching effort that made the trip possible in the first place.
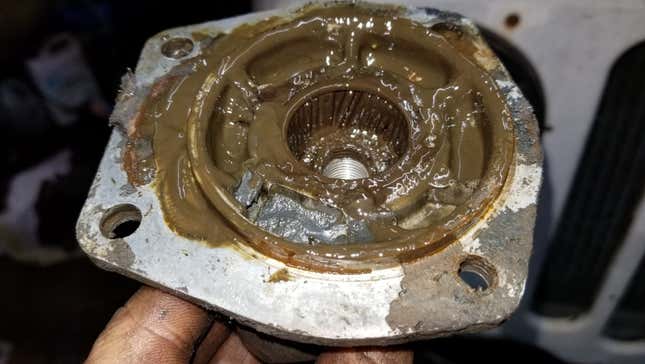
One of the biggest issues that threatened to stop the road trip before it even started was my steering box, which I mentioned the last time I described the many, many repairs still needed to get Project POStal ready for the road (that was Tuesday, April 9, just a day prior to my scheduled departure). The issue with the steering box was that there was tons of play in it, meaning even if I held the steering wheel straight, the car could wander back and forth, and I had to make large steering corrections just to stay on my intended path of travel. This worried me. (Editor’s note: This worried everyone on staff.)
I initially wasn’t entirely sure what was causing all the play, but upon opening the box, I discovered a bad bearing. The photo above shows some missing needle bearings, which appear to have been ground into fine gray mush. The problem was, I had no clue where I would find needles that were that length and diameter.
After calling a bunch of Detroit-area bearing companies and being told there was no way they could get me these needles, I was referred to Motion Industries, a Birmingham, Alabama-based bearing supplier that had a number of stores in the Detroit area. I drove to the one nearest my house in Troy, Michigan with the greasy lid of my steering box wrapped in a paper towel in the passenger’s seat of my Jeep Cherokee.
“So, this is a random request,” I hopelessly told the clerk after having arrived at the nondescript warehouse in an industrial park. “I have this right-hand drive steering box out of a 1976 Postal Jeep. It’s made by a company called Gemmer, which I’m pretty sure has long been out of business. I’m looking for a bearing.” (Incidentally, Gemmer started out in Indiana and moved to Detroit in the early 20th century; its factory and “Gemmer”-labeled smokestack still make up part of Detroit’s vast automotive ruins).
I didn’t think there was a chance in hell he’d be able to help me; these needle bearings were out of such a random steering box. The clerk took a closer look at the steering box lid. Without saying much, he grabbed a cloth, and began wiping away at the casing. He kept rubbing until finally he brought the part under a microscope, and walked away.
Two minutes later, he came back with not just a needle, and not just a compatible part, but with the exact needle roller bearing that Gemmer had used to build the box over 40 years ago. And it only cost around 10 bucks. I was floored.
I drove home singing the praises of living in Motor City, a land filled with automobile parts suppliers that could offer even the most random of components. Then I got home and began trying to remove the old bearing.
I had initially thought the needle bearings rode along the case itself, but as the clerk at Motion Industries showed me, those needles were contained inside a race, and were thus part of a larger needle roller bearing assembly. This ended up being a major problem.
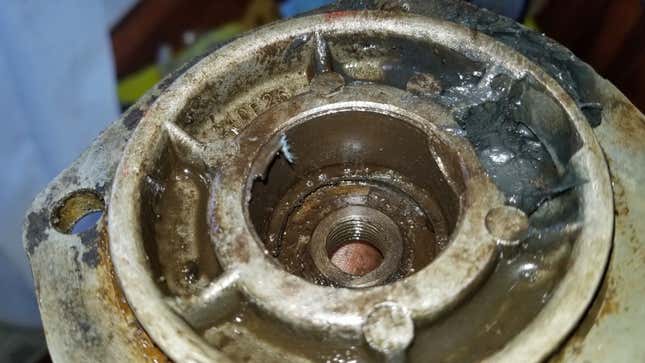
This bearing may as well have been in a blind hole, since there really was no way to get to it from behind via the little threaded hole in the middle (shown above), which is unfortunate because this meant that instead of punching the pressed-in bearing out, I had to somehow pull it out. But there really wasn’t much to pull from.
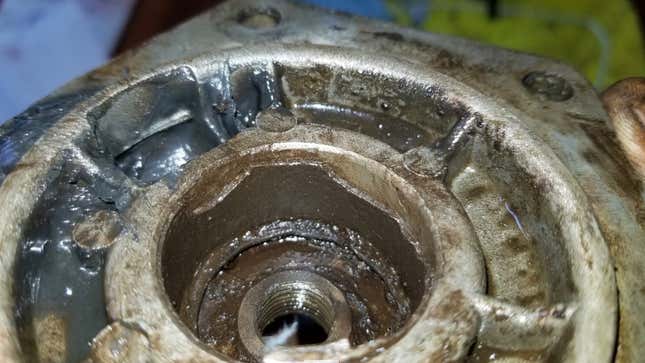
After taking all the needles out, I tried my best to shove a thin flathead screwdriver between the bearing race and the casing, but I found myself scoring the casing and simply chipping tiny bits off the race. If I kept that up, it’d have taken me three hours to remove the whole bearing, and I’d wind up with a scratched steering box lid.
After calling up a few Detroit-area machine shops, who couldn’t assure me that they could extract my bearing without harming the cast aluminum lid, I had to get creative.
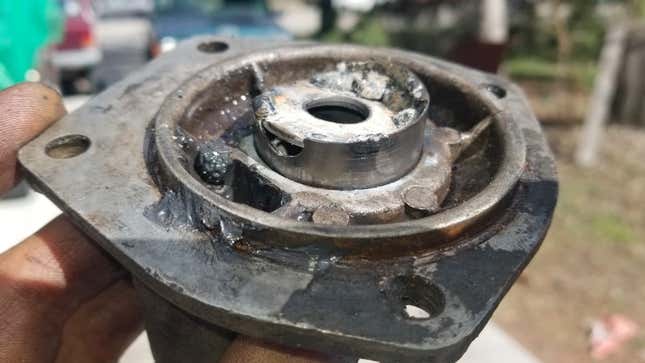
I knew that one surefire way to get a good grip on that bearing cup would be to weld something to it, so I threw a nut into the bearing hole, and then found a washer whose outer diameter was similar to the bearing race’s inner diameter. I then welded the washer to the bearing.
In retrospect, I wish I had just thrown an upside down bolt with the washer around it into the hole, but my method worked well: I simply used a leaf spring shackle plate and a few nuts to essentially create a homemade puller to slowly yank the bearing out. Here’s a look at the setup, as well as what it looked like after I hammered in the new bearing:
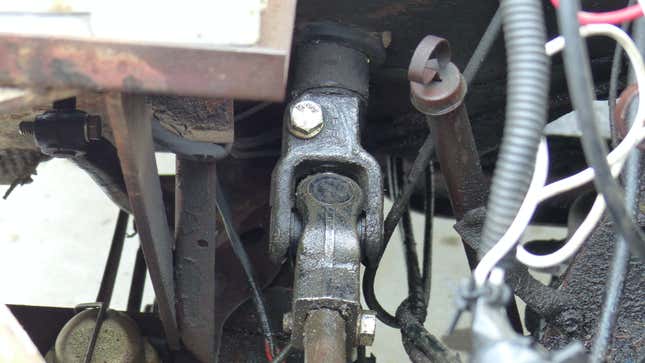
As steering was the number one concern I had after driving the postal Jeep a few miles back in January, and there was slop in my steering intermediate shaft u-joint, I bought a new one from eBay and installed that.
In addition, I replaced the steering damper and all the tie rod ends, though I kept the old ball joints since they were still tight, and I didn’t have the special spanner tool to remove them.
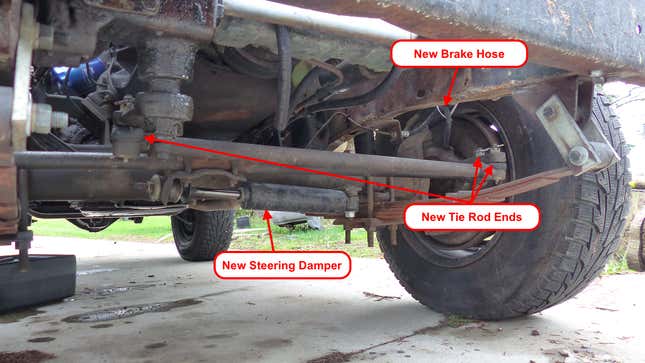
Here’s a look at those new parts:
That $100 Harbor Freight welder came in clutch a number of other times during the final phases of the build. Like my steering, my brake system also had loads of slop in it—in particularly, there was at least two inches of lateral play in the pedal. Luckily, it appears that the brake pedal setup for the mail Jeep, which has an automatic transmission, had been adapted from a manual transmission CJ, which used a common shaft for the clutch and brake pedal.
What this meant was that my setup had a brake pedal that rotated about a shaft, and that shaft rotated about a bearing bolted to the frame—in other words, it had an extra degree of freedom. It was the pedal-to-shaft interface that had worn down, so my solution was to simply weld the pedal to the shaft:
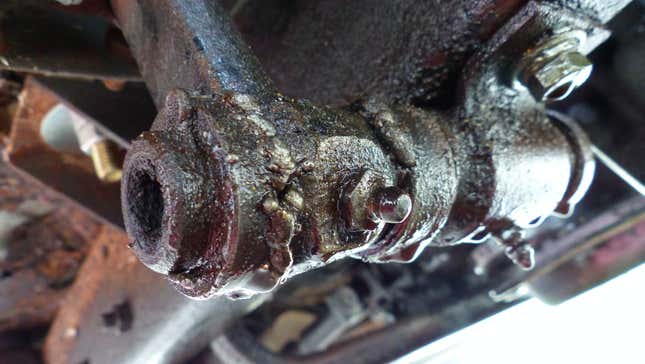
The result was essentially no brake pedal play:
I also installed new brake hoses all the way around, a new master cylinder, and my brother Mike and I finished up the rear brakes, at which point I bled the system.
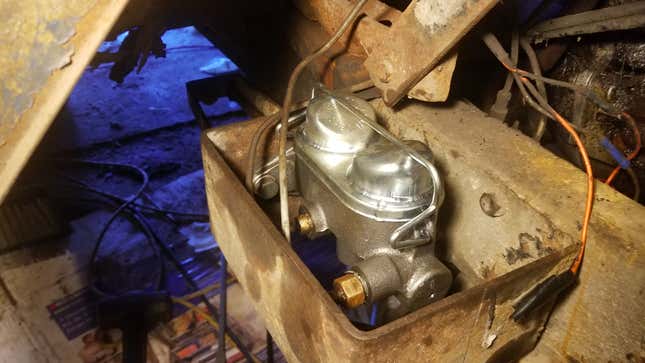
I noticed that the fronts still had tiny air bubbles coming from the bleeder, but since the pedal felt reasonably firm and there were no leaks, I figured I’d run it and see how it felt. (This later posed some issues when trying to bleed the brakes again, but I’ll get into that in a later story.)
With the steering, suspension, and brakes all done, my friend Jamie, who had installed the rear lights since they were a bit wonky, threw on the fenders. Still, we had so solve an electrical issue. My friend Steve, a guru in the area of electrons, had fiddled with my wiper motor, and something happened that shut off much of my electrical system, including my dome light (no big deal), my heater (not a huge deal), and my turn signals (a big deal).
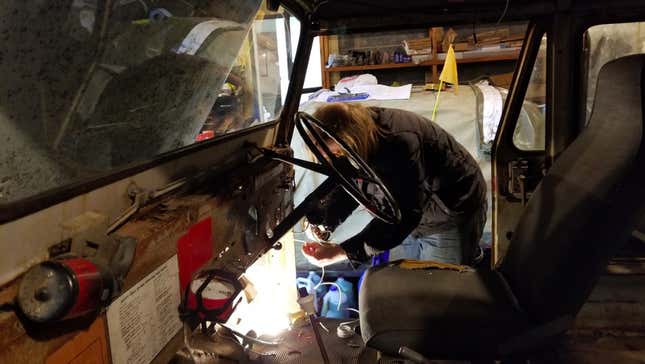
Steve brought my wiring diagram to work with him, and pored over it, but after spending hours trying to mend the system, he simply could not find the fault. Here’s Steve deep under my dash trying to hunt the phantom electrical problem:
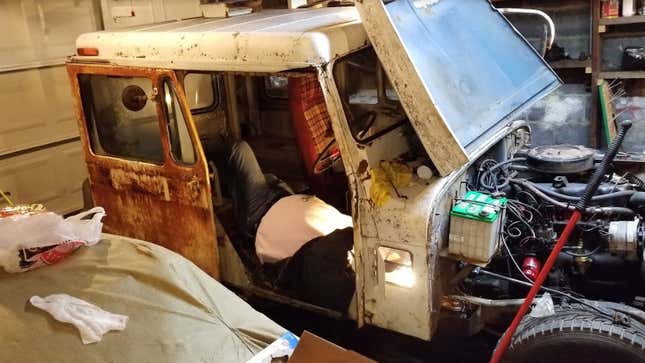
Sometimes the key to finding a hidden issue is a fresh set of eyes, which is why it was such a blessing when reader Charles came over. He found a fuse that looked to be in great shape, but which—per my multimeter—had indeed failed.
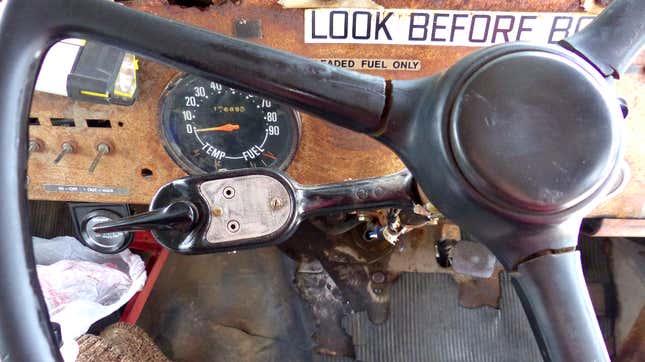
That solved the problem, and with a good set of lights and a sweet old-school turn signal (see below), a re-done suspension, a recently repaired steering system, and new brakes, we did a quick alignment with a tape measure and then it was time to hit the road on a maiden voyage. This was on Thursday night, the day after I had planned to leave.
I didn’t film myself driving, but I did get video of my friend Steve, a man whose thoughts and opinions I respect deeply, hence why I ask him so many questions. I was a little excited on this first drive:
Steve, who drives a gorgeous Jeep CJ-7 that apparently has a decent amount of steering slop, seemed to think the play in my steering was manageable; Charles, who was tailing us from behind in his Tesla Model 3, shared Steve’s view.
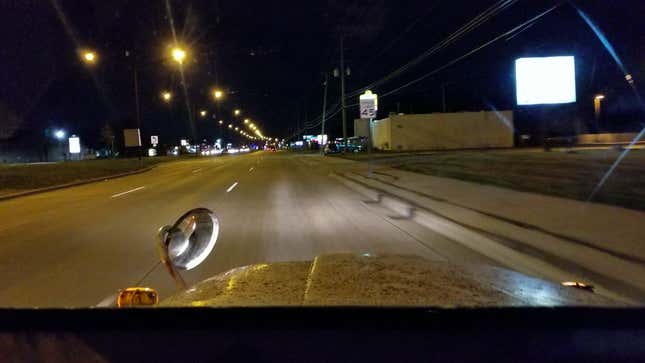
But when I hopped behind the wheel, I didn’t agree with them. The vehicle didn’t feel safe. The play in the steering wheel might have technically been manageable, but I felt deeply, deeply uncomfortable driving at speeds higher than 30 mph. The brakes were okay, but my steering inputs were largely ignored by the Jeep until I cranked it nearly a full 10 degrees, at which point the machine had a tendency to dart in one direction.
I worried that at some point, I’d wind up in an uncontrollable sinusoidal path with an ever increasing amplitude until eventually I lost control.
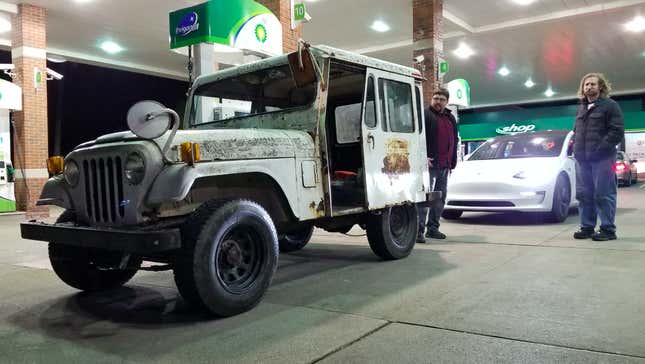
After Steve searched for and found his phone, which had fallen out of my Jeep mid-turn (we drove with the doors slid wide open because it’s fun), I decided to drive a bit more on the empty suburban streets late at night. I wanted to get a better feel for the Jeep.
We arrived at Sonic, and Charles and Steve joined me in the Jeep, which admittedly has only a single seat. They sat on the floor and rear wheel well. The man serving us was amped to see the Postal Jeep; he loved it.
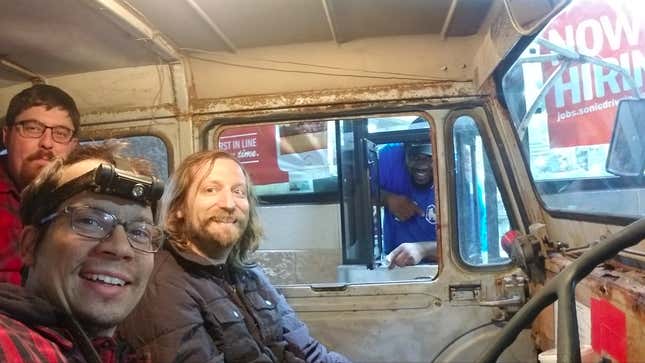
But I didn’t love my Jeep’s steering, so in my living room that night—the night after I was supposed to leave for Utah—I called the project off. “I just don’t feel comfortable driving this thing,” I told my friends, defeated. “There will be no Moab project this year,” I said as I solemnly thought about the scores of hours I’d spent on this vehicle and all the help my friends had graciously given me. What a waste.
A few minutes later: “Hey, so your car overheated, eh?” One of Charles’ friends said as he walked through my front door. I had no idea what he was talking about. Then we walked out front and saw steam billowing from my DJ-5's 232 inline-six engine.
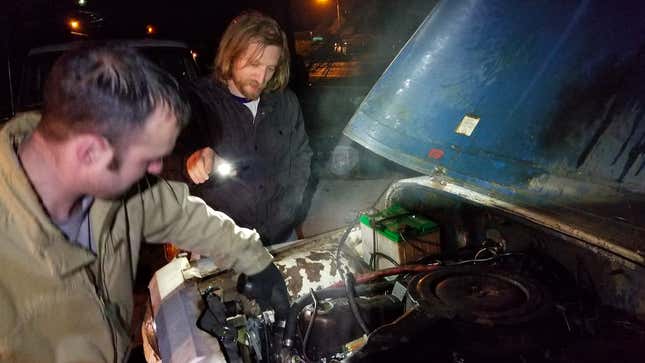
It was a bad radiator hose, which I’d been planning to replace. Charles’ friend mended that with a piece of hose I found laying around, but I was still calling it. The steering was just unforgivably bad.
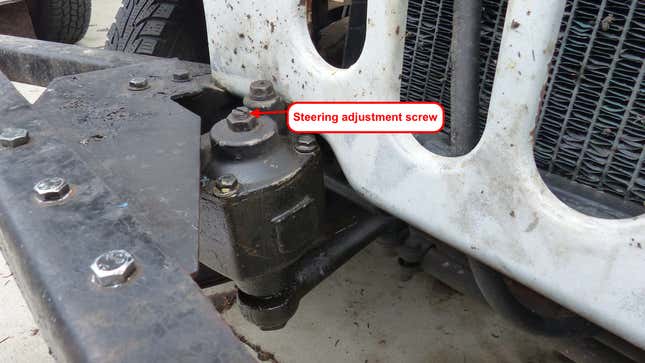
“Hold on,” I recall Charles telling me. “Go ahead and grab the wrench and flathead screwdriver; let’s adjust the steering box some more.” Since I’d already adjusted the box off the car, I didn’t think this would yield results.
Charles sat behind the wheel and turned it back and forth as I turned the steering box adjustment screw. “Okay, it’s better. Keep going, it’s tighter now. Go a little more. Stop! Tighten the nut. Okay, now it’s about as good as a typical older steering box-equipped car,” Charles told me.
“What?” I said, surprised to hear him claim that the steering was similar to cars that were—and this is a critical distinction—not broken. But then I sat behind the wheel, and sure enough! The steering was tight! Adjusting the box while on the car was key, and when I took the Jeep back on the road, I was able to control it with ease. Project POStal was back in business.
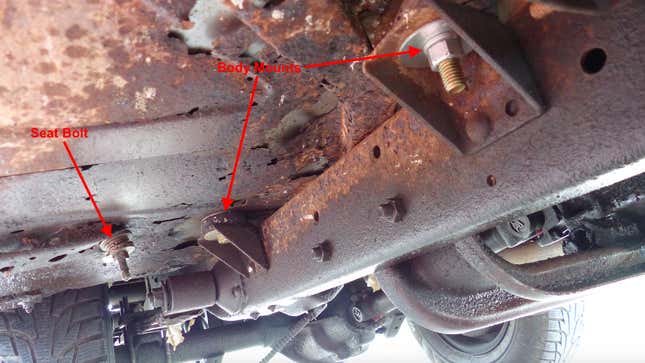
The next day, I took the Jeep to a repair shop to have it inspected, per my agreement with my boss Patrick, who wanted to make sure I wasn’t driving a deathtrap on public roads. (Editor’s note: We all wanted to make sure David wasn’t driving a death trap, both for David’s sake and for yours, dear reader.) Of course, with all the repairs my friends and I had done, the technician said the car was mechanically sound, though he did mention that the body mounts were rusty.
I knew this already, and had planned to make some body repairs. It was on Friday morning, two days after I’d planned to leave, that the mechanic gave the Jeep’s mechanicals the all-clear, and the rest of that day was a marathon of metal cutting, drilling, and welding.
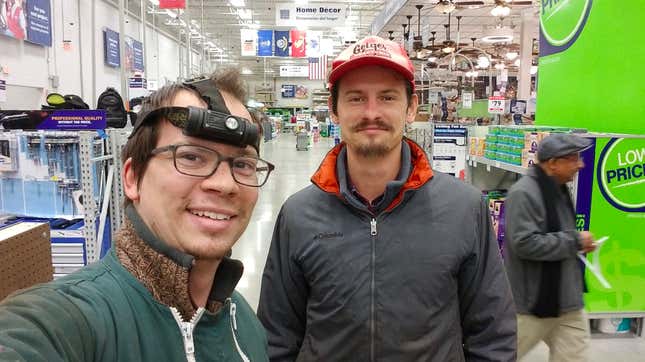
My brother Mike, who has very little wrenching experience, blew me away. He’d just flown in from Hong Kong, where he doesn’t even own a car, and there he was, running around Lowes with me, covered in dirt and grime, ready to go into the trenches.
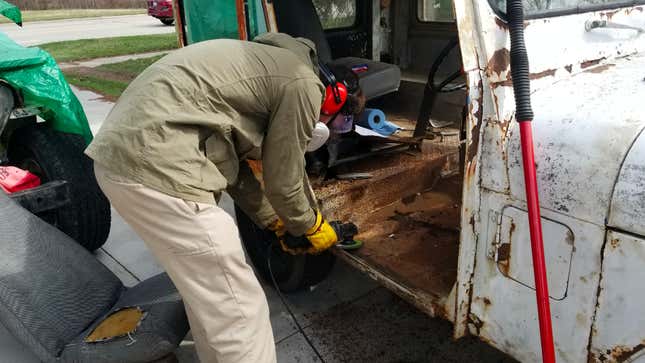
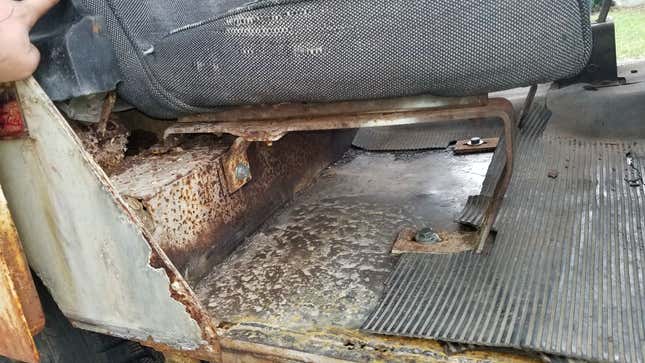
And into the trenches he went. The previous afternoon, on Thursday, he had ground down the rust on the driver’s (lack of) floorboard:
With this done, I was able to weld in a new floor.
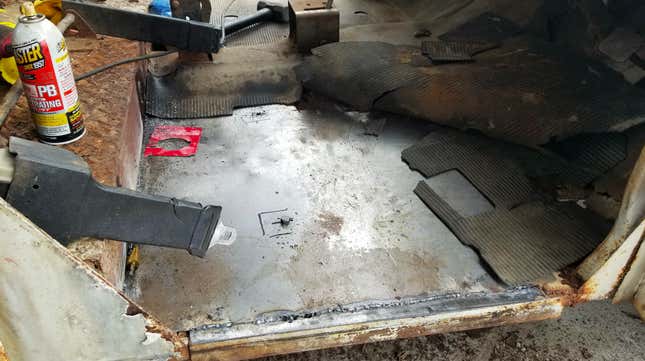
And with a floor in place, I now had a place to bolt the driver’s seat:
Plus, I had somewhere to fasten the body mounts:
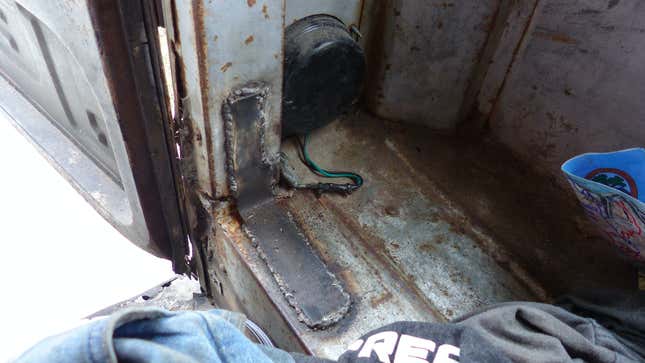
While we had the power tools out, I used a sledgehammer to bend a piece of steel I had laying around into a right angle. I then welded it to the broken rear door pillar. The weld doesn’t look pretty, but it’s so strong, you could hang off that rear door if you wanted to.:
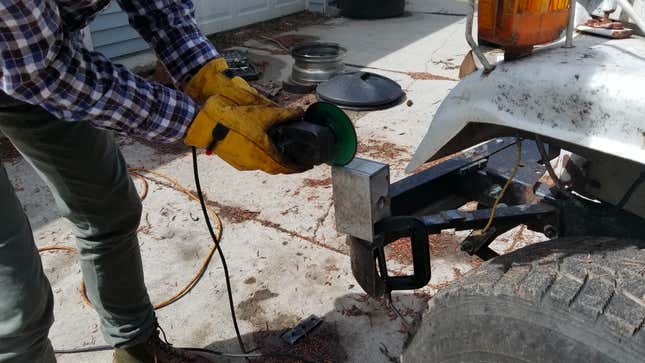
To fix the door slider that he broke, Mike simply fabricated a new part using one of the aluminum blocks that had acted as a cheap lift-kit for my rear suspension. This worked beautifully, and that door that he fixed slides tightly, and doesn’t rattle.
Friday evening is when things got really rough. I’d noticed that the entire rear of the Jeep’s body had a tendency to lift up in turns, and then bang against the frame as I straightened the wheel. This wasn’t surprising, since I knew the body mounts were shot. Upon further inspection, I found that the C-channel piece of steel that fastened the rear of the tub to the frame had rusted out. It was no longer holding the two together; it was just banging around freely.
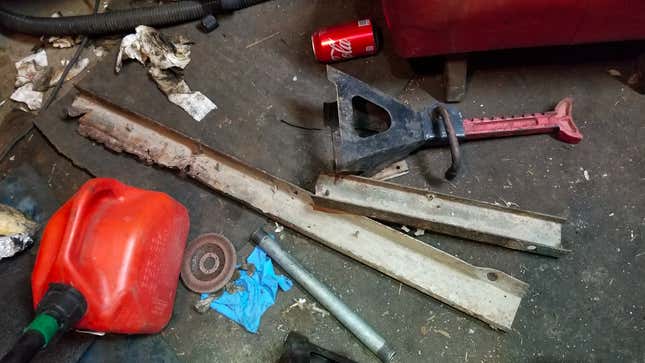
Mike cut the steel C-channel out, and spent pretty much all day slicing, grinding, and drilling. The first thing he did was cut a piece of steel for me to weld onto one of the floors so I’d have a place for another body mount (that’s what you see below), then he cut a giant slab of diamond plate so that it’d fit perfectly over the old rear floor.
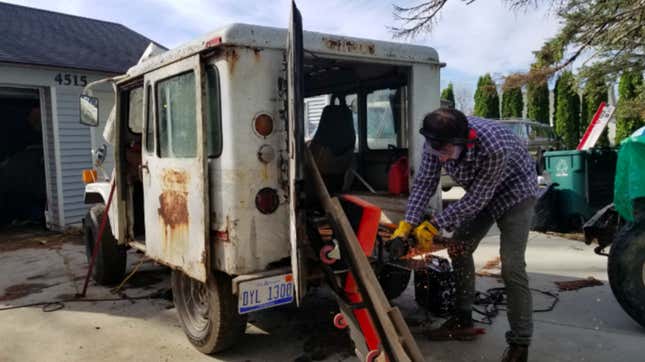
Then finally, he cut a piece of rectangular tubing into the shape of a “C” to replicate the old body mount.
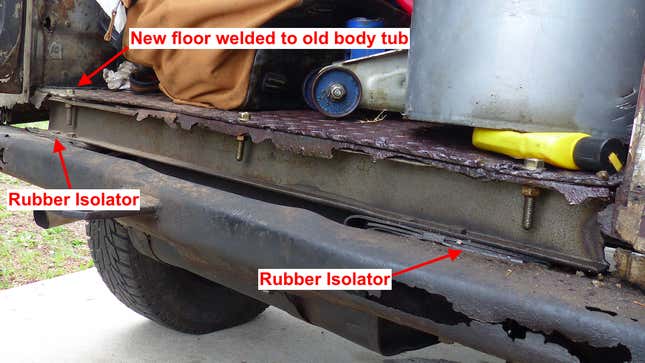
After a trip to Ace hardware for some generic rubber mats to act as isolators, Mike and I bolted the new C-channel mount to the new floor on the top side and to the bumper on the bottom. We also bolted the new diamond plate floor to a frame crossmember farther forward in the vehicle, and I also welded the floor to the tub.
Here’s a clip of Mike grinding the old floor so I could weld to it:
And here’s another video of our new body mount setup as it was being built:
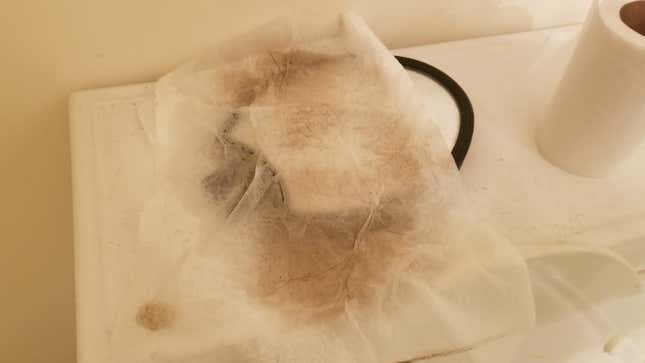
The whole project was just nuts from start to end, and I’m sure I’m forgetting lots of fun wrenching bits. We did significant body work: new floors and body mounts in the front and rear and a brace for the rear door pillar, the day before we ended up leaving for Moab... which was three days late. And we fixed the steering just a couple of days prior to departure. I stayed up late, and at the end of each day (and beginning, since I didn’t shower much during this time) I looked like a coal miner. Here’s how a rag looked after I wiped my face with it at the end of the final night of wrenching:
Everything (aside from the really major things like the frame repair and engine fix) was so last-minute, which was obviously a terrible call on my part. But at the end of the day, I wasn’t going to leave in a vehicle that wasn’t safe and mechanically sound, and indeed, Project POStal not only did a great job covering the 1,800 miles to Moab, but it impressed me even more after I arrived.