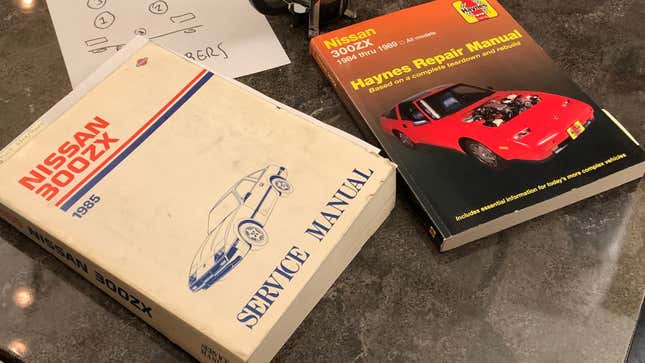
So you’ve been wanting to work on your own car more and heard “one of the best tools is a repair manual.” True, but they’re never as easy as Lego instructions. Today I’ve got some tips on getting the most out of a dense, boring car manual so you can use one more effectively.
But First: A Z31 Project Update
Learning to maintain vehicles can be a decent way to amuse and educate yourself in this era of being ordered to stay home a lot. Warning: It can also be frustrating. Deeply, fiercely frustrating. But the satisfaction of success is so strong that I keep coming back.
When the world took one of its many turns-for-the-worse recently, I started panicking and paring down my expenses. Since the least-cherished car in my collection is the 1984 300ZX I inherited from a woman named Mary-Ann, whose name’s pinstriped on the trunk lid like a tramp stamp, I begrudgingly decided to unload it.
But by getting it running well enough to sell (all it needed was a cylinder head temperature sensor), I psyched myself up into keeping it. That, and Bring A Trailer politely declined to list it for me in its current condition.
I realized that now, if ever, is the time to use this platform that’s landed in my lap to practice wrench turning. If I make a mistake and ruin the car, this Z’s cheap enough that I won’t have to hate myself forever. If I succeed, I’ll have a better-driving machine that’s only going to get cooler as it gets older. On top of that, the ubiquity of the Z’s VG engine makes this an easy car to get advice on and a good platform to become familiar with.
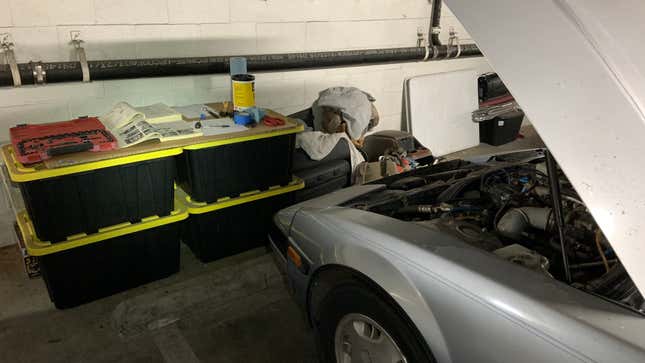
This is hardly my first swing at home auto repair, but you only level up with practice so I’m trying to be aggressive about chipping away at my list now. My Z really needs to have its timing belt and ancillary parts replaced, but I thought I’d try to replace the leaky valve cover gaskets first, as that seemed easier.
All this to say, this project has inspired me to do some idiot-proofing around my repair strategy that I’d like to share.
The Two Types Of Manuals
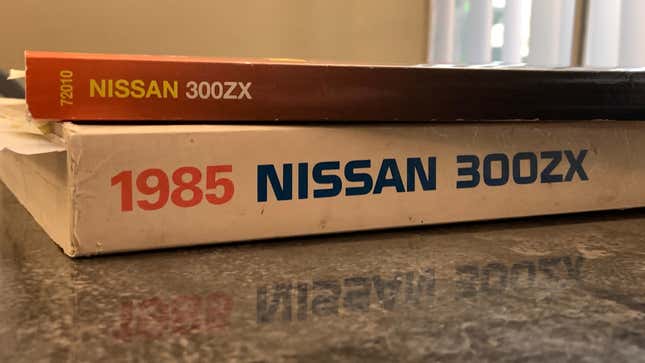
You’re either going to have a consumer repair manual from a company like Haynes, or a factory service manual from your car’s manufacturer. (Ideally, you have both.)
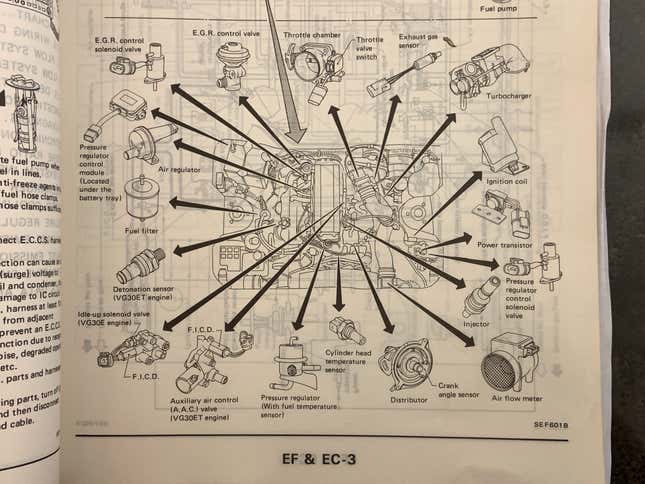
An FSM will be deeply comprehensive. These are heavy tomes complete with technical diagrams explaining every nuance of how your car works. They’re meant to be references for dealership mechanics who need to be extremely versed in the certain specifics of a line of cars.
A Haynes manual is a little more consumer-friendly. These books are made by folks who actually dismantle and reassemble cars, documenting the process in such a way that’s more easily interpreted by people who might not be professional mechanics.
I said it’s ideal to have both because the FSM is better at clearly labeling and identifying parts, while Haynes manuals tend to provide easier step-by-step guides to common repair procedures.
But even if you do have both types of books, creating your own supplement will really smooth things out for you when it’s time to begin work.
Make A Supplementary Checklist
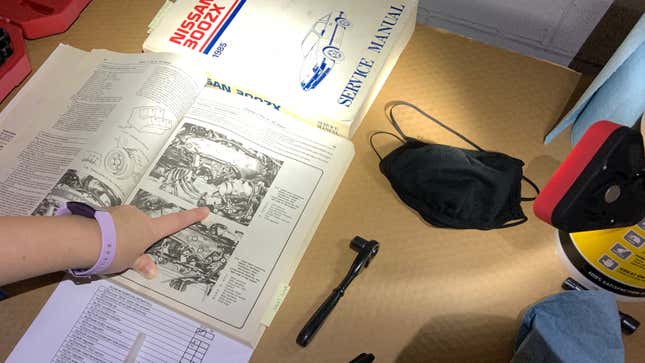
In the interest of brevity, Haynes manuals sometimes lump several steps together. I get it, the book can’t be a million pages, but this drives me nuts and is basically the whole inspiration for this blog post.
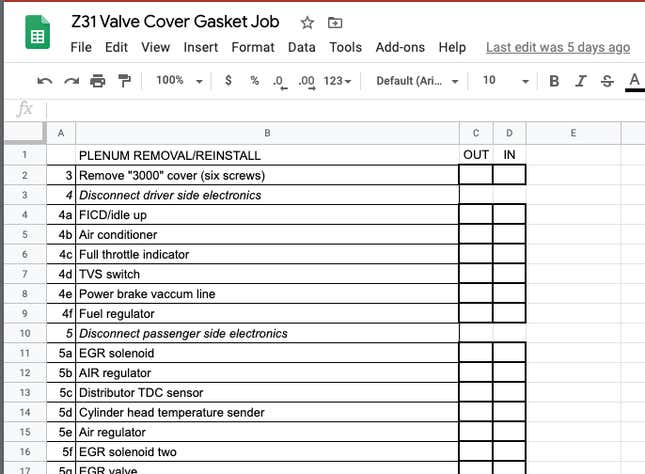
To get around the confusion caused by this, I now make my own supplementary checklists out of spreadsheets. I number-and-letter these along with the Haynes steps, but more specifically broken out.
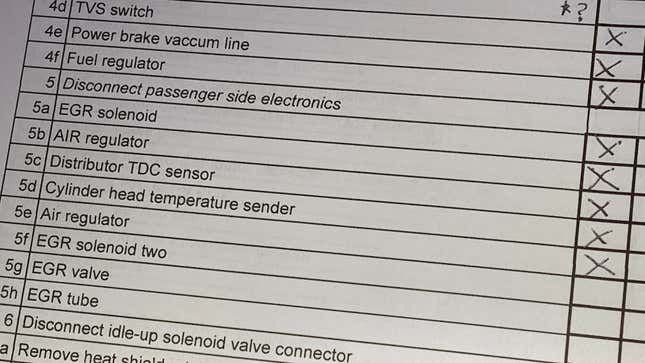
For example, if my Haynes says something like: “5. Remove the fuel pressure regulator’s vacuum line and electrical connector, then remove exposed retaining bolts,” I would write: “5a. Remove FPR vac line, 5b. remove FPR elec connector, 5c. remove retaining bolts.”
Then I have two checkboxes: “OUT” and “IN.” I do this because every Haynes manual instructable ends with “reassembly is the reverse of removal” which can be hard to keep track of. So as I go through the repair, I check all the “OUT” boxes, and if I ever finish, I’ll go back up the list checking the “IN” boxes so I don’t end up with extra parts.
...And Be Ready To Amend It
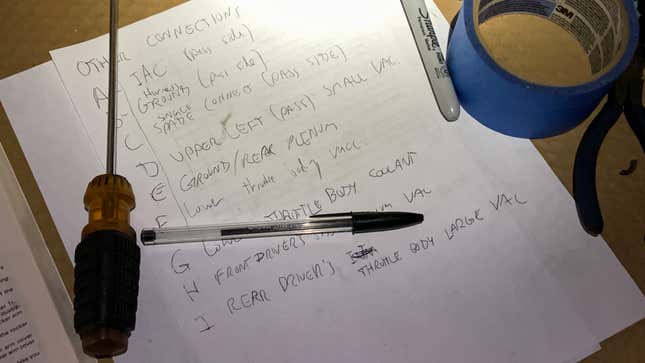
I’m not finished with my valve cover gasket job yet and I’ve already had two big issues with my Haynes manual. For one thing, there are several steps not listed. I found a coolant line that needs to be disconnected which isn’t mentioned at all. And then towards the end, the manual drops this gem: “...remove remaining hoses...”
Damnit, Mr. Haynes, I’m reading your book specifically because I need my hand held through the removal of each individual hose!
At the same time, there are some steps where a part is referred to by a slightly different name than I was expecting. (An example of this is that some people on forums and use “intake manifold” and “intake plenum” interchangeably, so doing research from multiple sources can be a little confusing.)
Point is, sometimes you’re going to want to make your own notes in your manual or on your checklist. This is another good reason to work slow, which we’ll revisit shortly.
Take Notes, Take Pictures
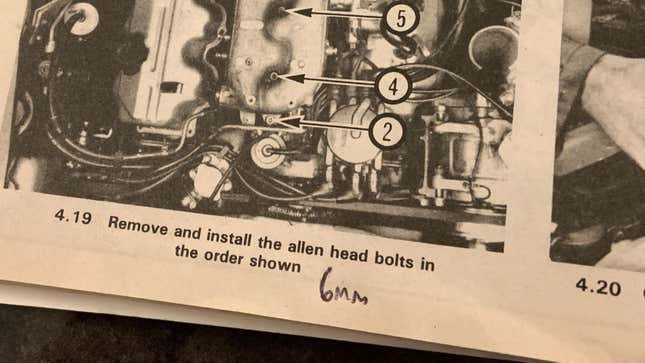
Worried you’re not going to remember how something goes back together? You should be. Especially since the time between “first disassembly” and “final reassembly” could be a long, long time for a home mechanic.
Take a lot of photos, there’s no reason not to. Pics in Haynes manuals are black and white and tiny.
As for note-taking, we kind of just covered that, but I’ll add: Don’t be shy about scribbling annotations in your Haynes book.
Label Connections
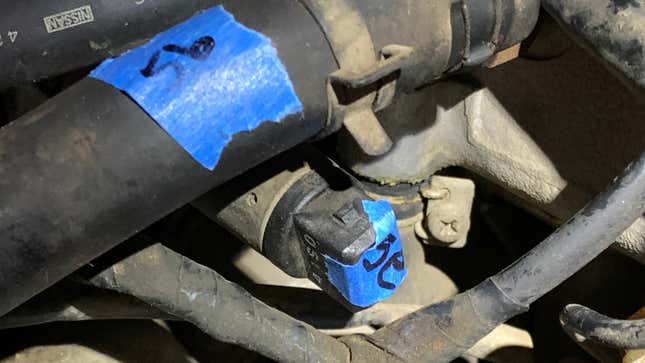
You’re following carefully laid-out instructions (good), taking a lot of pictures (excellent), but still nervous about unplugging about a zillion vacuum lines, plugs, and hoses that all look kind of similar? So was I. To further idiot-proof this process, I use high-quality painter’s masking tape marked in Sharpie to label both ends of connections. Why painter’s tape? It sticks real good, is easy to write on, and comes off clean. Don’t cheap out because crappy tape will just disintegrate or leave residue.
As for labeling, I just use the same number code I made for my checklist. Item “5a.” in my made-up example step was “remove FPR vacuum line,” so in this case I’d write “5A” on pieces of tape placed on each side of the disconnected line. The tape should also be positioned strategically to keep crap from getting into your car’s holes.
Make “Maps”
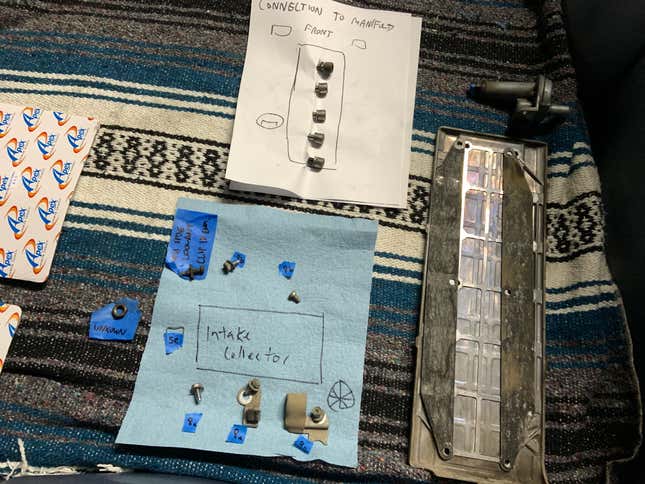
Some parts are going to have to come all the way off your car to do certain repairs. In these cases, I like to draw little maps and place the parts on top to make no mistakes about which-goes-where.
My Z’s intake plenum is held on by five allen bolts, but they’re all different lengths and have to be installed in a certain order. Hence, I drew a dumb map and laid them on so I wouldn’t have to guess which goes where. This is a pretty common strategy in DIY mechanic’ing.
Read First, Read Again, Then Work

Something I’ve learned from reading cooking recipes: If you read along in realtime while you’re following instructions, you’re liable to trip over yourself. Read through the whole job you’re planning to do, put it down, come back again later, and read it again carefully. This will give you a much better context and clarity of mind when you start swinging tools.
Don’t Forget To Pace Yourself
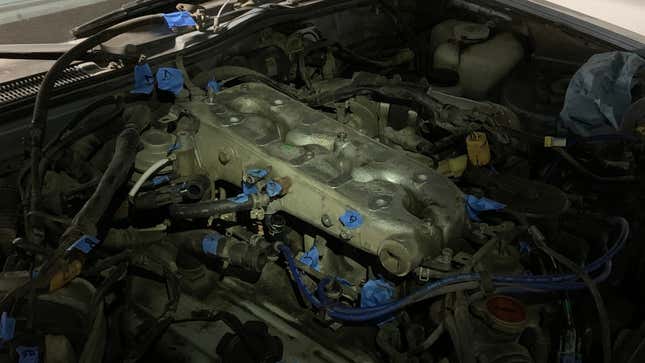
I’ve been working on cars and motorbikes, with varying degrees of success, since I was 14. But it’d be a filthy lie to say I have “18 years experience” as an auto mechanic. While I’d like to think I have a good idea of how cars work, theoretical knowledge and actually being able to work through a repair are not the same skill.
So I’ve been moving slowly to avoid making big mistakes or getting too frustrated.
Also: No service manual accounts for the fact that the car you’re working on might be old. Taking an intake plenum off a brand new car is not the same as doing one that’s been heat-cycled and stuck in place for 35 years. Work methodically, escalate your level of oomph slowly. You can always hit things harder but if you hit it too hard, it can be a real pain to unbreak whatever you done broke.
And Finally: Read The Comments
Hopefully, by the time you read this, a few Jalopnik readers will have chimed into the comment section below with even more advice. Check it out, and don’t be afraid to ask follow-ups!
Looking for ways to advocate for black lives? Check out this list of resources by our sister site Lifehacker for ways to get involved.