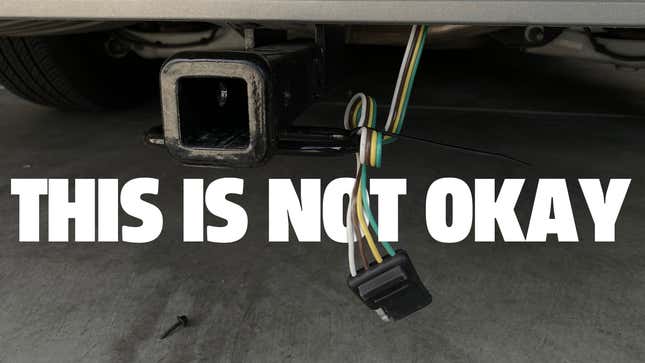
It’s no secret that I love our Buick Regal TourX. We’re closing in on 20,000 miles with the car and we’ve not quite owned it for a year. It’s been a great daily driver. My wife and I decided we wanted a bit more versatility from the car and as such decided to get a trailer hitch installed. We opted to have our local dealer install the factory Buick accessory hitch. It conforms to the letter of an installed hitch, but it doesn’t exactly look finished. I set out this afternoon to remedy that.
The Buick hitch package, with two hours of installation labor, was just shy of $600. To say I was slightly miffed by the fact that our trailer wiring harness was zip tied to the hitch’s safety chain loop is an understatement. For the cash we shelled out, I would have imagined a bit nicer of a finish to the job. *sigh* For one thing, the harness plug is just hanging out there in the elements. For another, the trailer’s safety chain could easily break that zip tie and with that much slack the wire harness could easily come into contact with the road, which is no bueno.
With $16 and an hour of my time, I had this shoddy-looking shadetree install looking pro-grade.
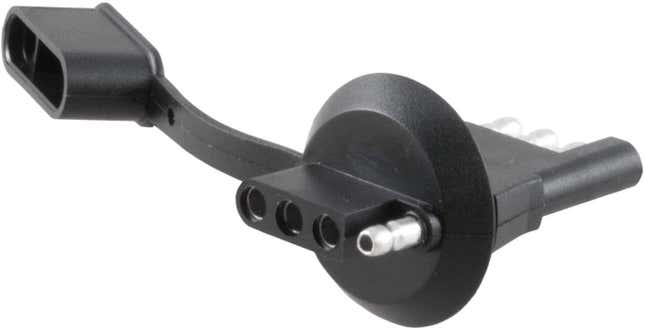
The majority of that hour was spent heading to the local hardware to pick up the correct 1-1/4" drill bit that I needed to bore out a hole in the bottom of the car’s bumper. Last week I purchased a Curt-branded plug-and-play through-the-body adapter, which is traditionally used to fish the harness through a truck’s bumper-mounted license plate light. The adapter was $9.40 and the drill bit was $6.15.
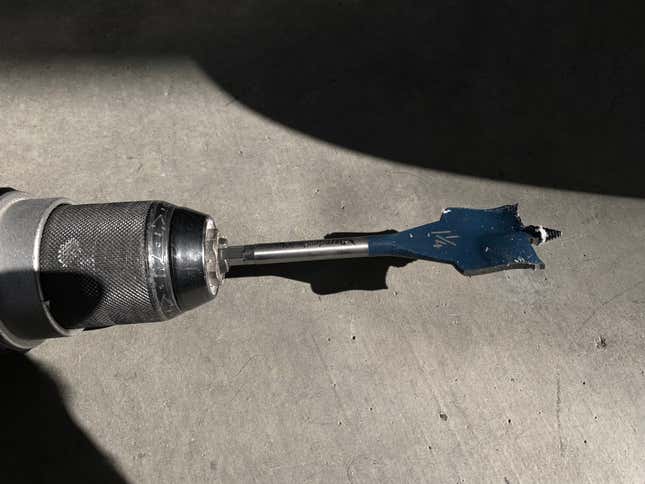
Luckily, the bottom of the TourX’s bumper loosens with two 7mm bolts, allowing me access to the space above the hitch. I was initially worried that the muffler might be hiding up there and I’d have to heat wrap the wires, but this car routes the mufflers to either side, and I was in the clear to drill a vertical hole with abandon.
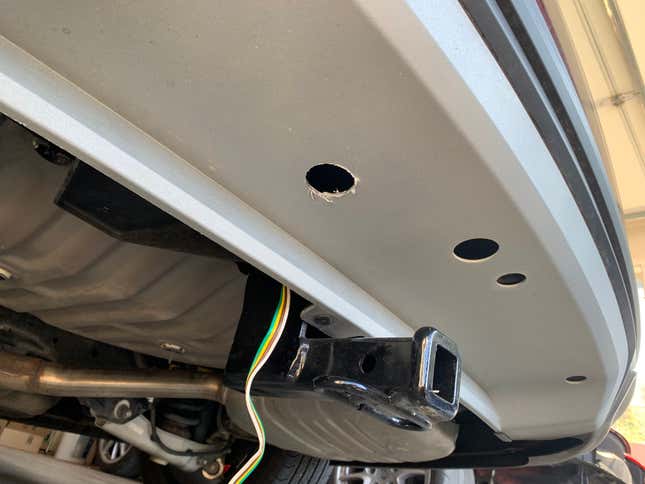
I picked a spot in the bumper I could easily reach, and on the side of the hitch where our trailer’s harness exited the frame for simplicity sake. Then I let my magic Bosch drill bit eat. I was at a funny angle, and the fresh bit was sharp and ready to mar the plastic. It’s not my best work, and I’m not particularly proud of it, but it’s completely hidden in the finished product, so I’ll try not to let it bother me for the rest of my life.
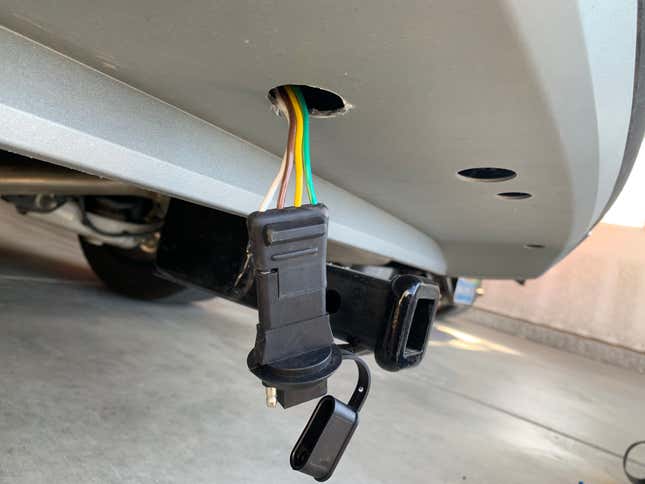
After cutting the Buick-supplied zip tie, I fished the harness up through the bumper, across the inside of the bumper cavity, and out through the freshly-drilled 1-1/4" hole. The adapter plugged in easily with a dab of contact grease for good measure. So far so good!
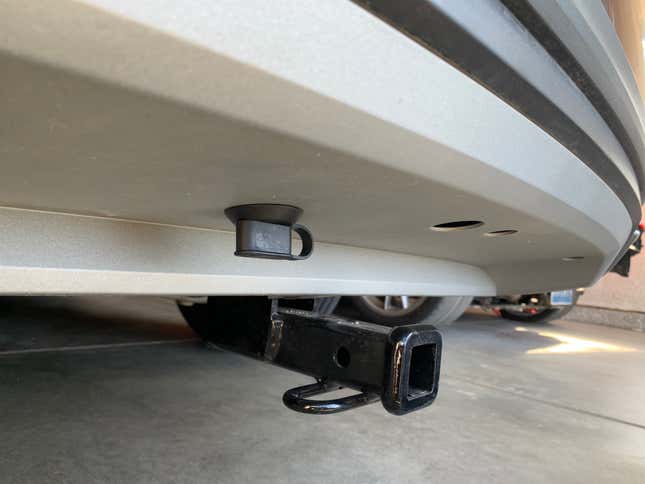
The finished result looks like the $600 I spent probably should have in the first place. Hell, if the Buick dealer didn’t want to drill into our bumper, they could have used the existing correctly-sized hole already in the bumper (visible above) for the factory puddle light (which is partially blocked by the hitch anyway, below).
I’ve never been quite so satisfied with a project before. The simple and easy ones are always the best, because you can finish them up quickly, they don’t require much swearing or looking around for a 10mm, and the after is always so much better than the before.
Feels good, man.