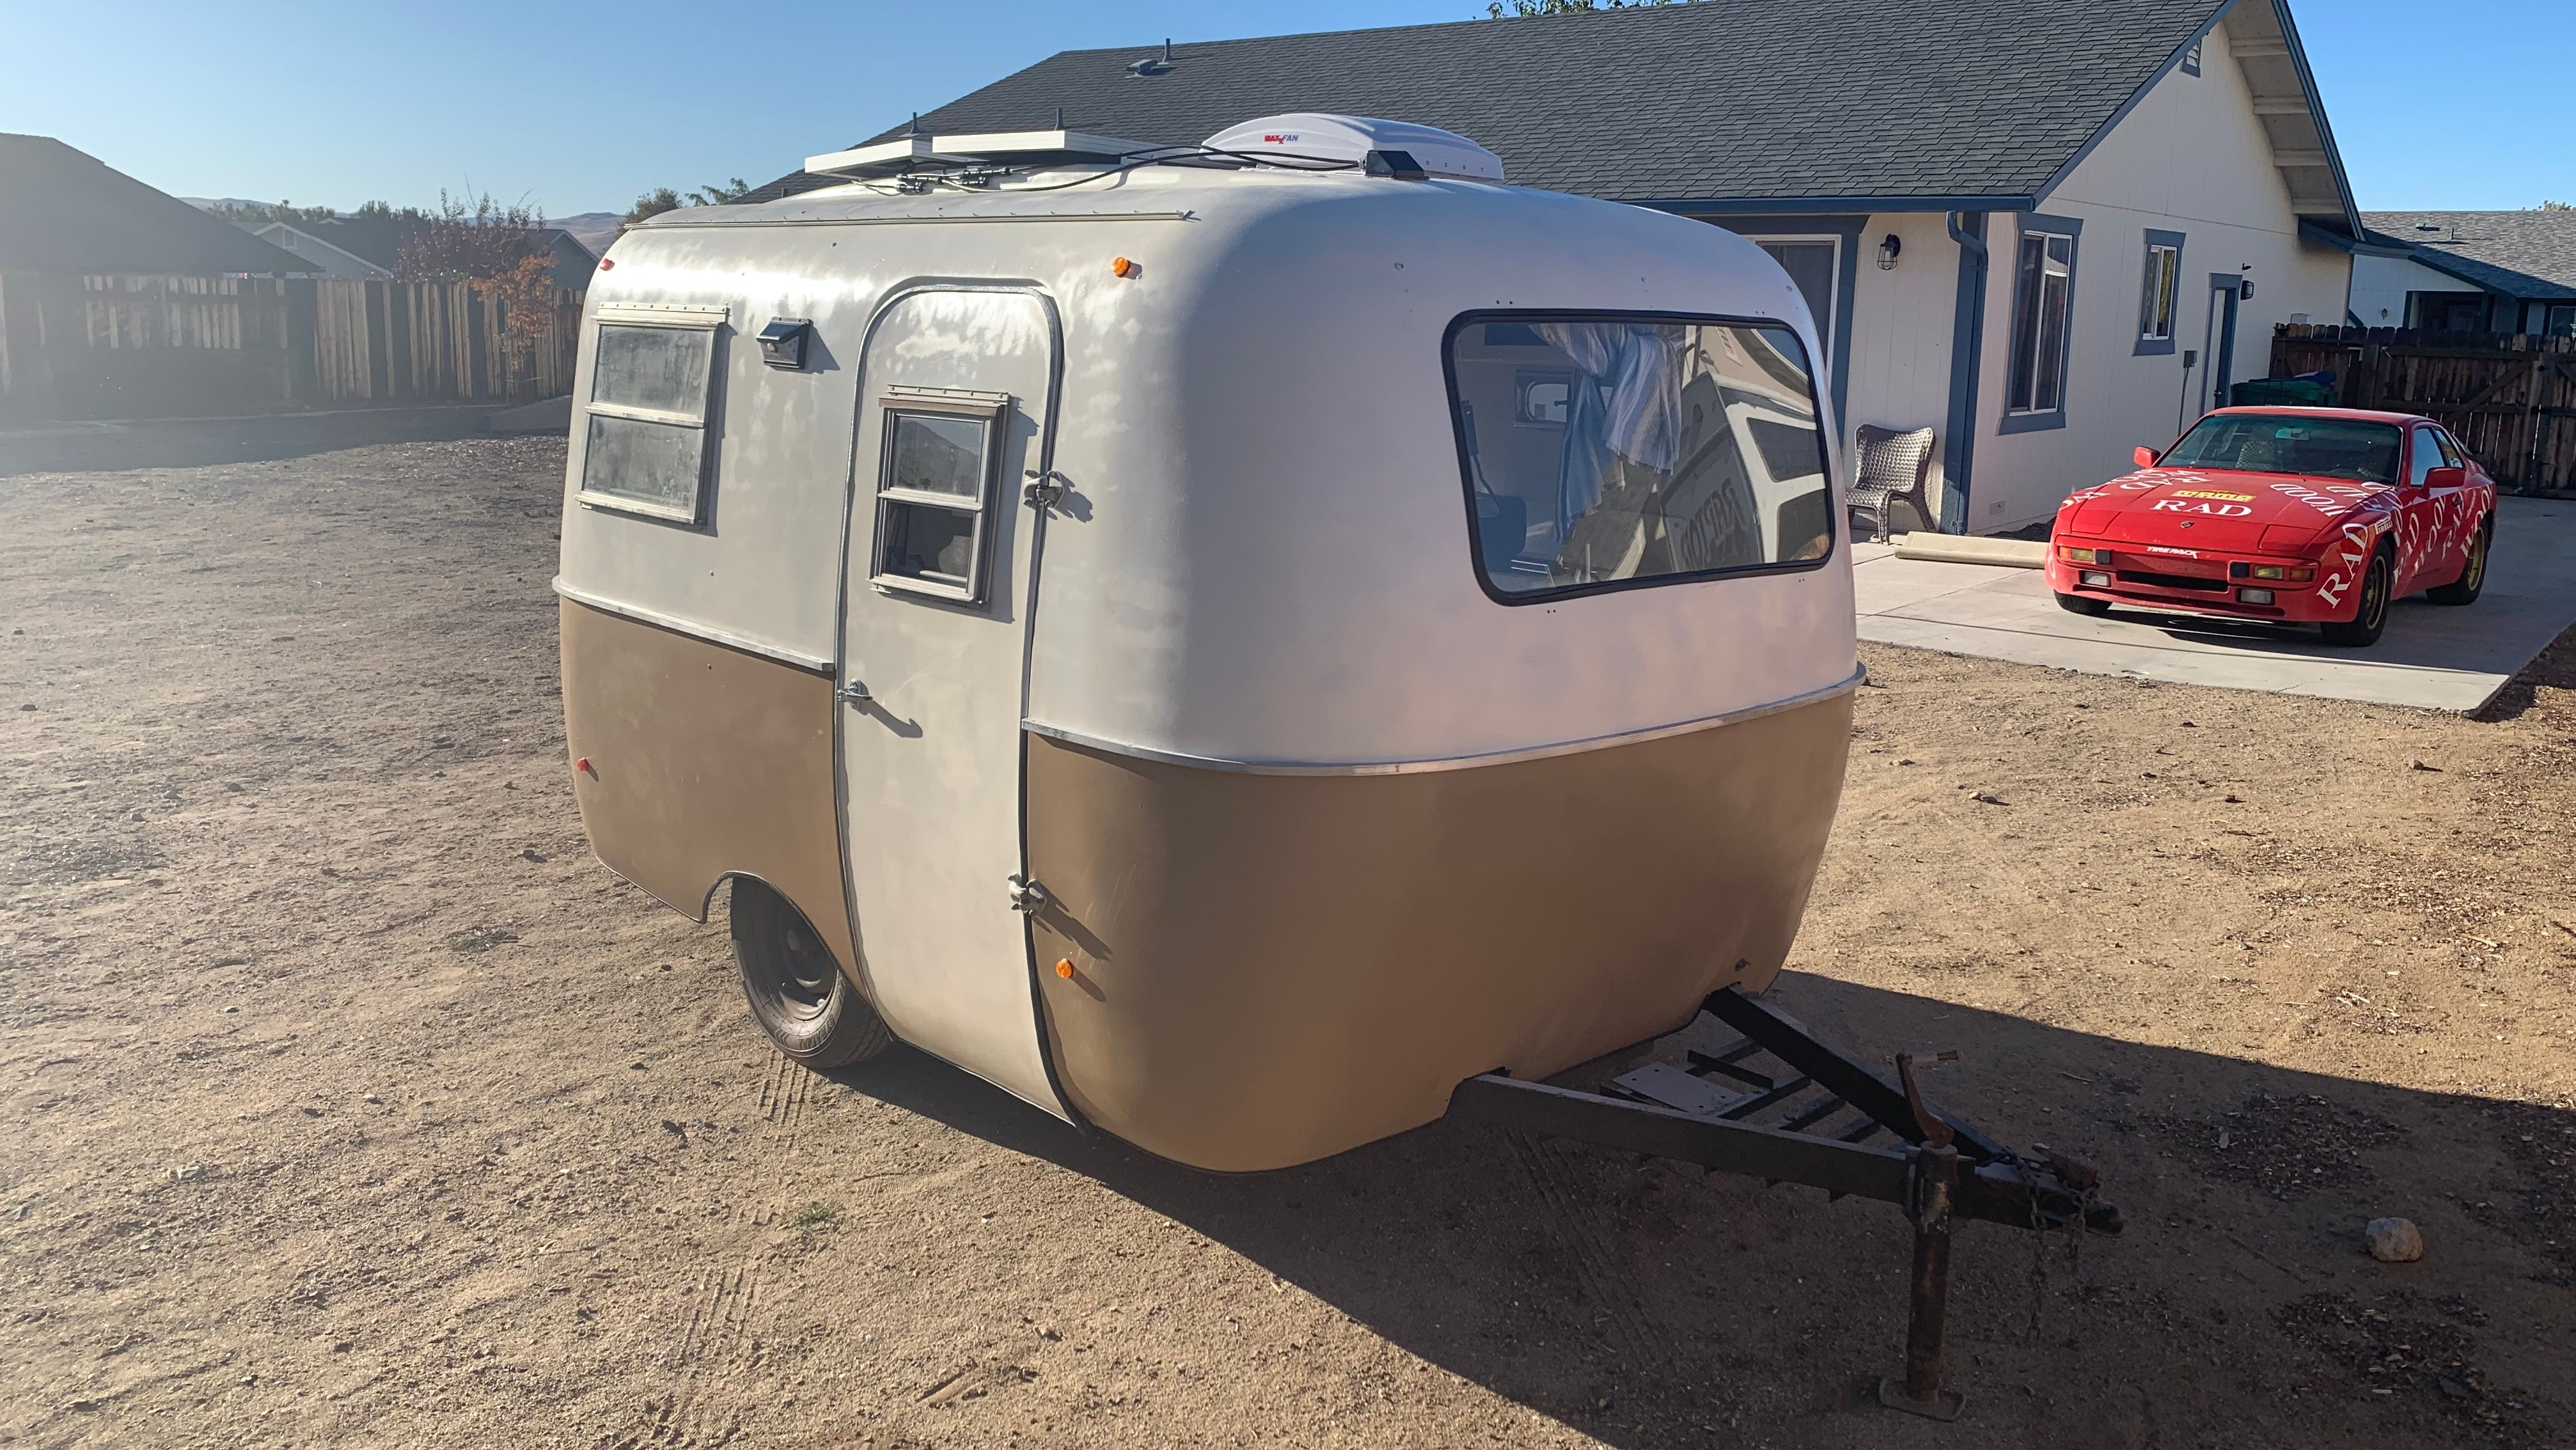
My 40-Year-Old Travel Trailer Needed More Work Than I Thought To Look Good Again
A couple of months ago, I purchased this late-1970s Scamp 13' trailer to use as a tow-behind home for a year of travel. I'm sick of the boring shit I put up with in every day life, and this little escape pod is going to allow me to ditch the hamster wheel of the workaday to explore parts of the country I've never seen before. But first, I have to whip it into shape.
When it came to me, it was a little worse for wear, but I didn't really know how much work it would be until I dove in.
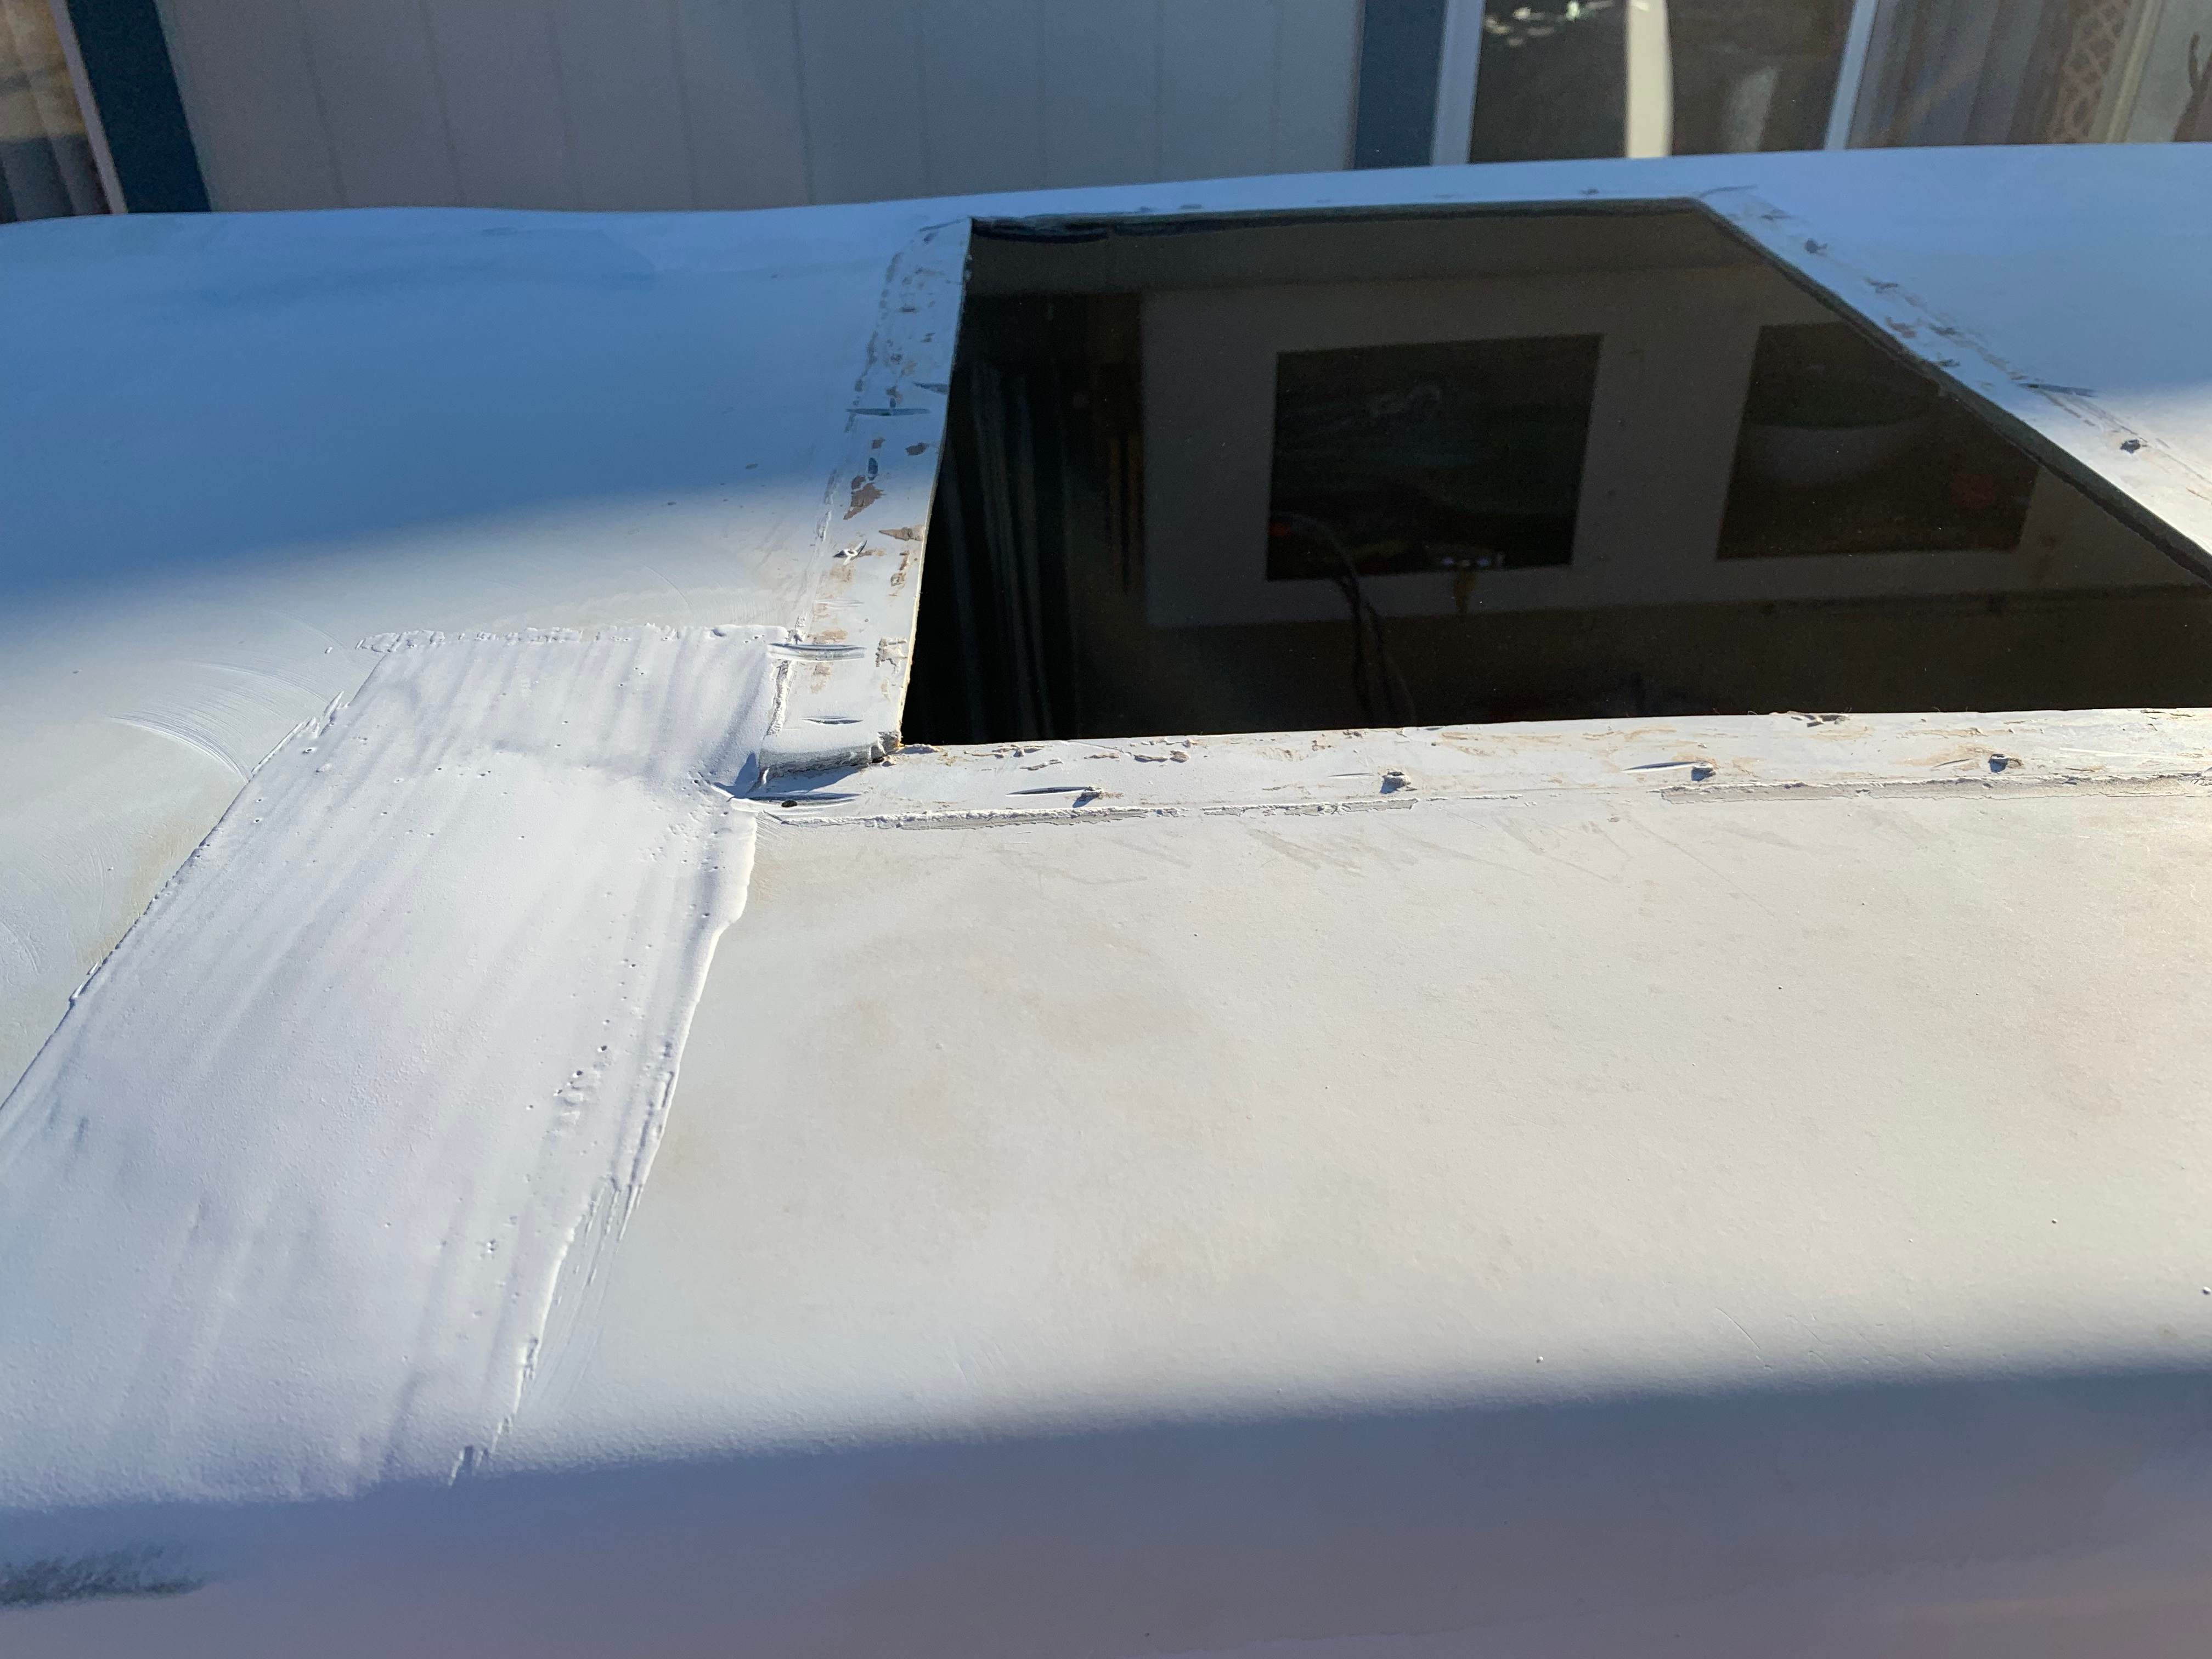
I knew that the worst of the trailer's woes involved the skylight. At some point in this Scamp's life it had received some impact damage to the roof. A lot of the rivets holding the skylight to the roof had been broken or pulled free, and all four corners of the skylight opening had cracked. Some previous owner had done some half-assed repairs. Nothing like trial by fire.
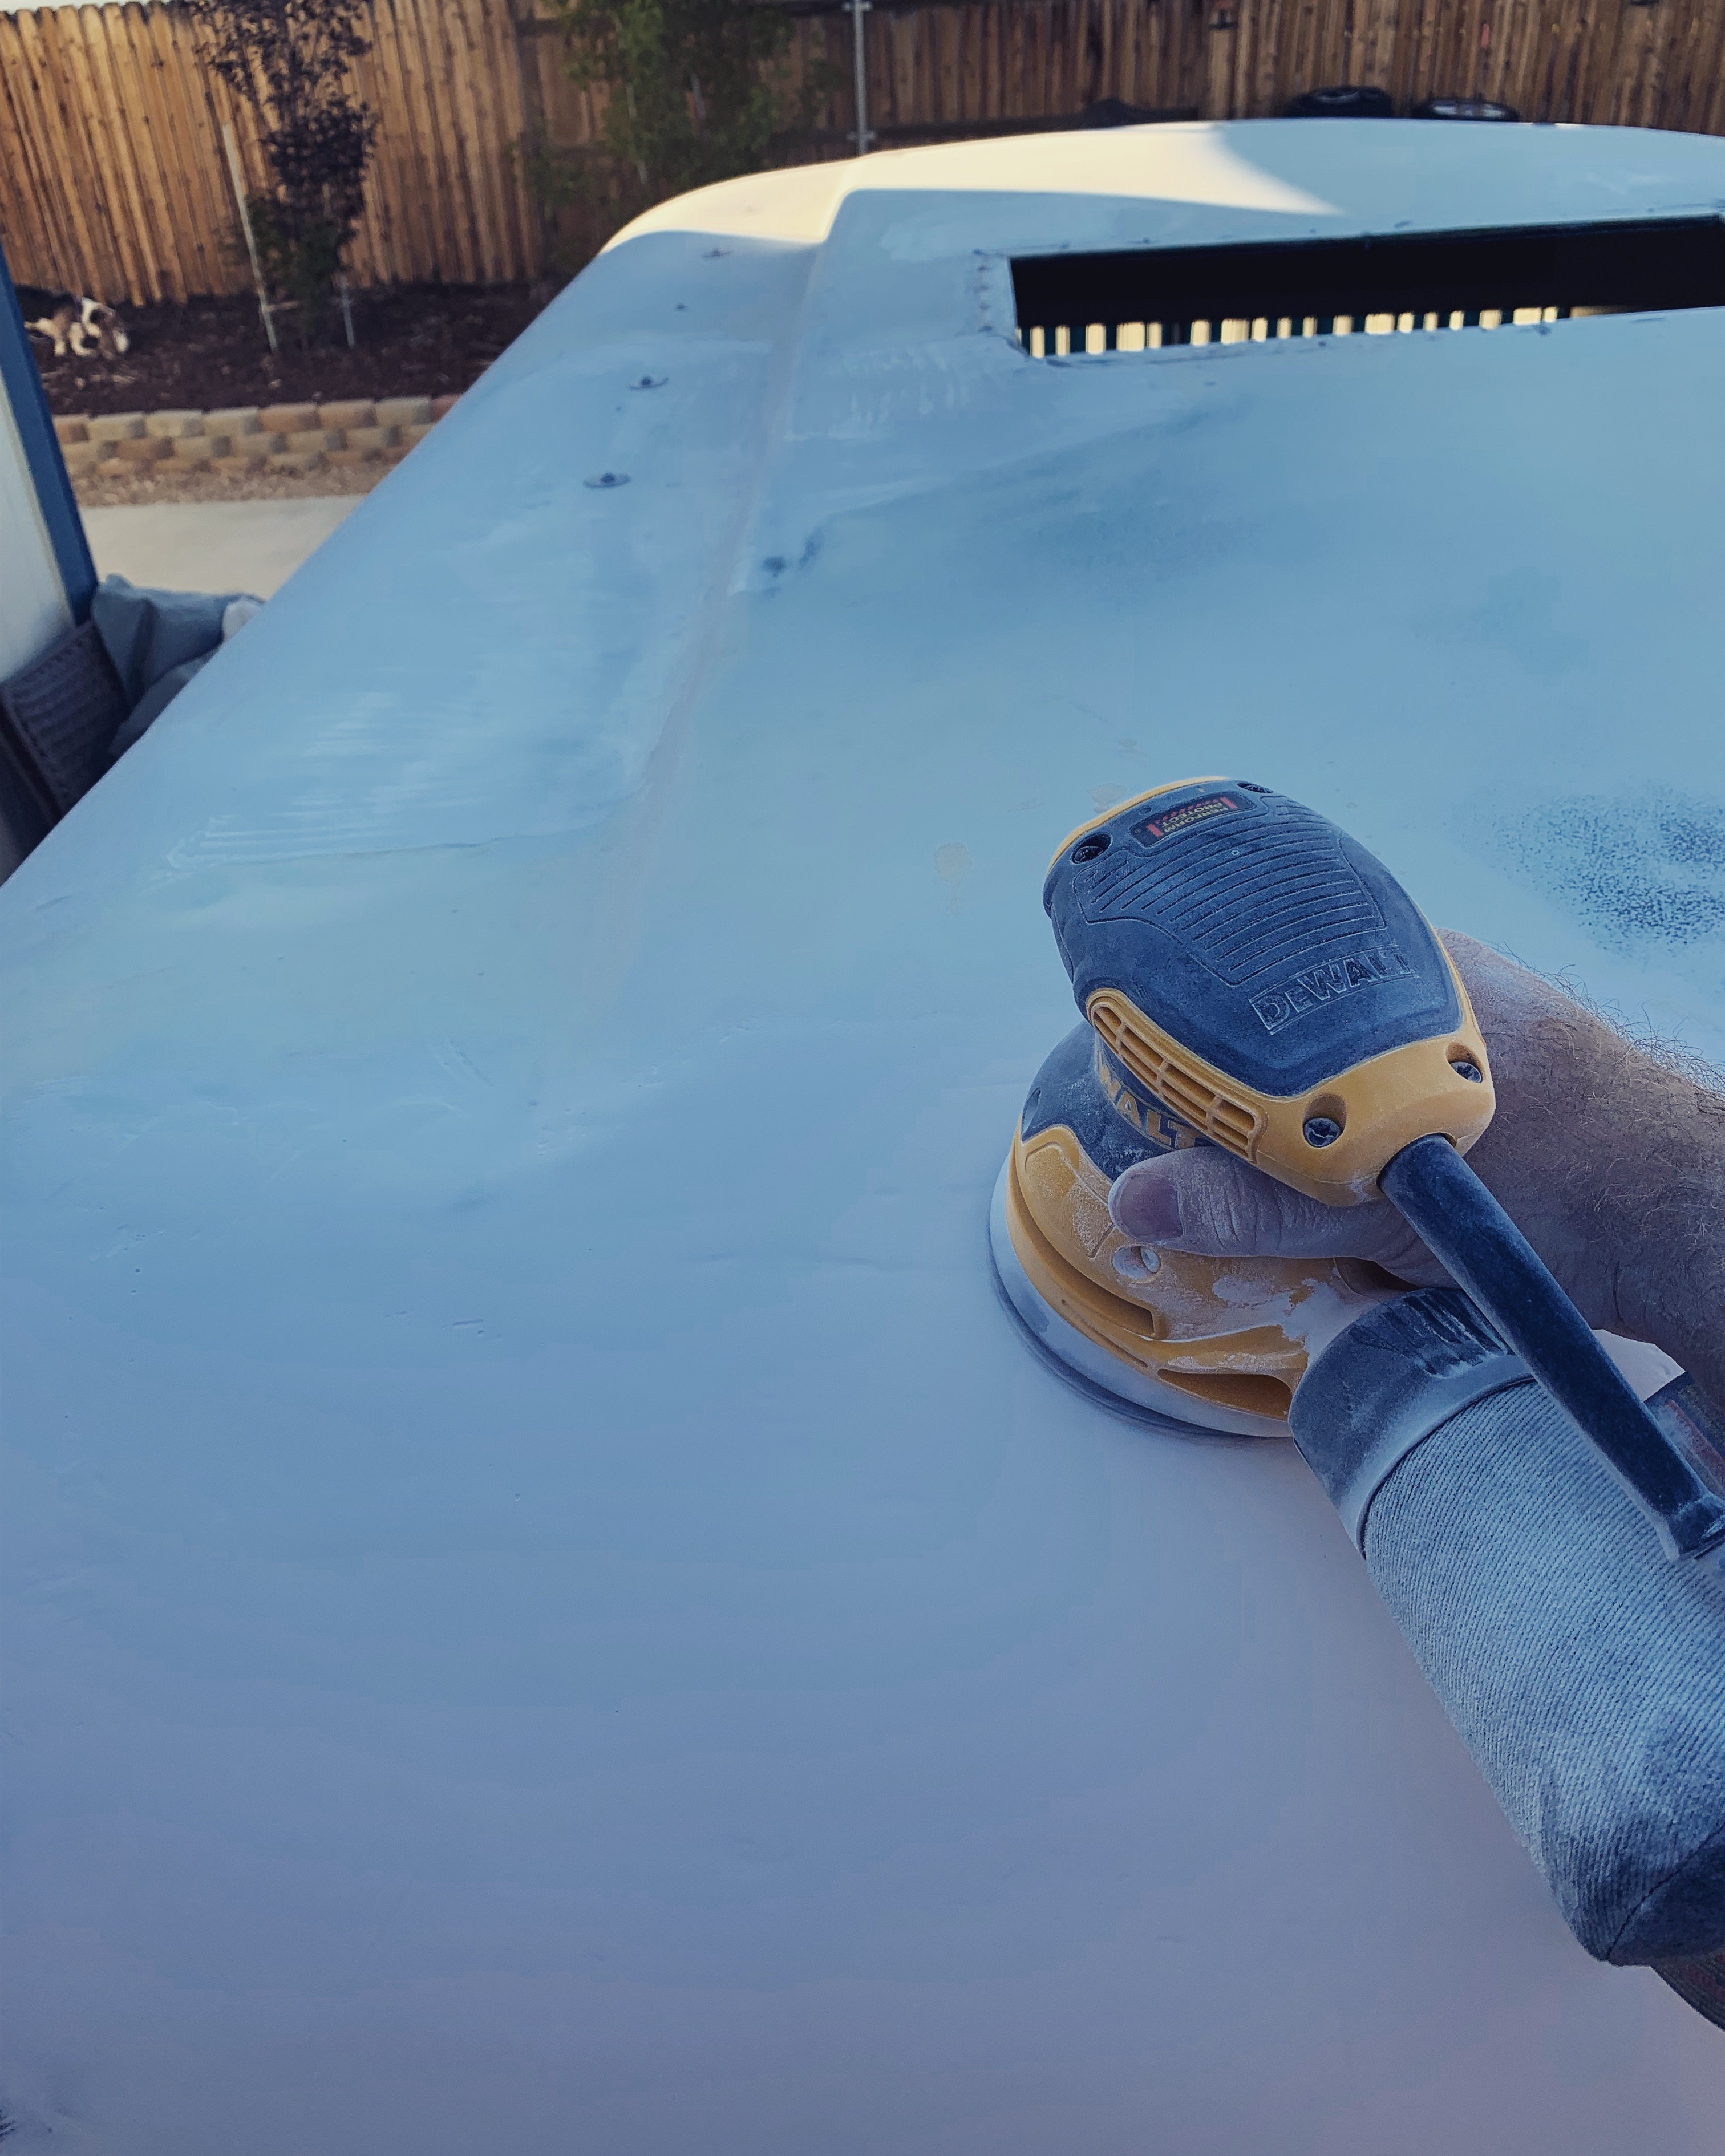
After some cutting, drilling rivets out, and lots of sanding, I was able to get everything into shape again. Once all of the corner cracks were repaired and re-sanded flat, it looked okay. I decided I wanted to change the position and size of the vent hole, so I closed off this big hole with some sheet aluminum and several bolts around the perimeter to regain some of the fiberglass shell's lost structure.
In doing some research on fiberglass repair, I found this system from a company called MAS which sells epoxy and hardener with a handy portioning pump for each jug. You need a certain ratio for the epoxy to harden right, and rather than measuring you just put one pump of epoxy for every pump of hardener. It worked pretty well.
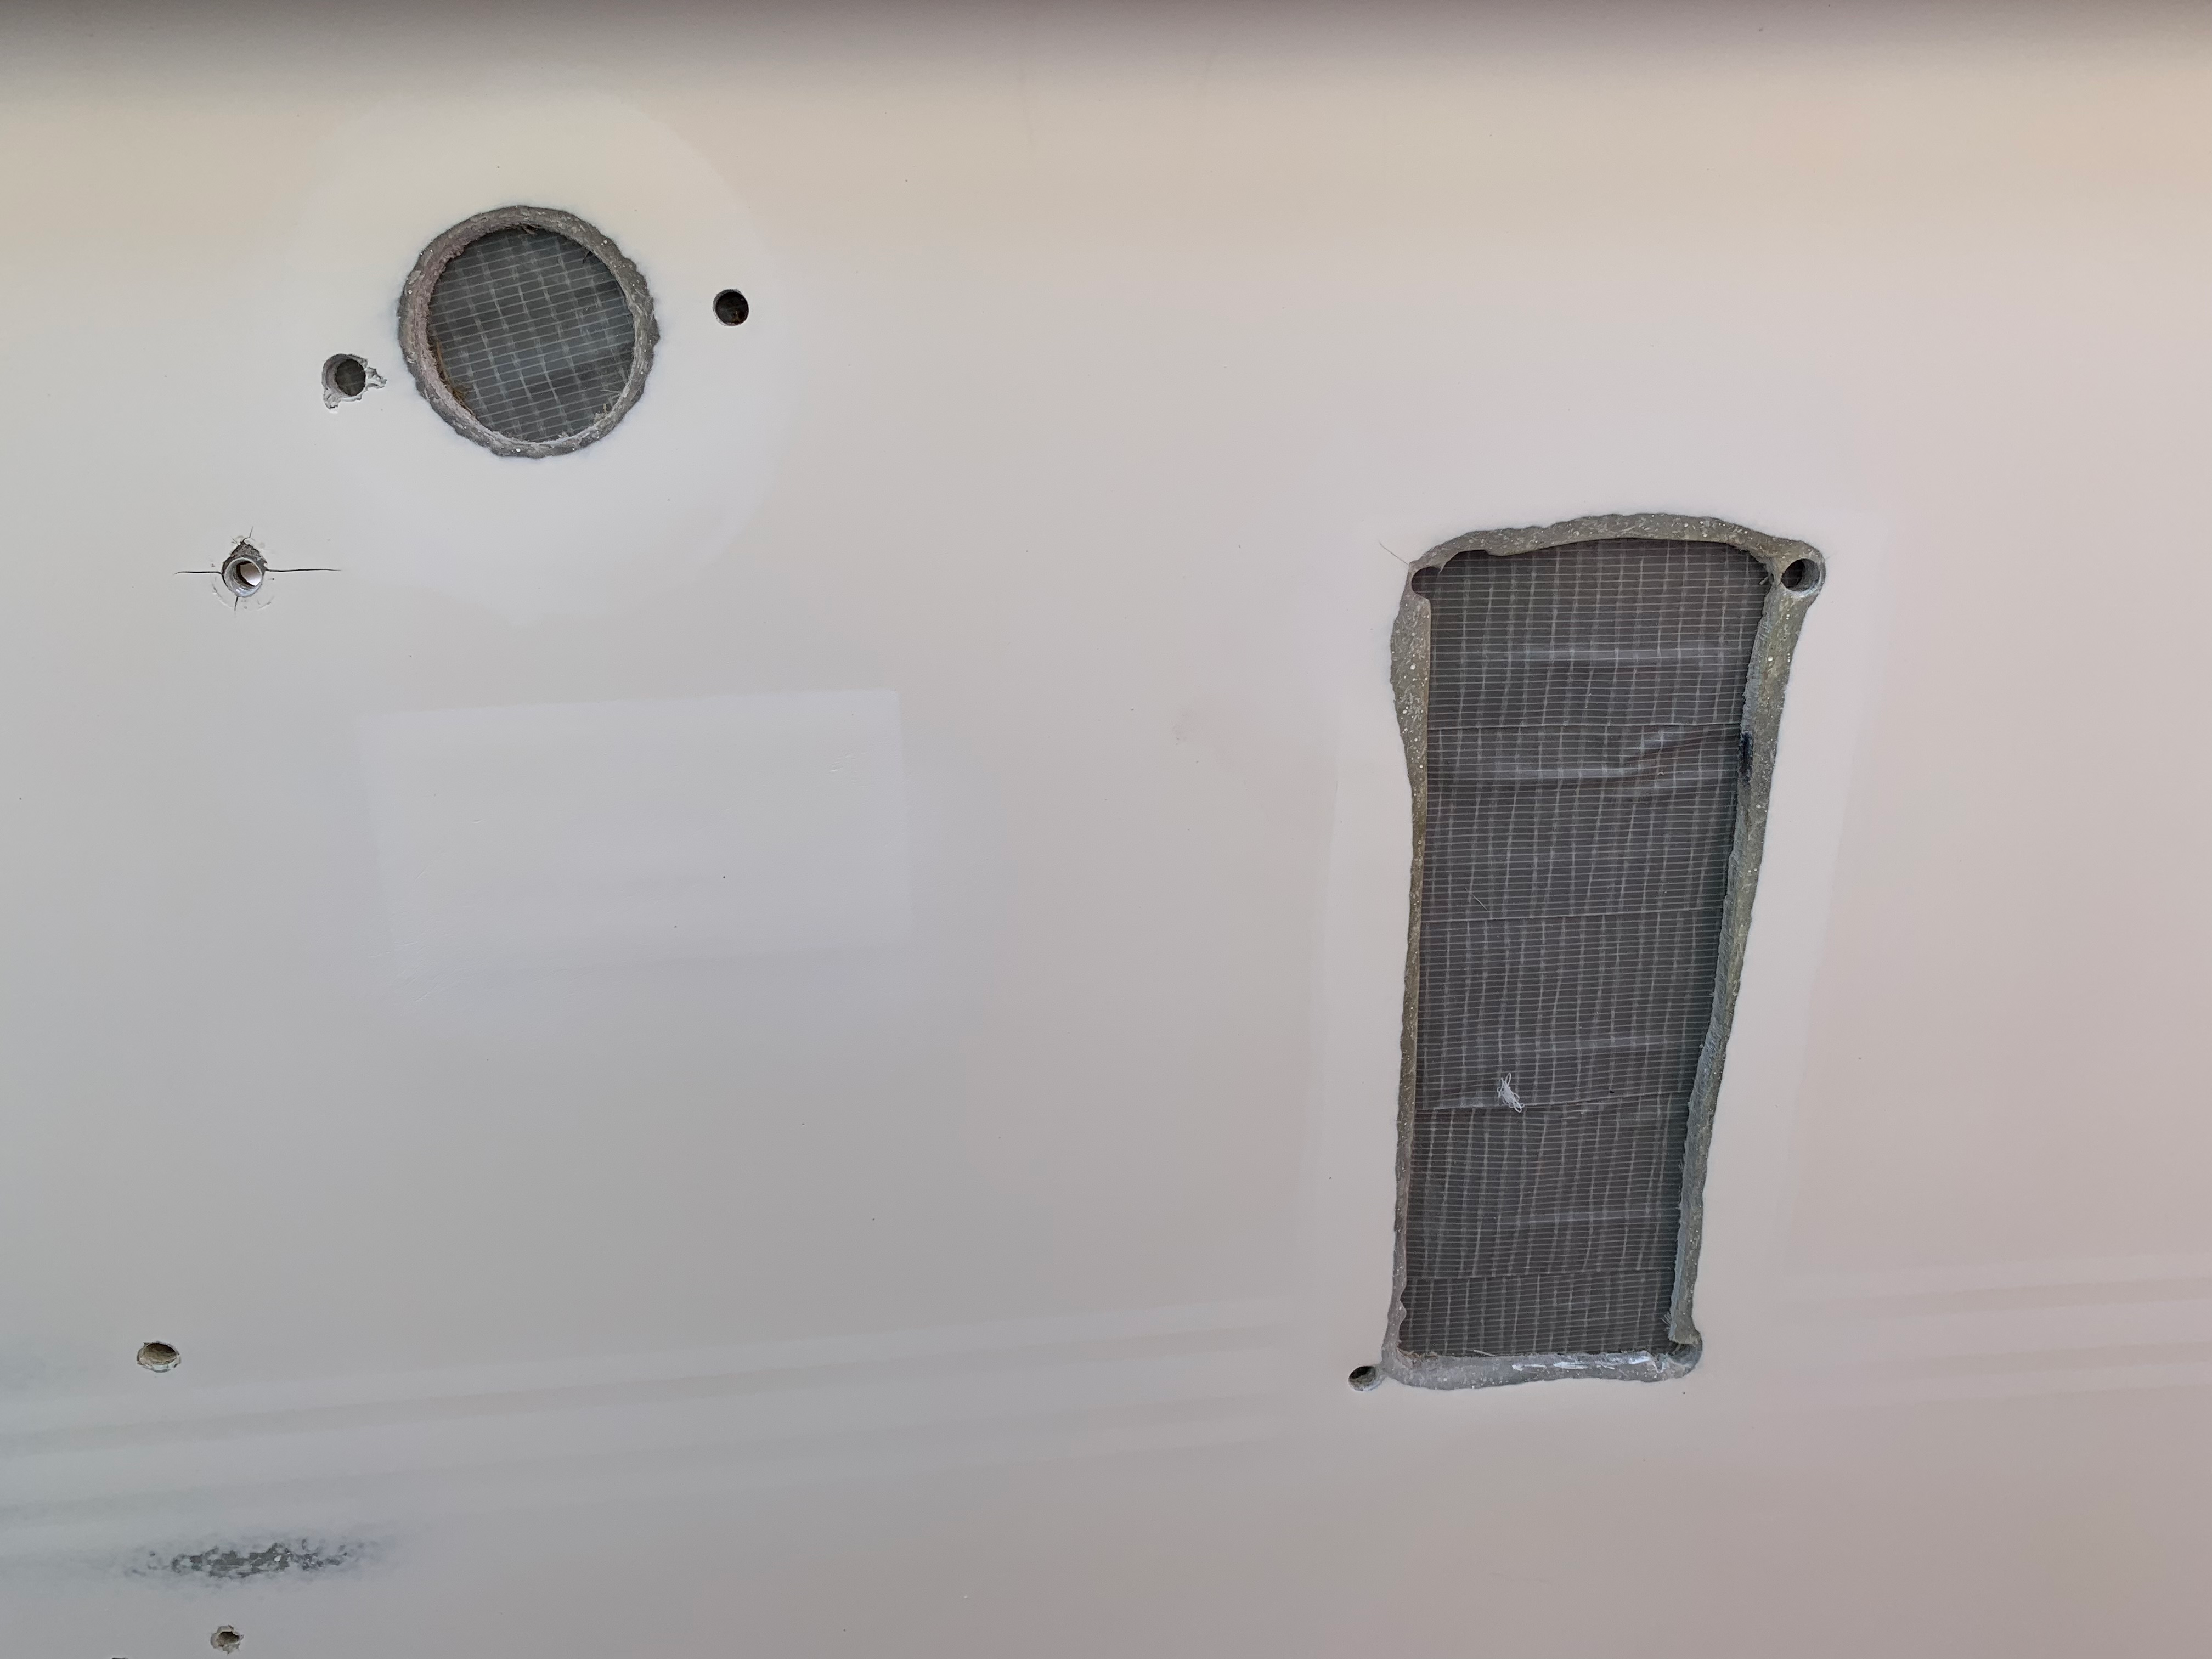
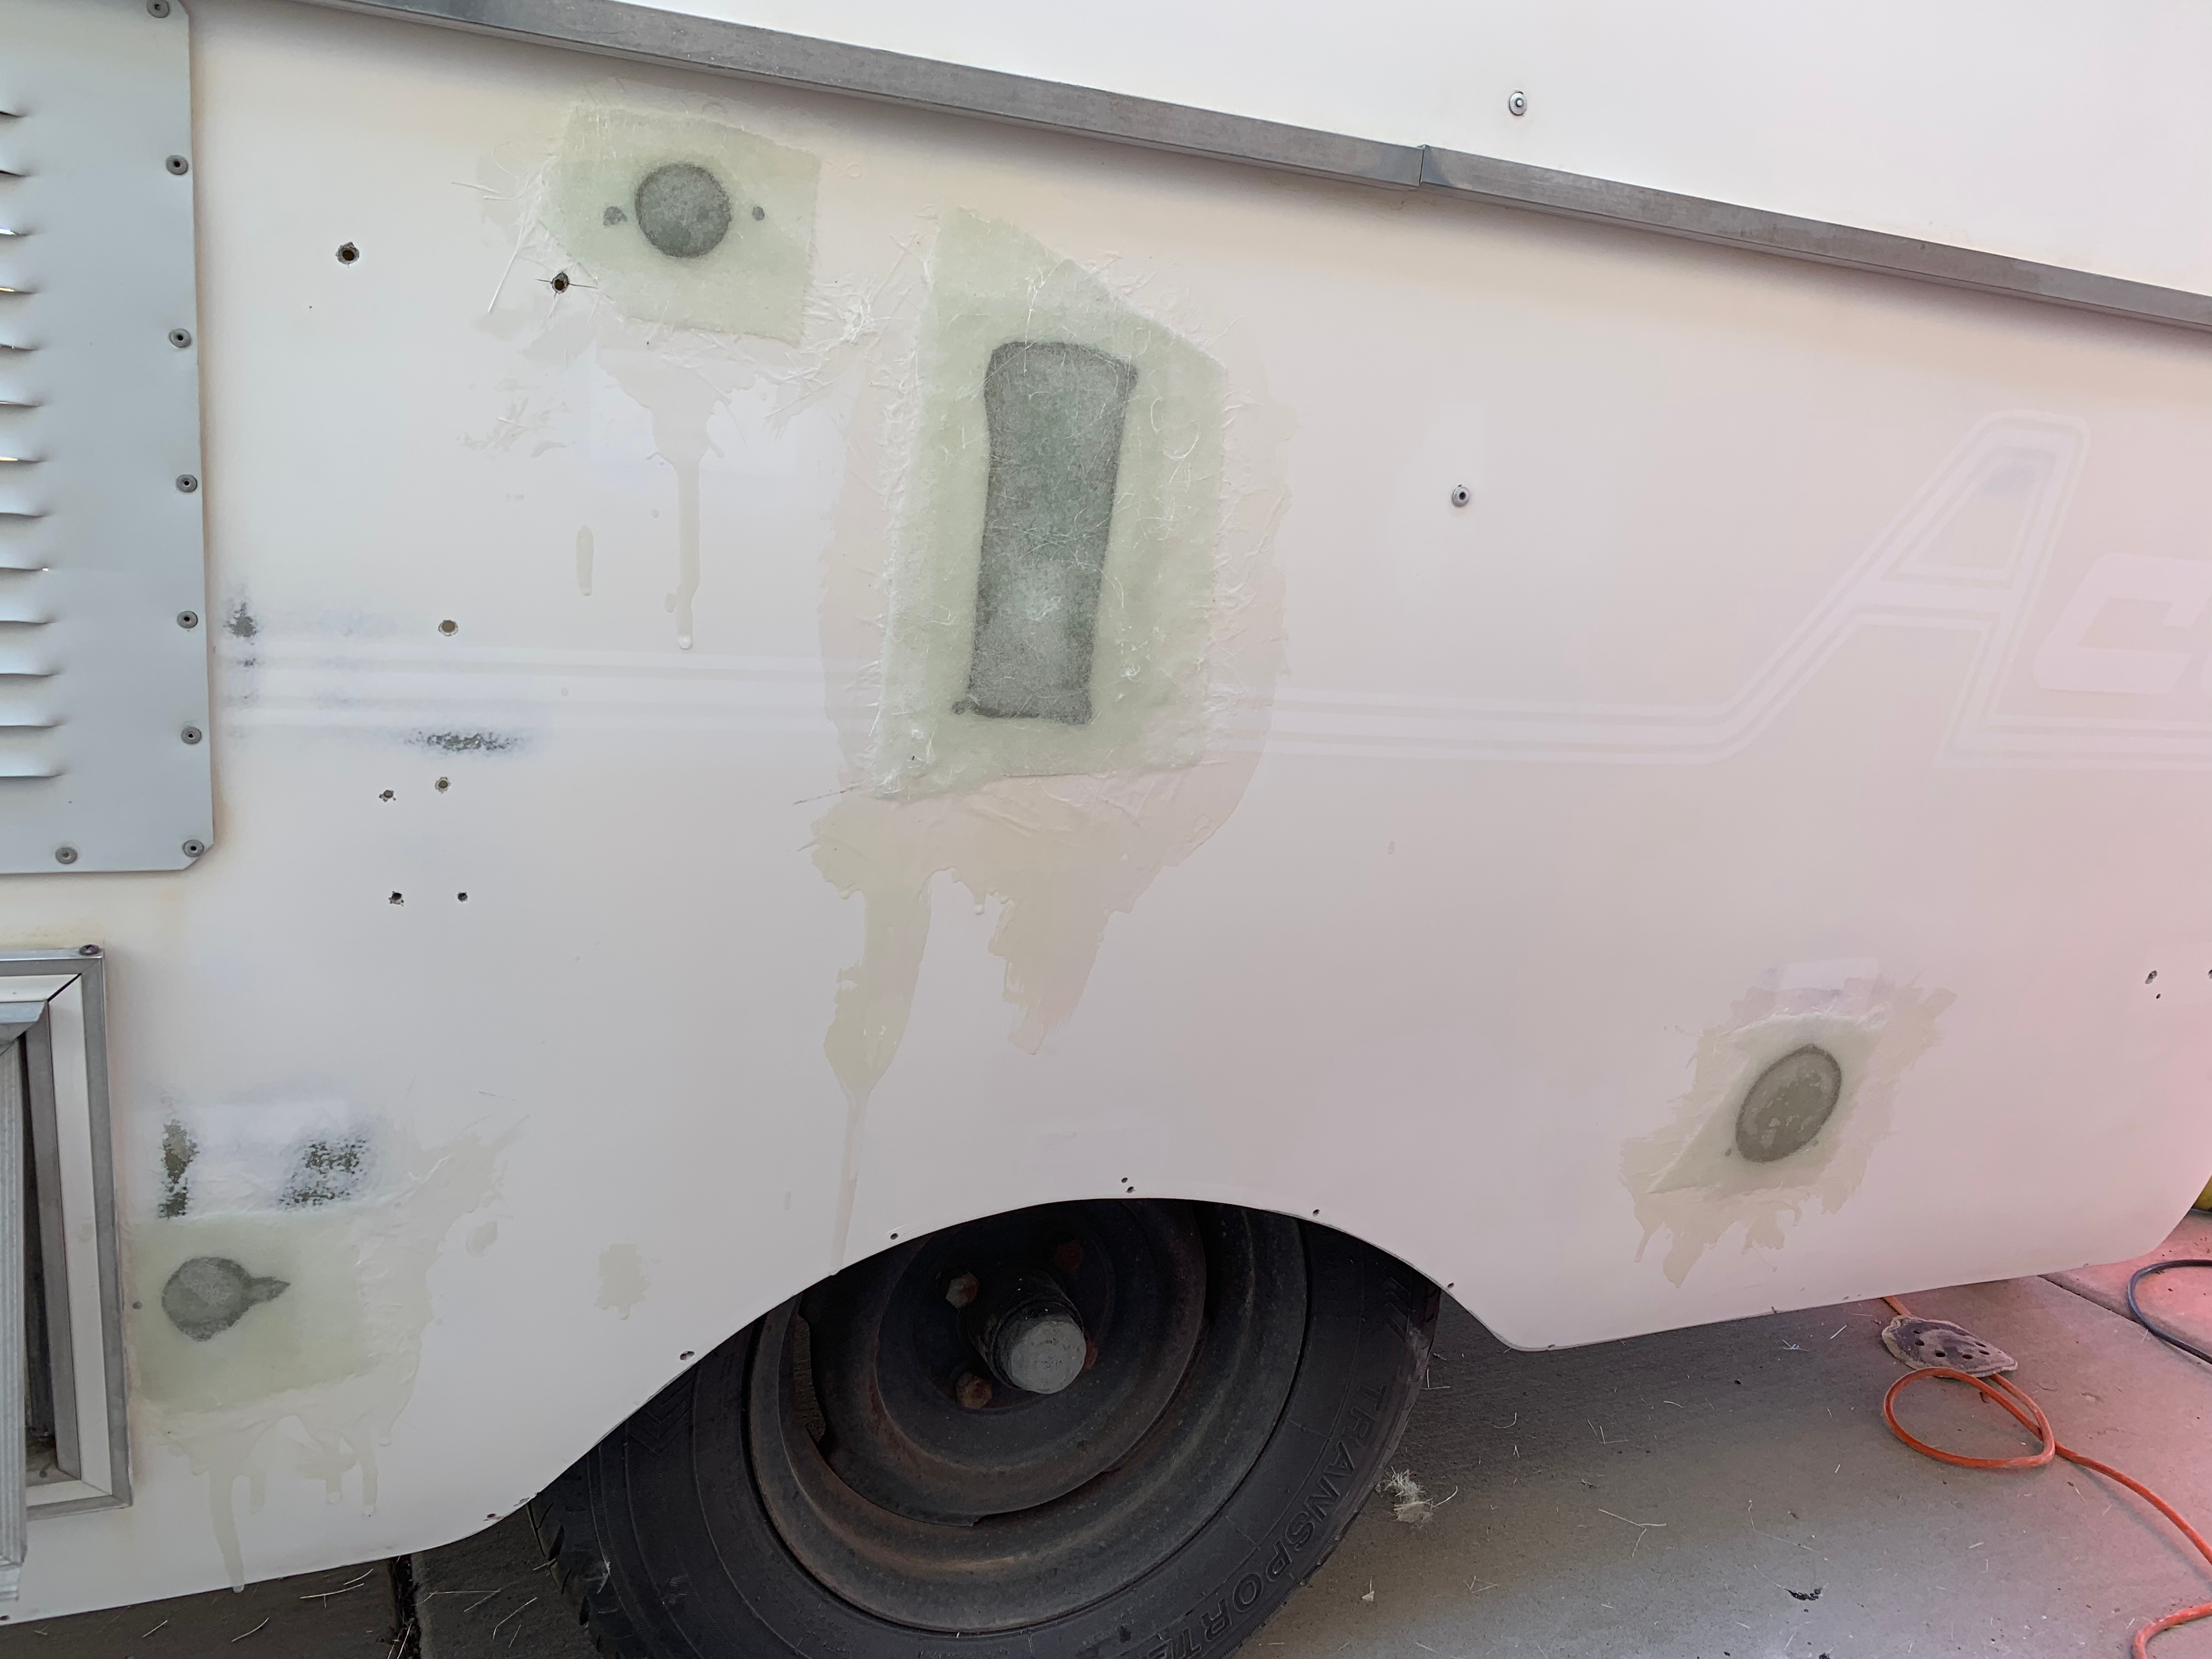
The left side of the trailer had all of the venting and drain holes cut into it from the factory. Rather than draining the trailer's sink straight onto the ground, I decided I'd be using a grey water tank to keep our campsite more natural. Similarly, we ditched the trailer's gas stove, and no longer needed the natural gas inlet or stove vent. And finally, because we're going full solar-powered with 12-volt utilities, I didn't want to keep the shore power plug, either. By taping off the back of the holes with strong duct tape, I had a solid surface to mold the new fiberglass.
It's not the cleanest job in the world, but for my first time working with FRP, I'm happy with the waterproof results. Several hours of sanding later, and it was ready for paint.
In the process of preparing the trailer for paint, I removed the spare tire—that had probably been en situ since the late 1970s—and found this DOT marking from the tire etched into the fiberglass. Every good travel trailer has a name, and that's how this one came to be called Dot.

I removed the door from its hinges.
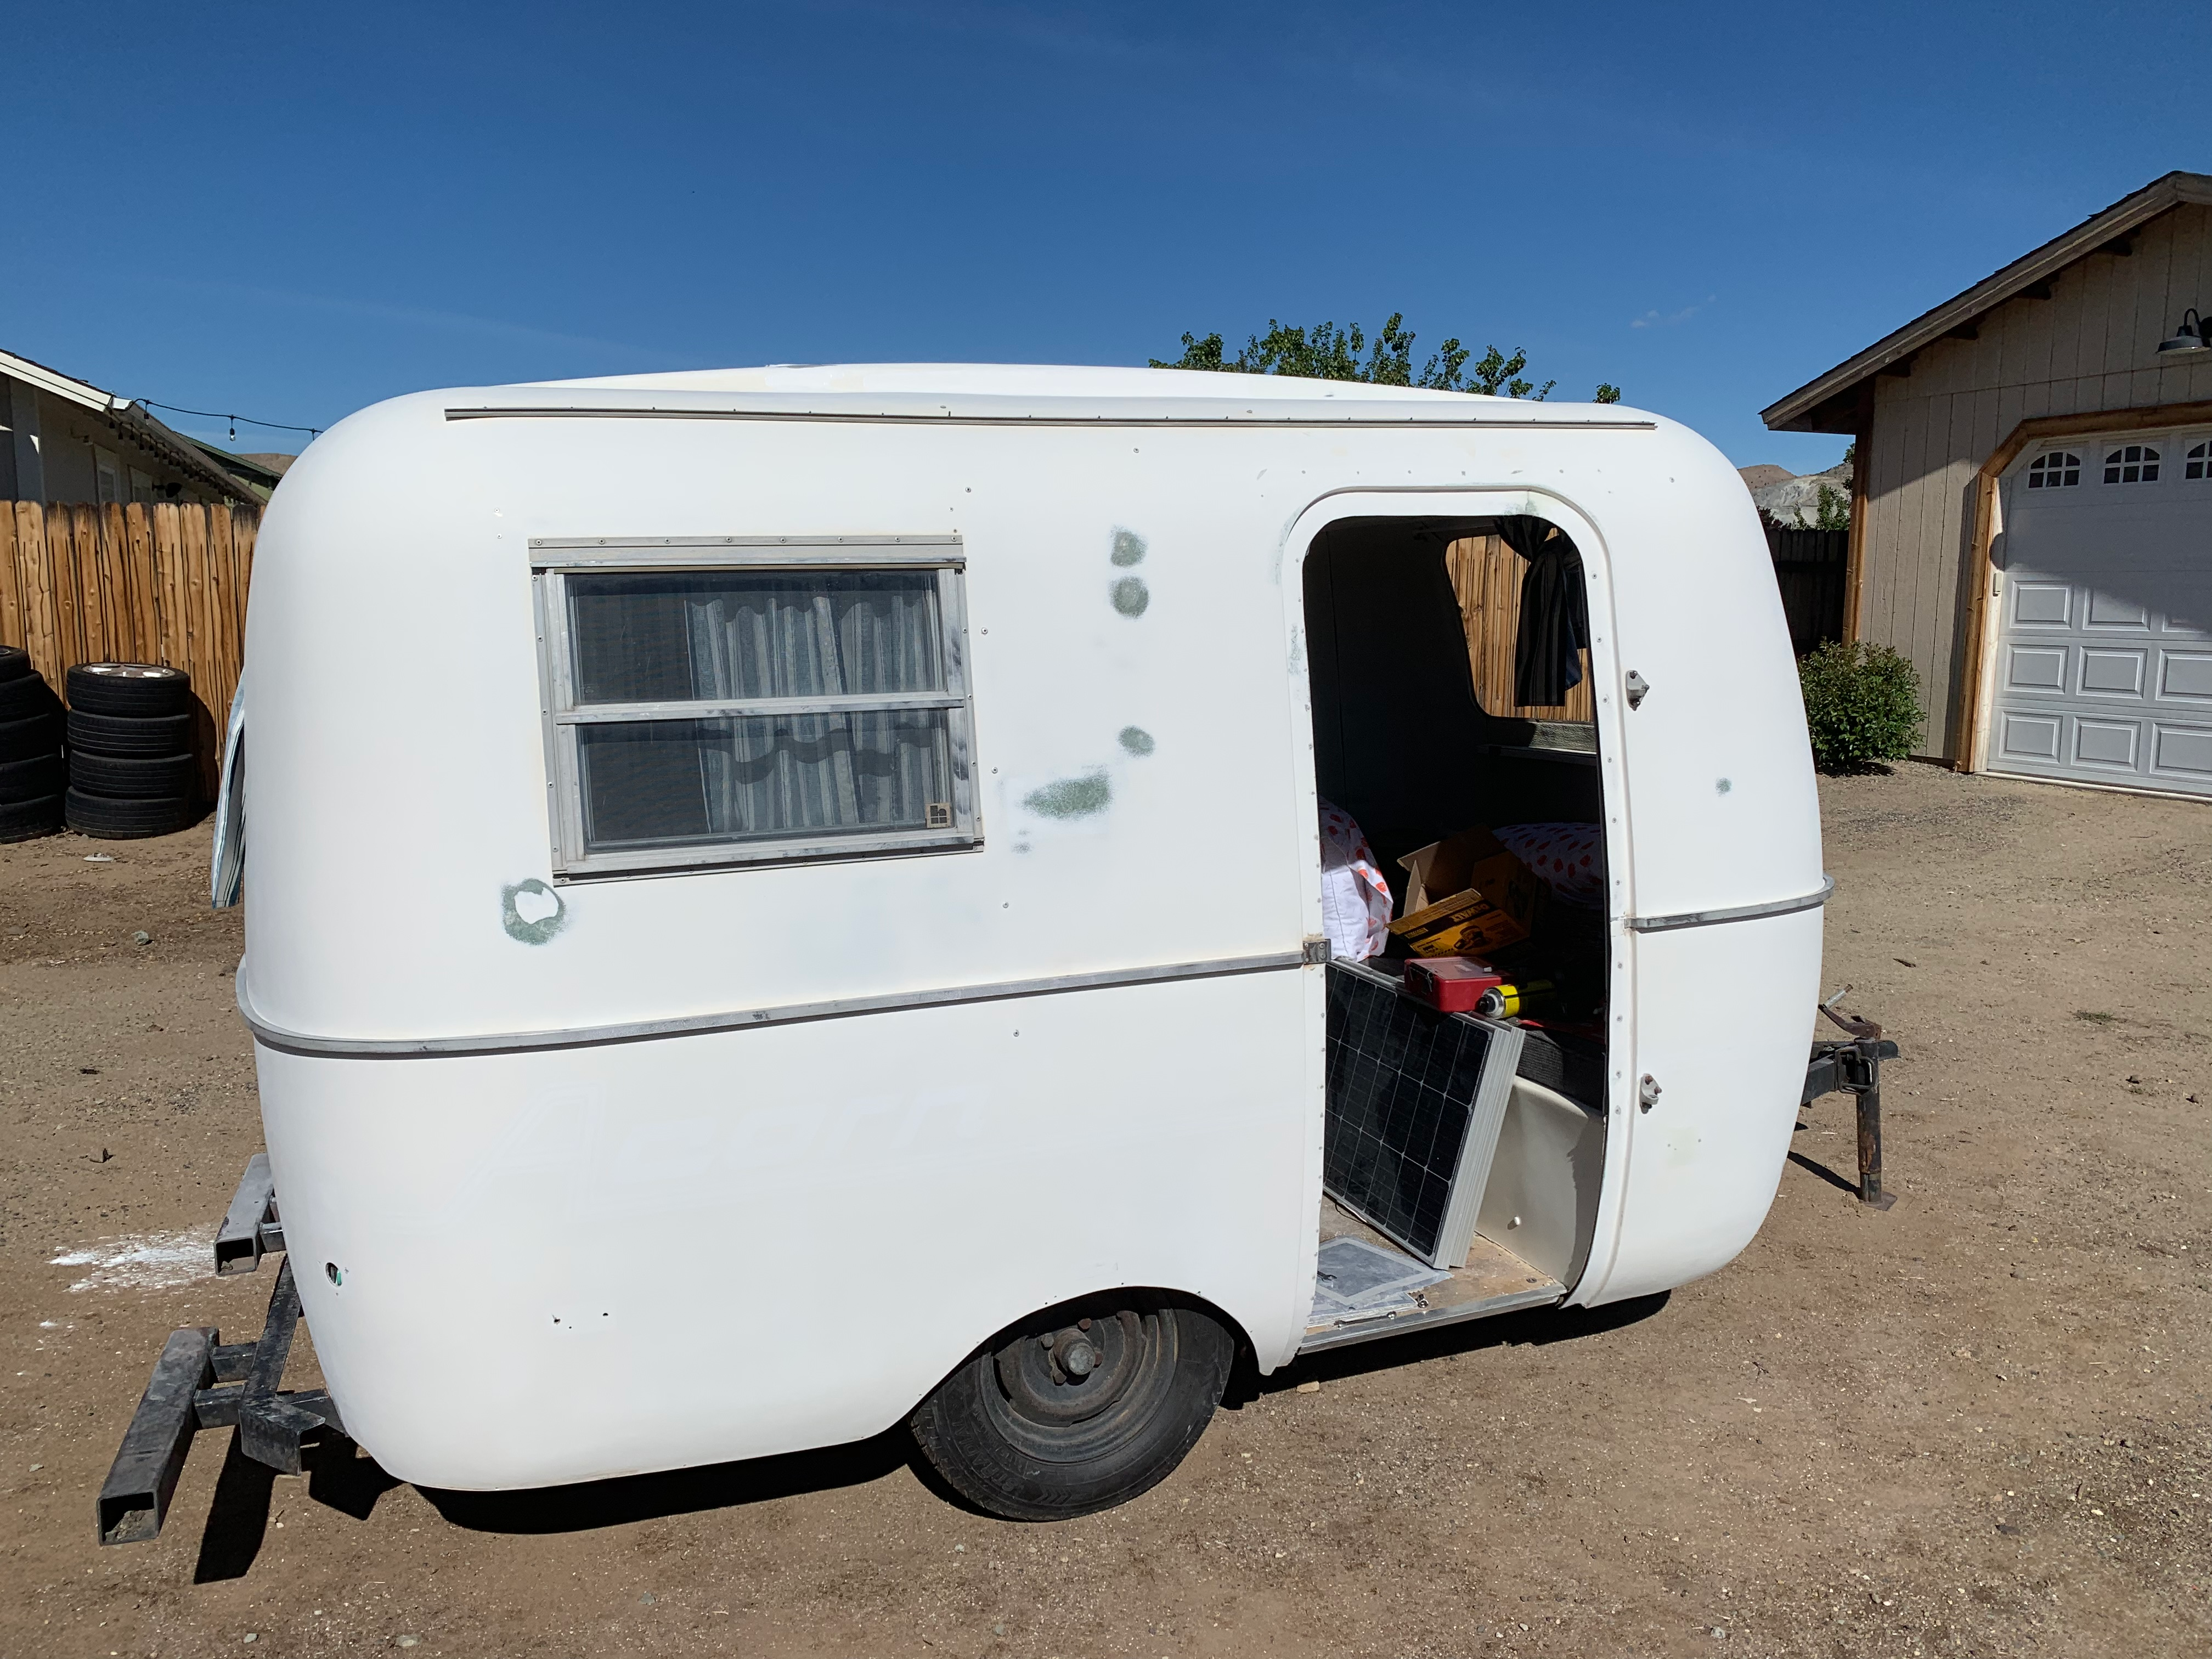
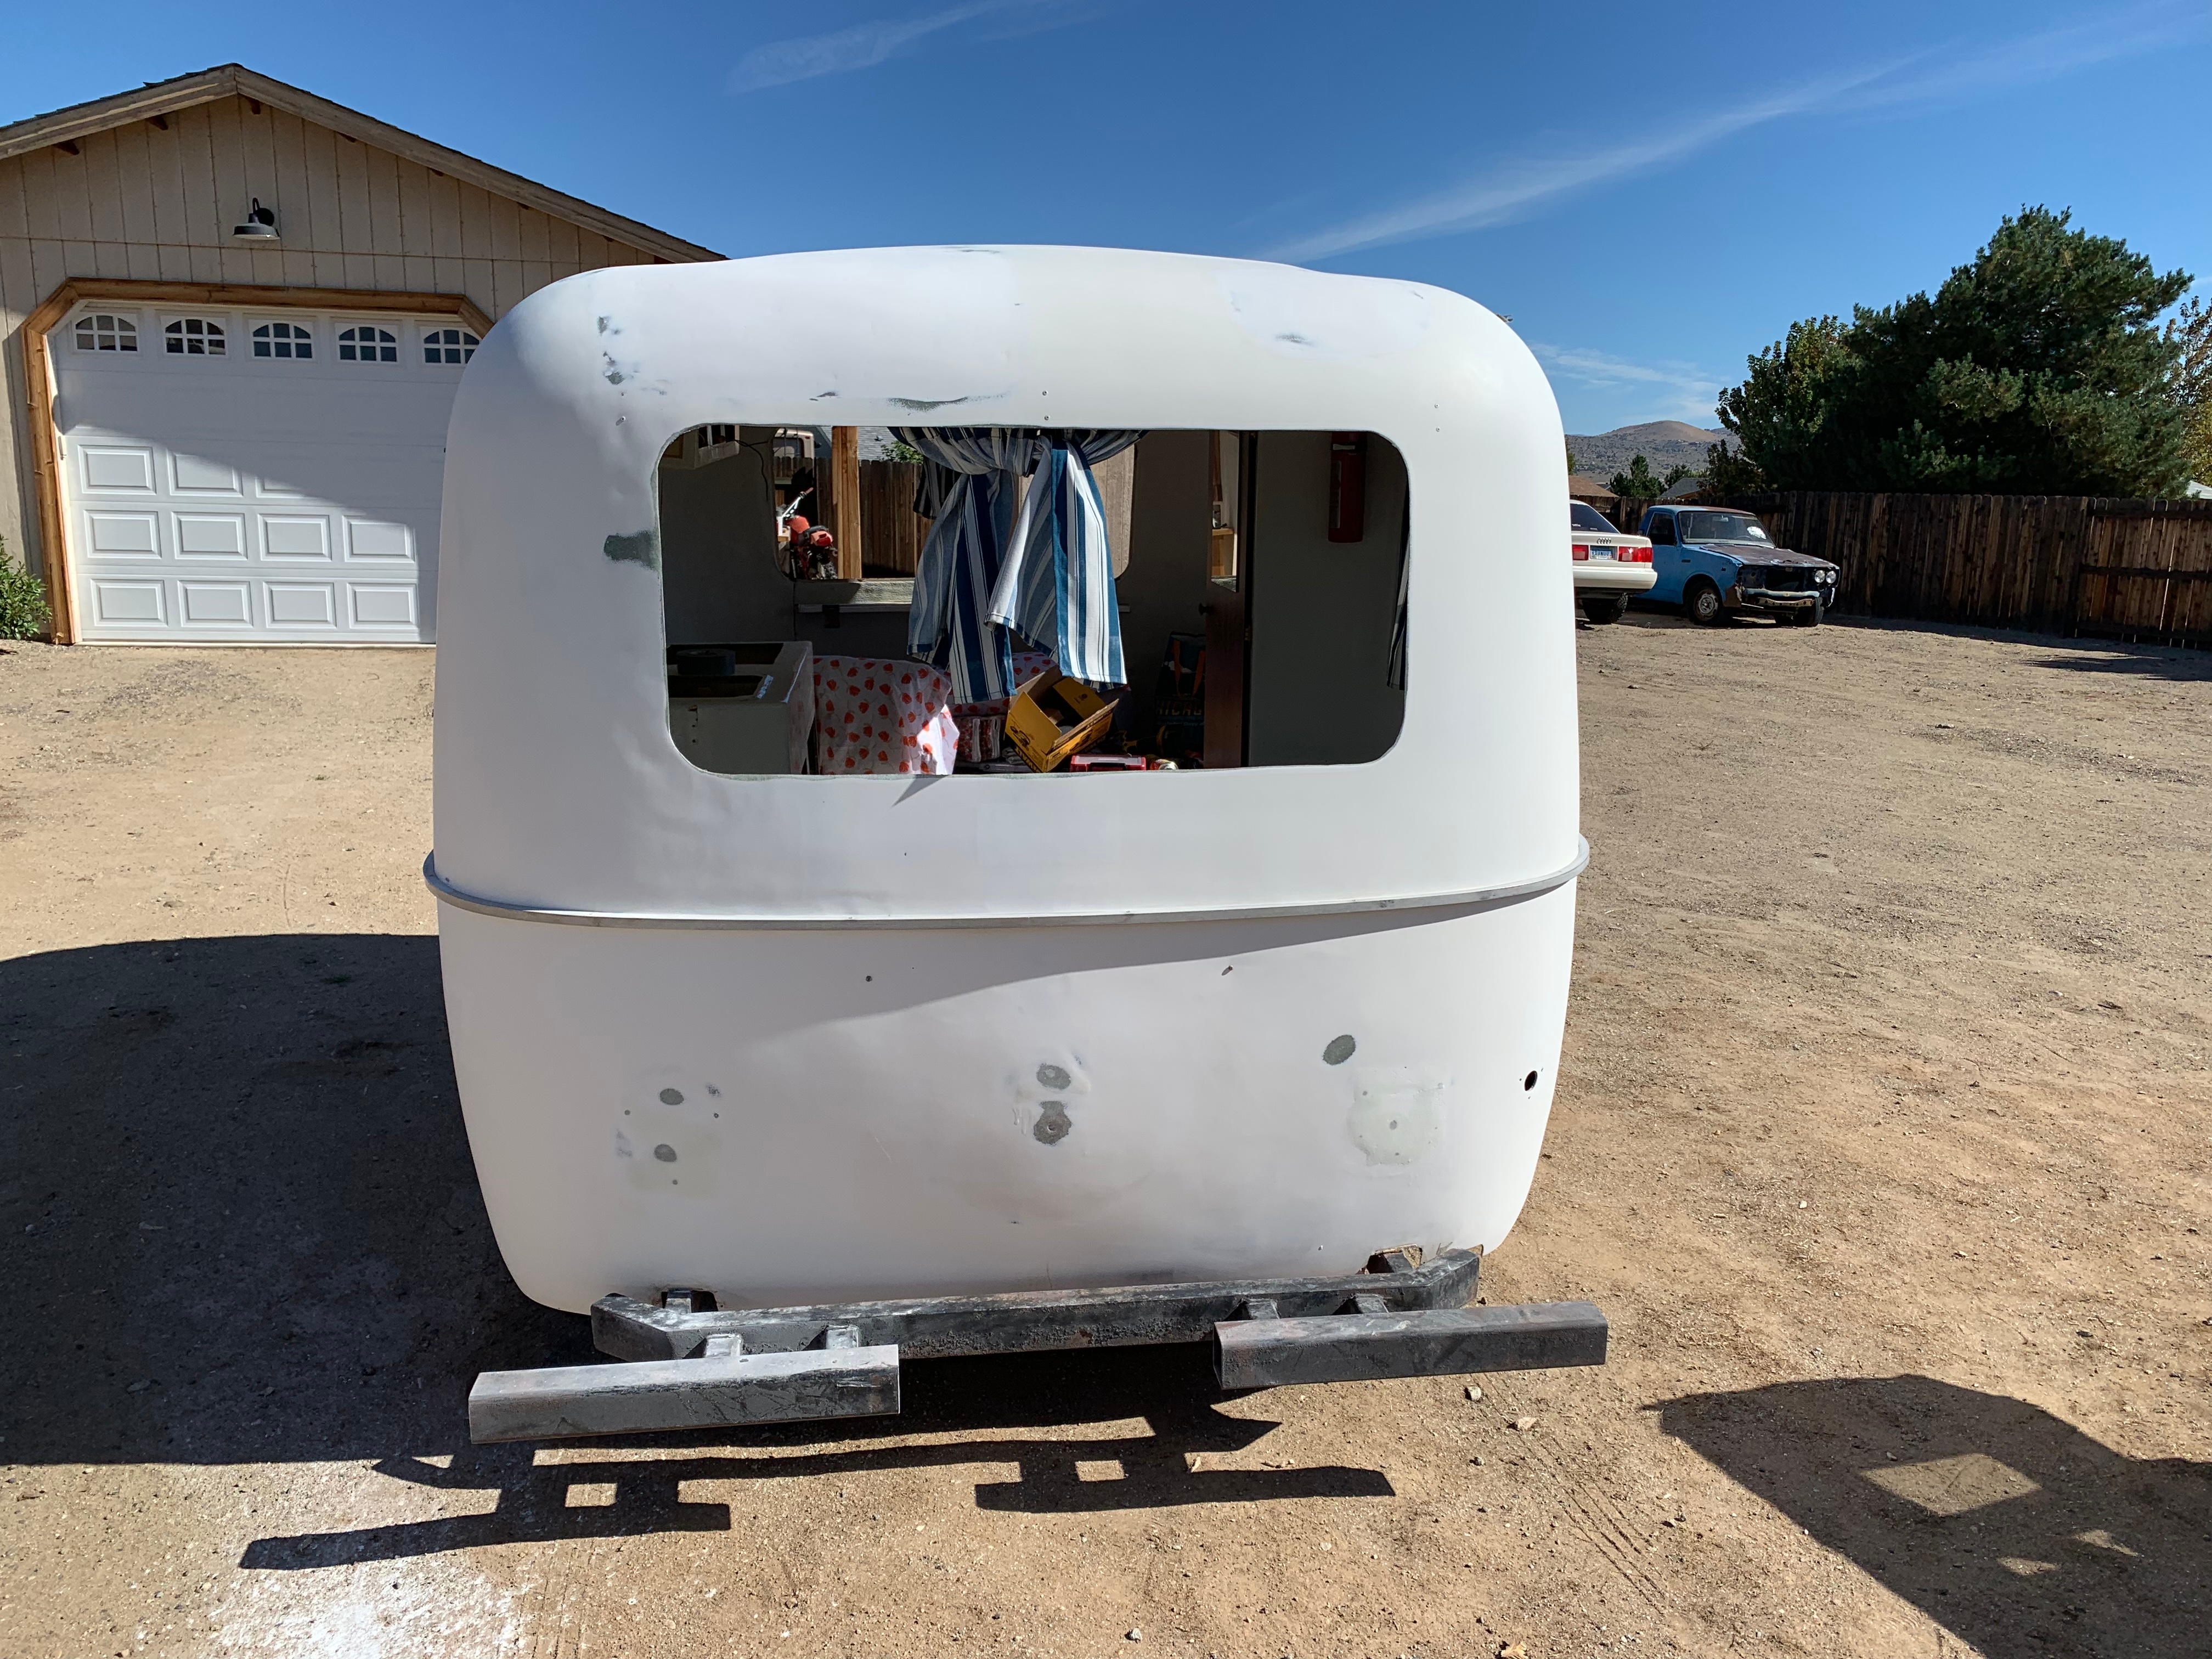
I took the front and rear Plexi windows out, as the seals needed to be replaced anyway.
Then masked everything off and sprayed about a dozen cans of self-etching primer. It was nice to have a great surface for the paint to adhere to, but in retrospect, I should have used a lighter color primer or none at all to cut down on the number of coats of light color paint I would need.
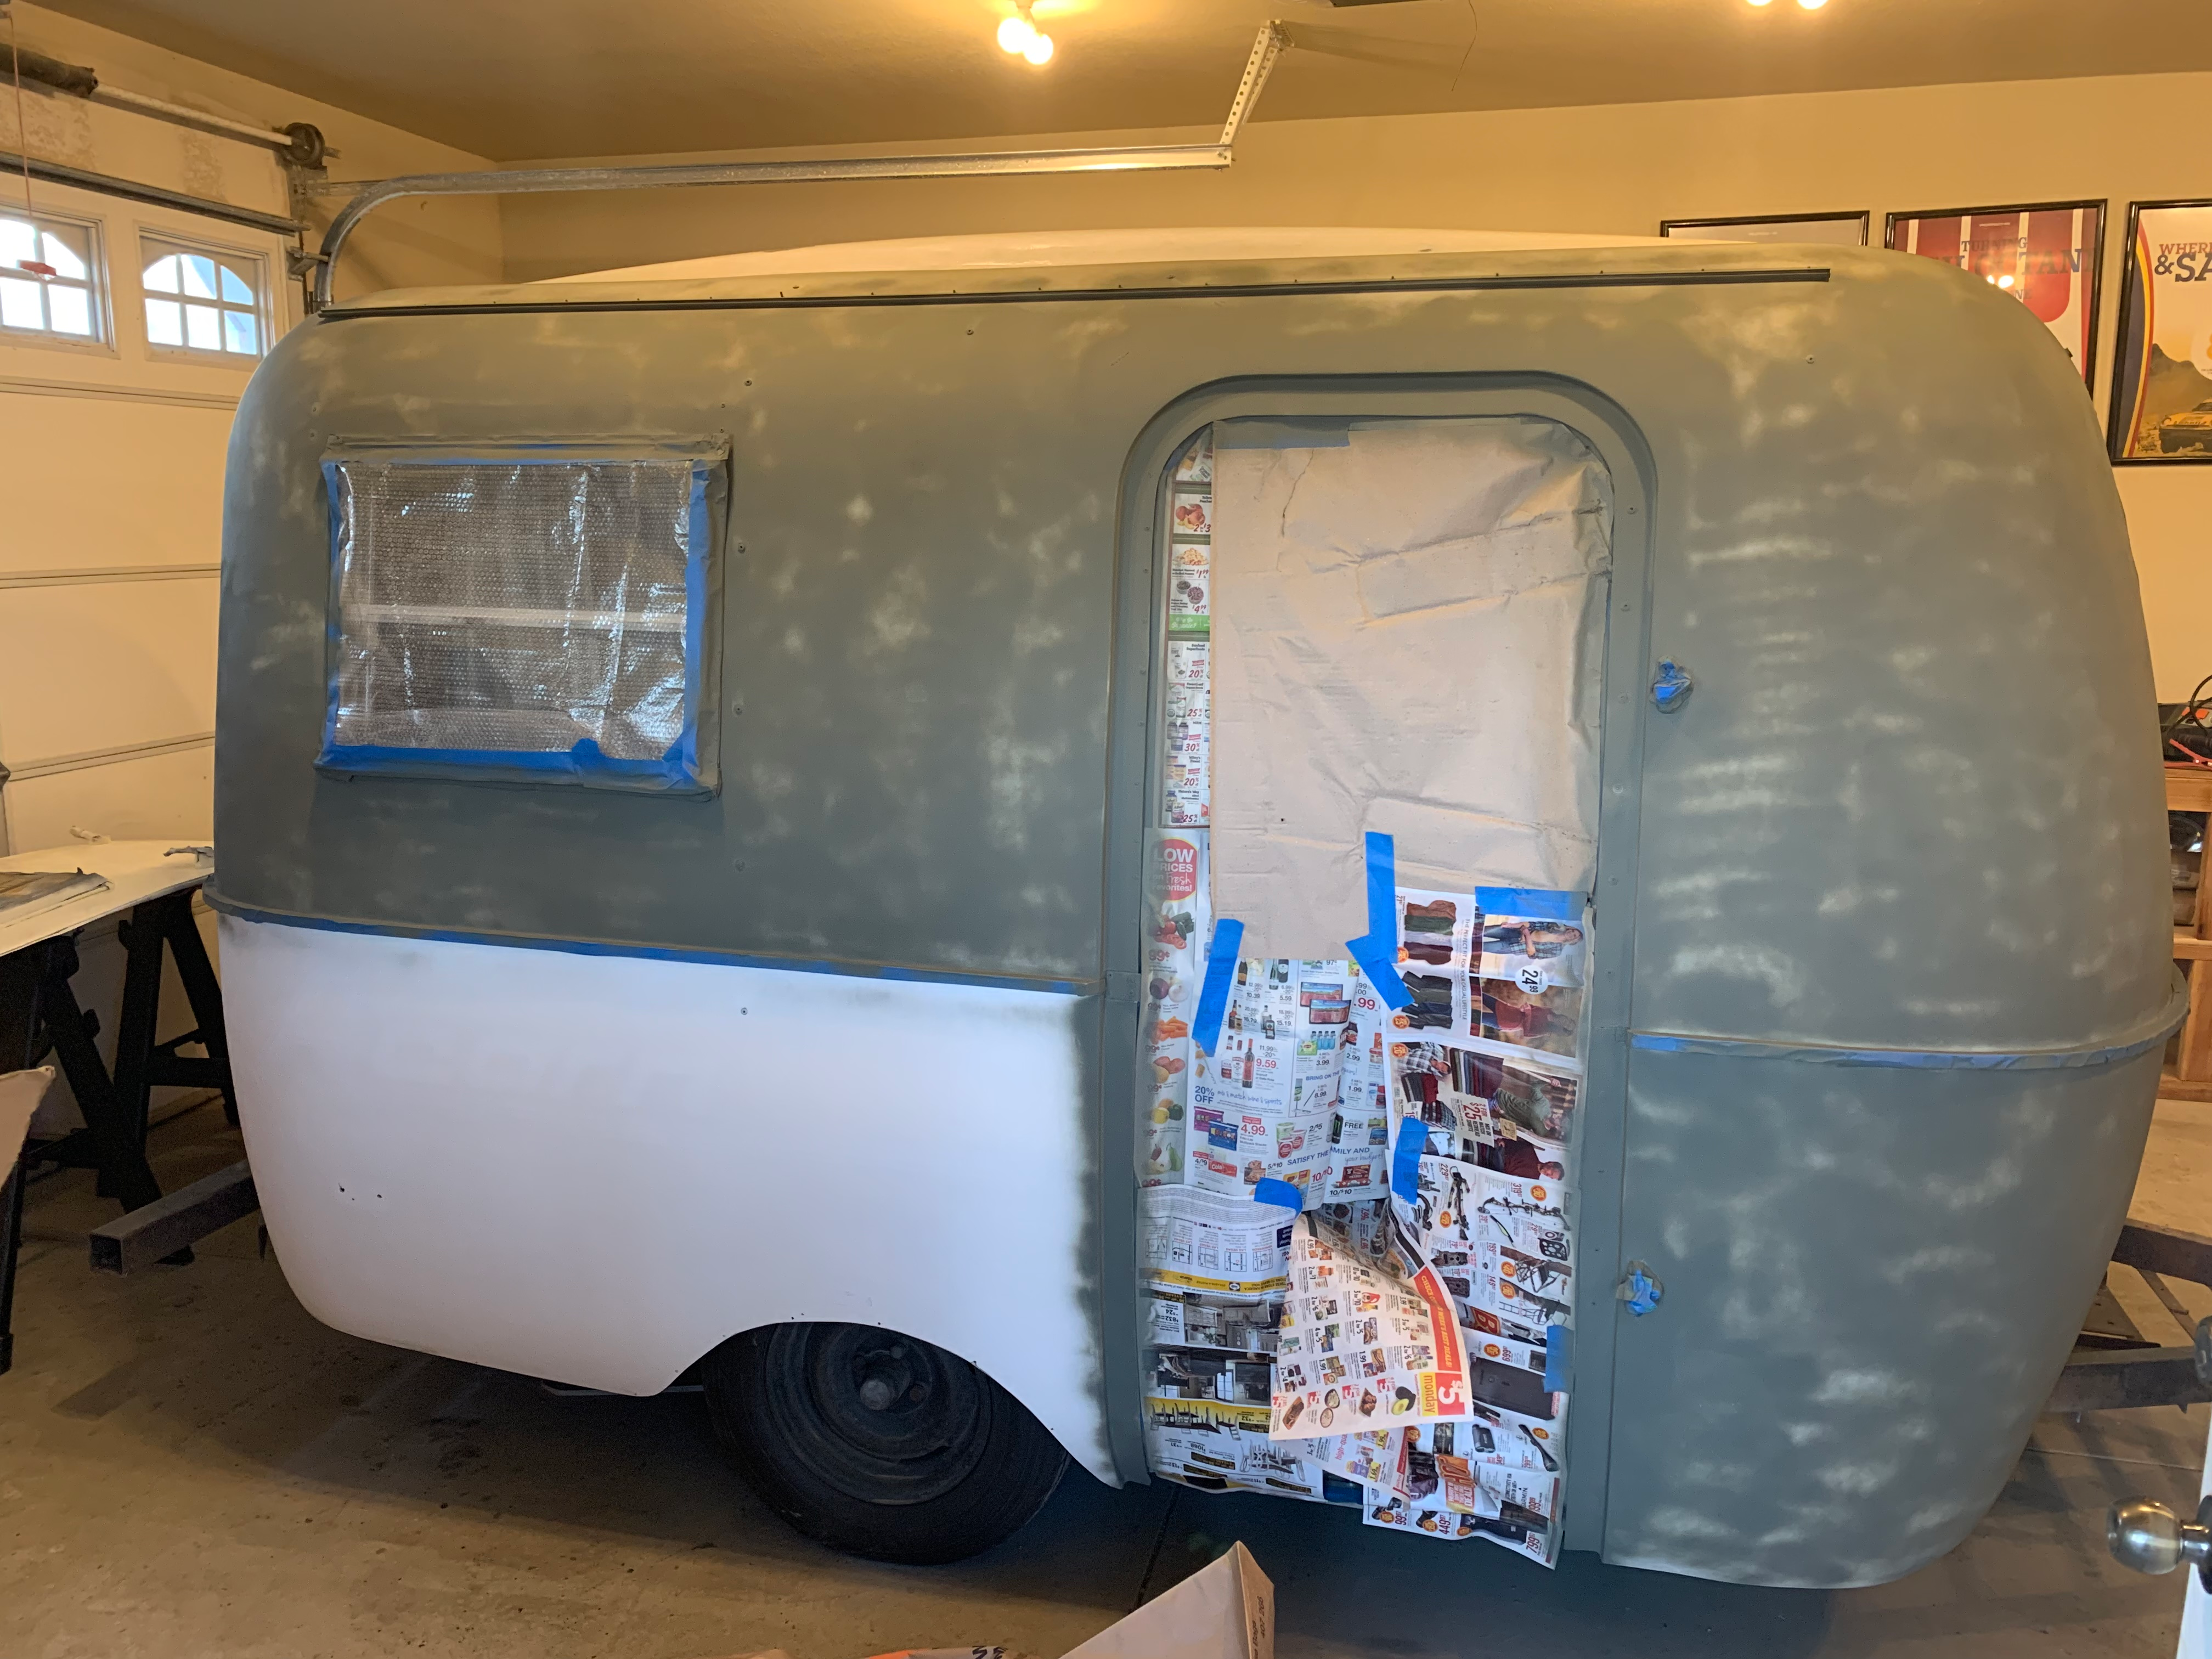
On our way to check out the Scamp before buying it we spotted a beautiful FJ60 Land Cruiser painted in two-tone cream over khaki, and my wife and I agreed that it would be a great color for the Scamp. So that's what I went with.
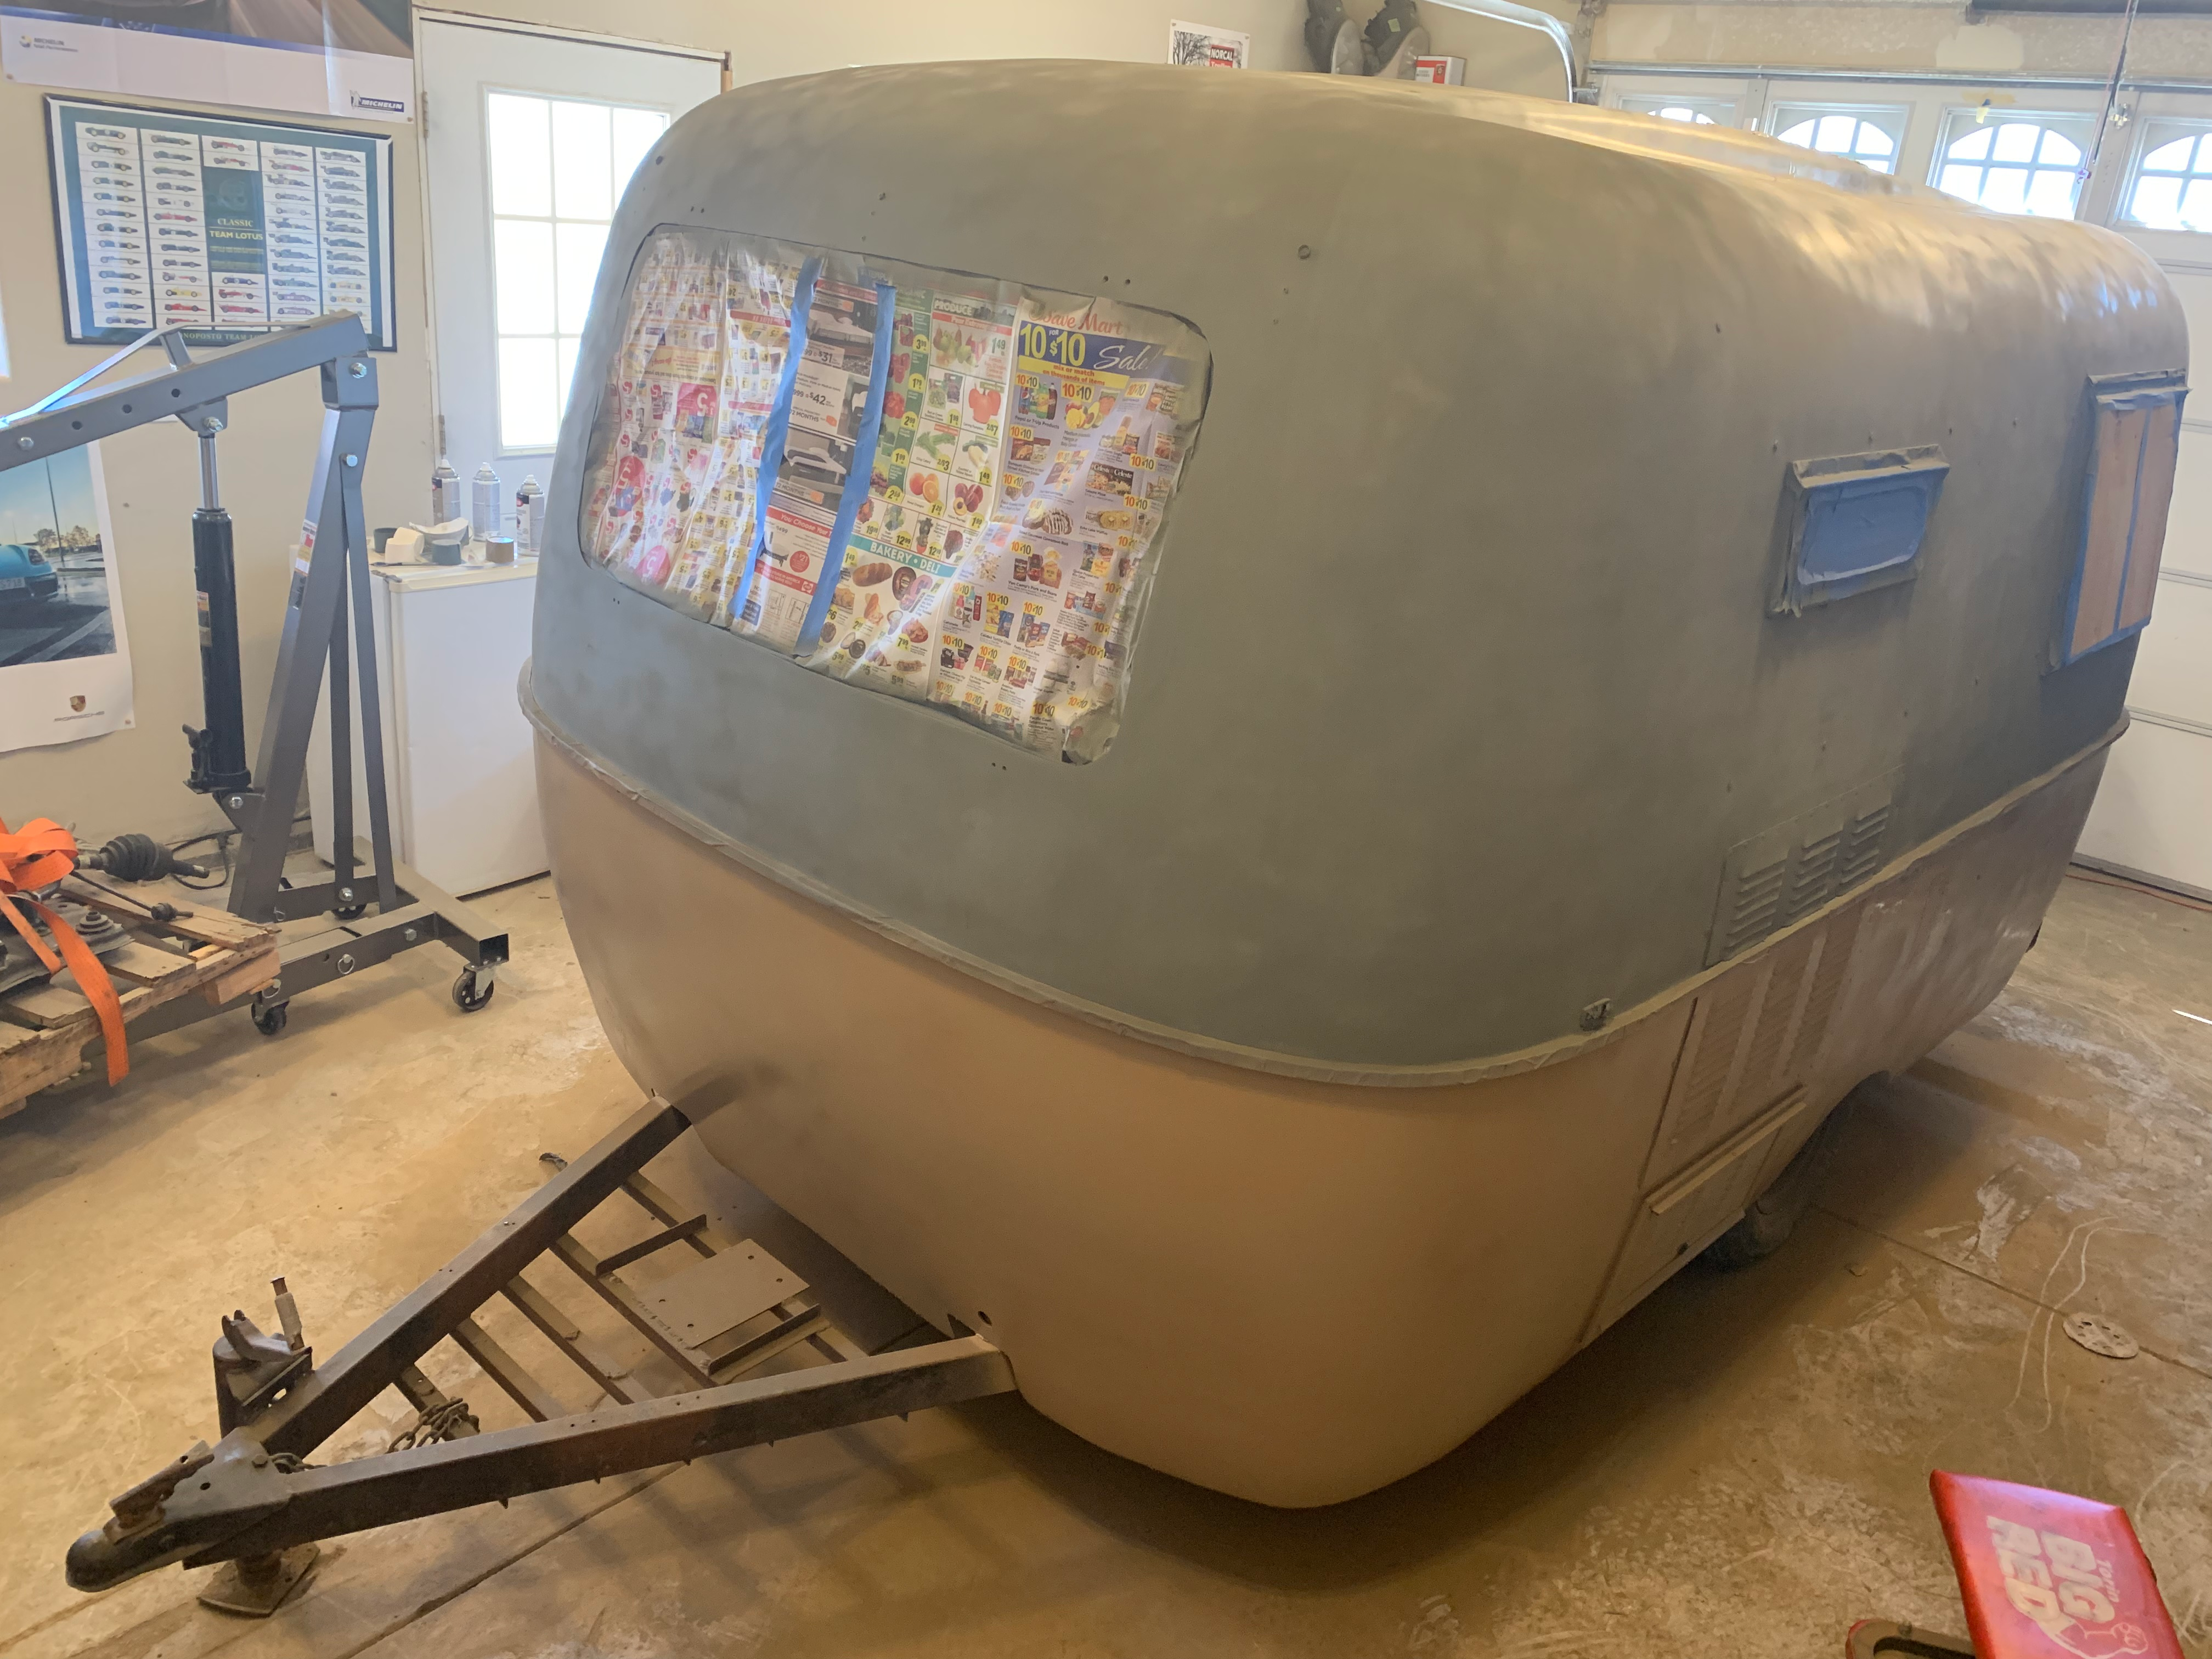
With a shitty Harbor Freight air compressor and no HVLP sprayer handy, I went the Krylon can route, and it worked surprisingly well. The khaki color laid down easily and smoothly. The white above the belly band, however, took far more cans of paint than I expected it would.
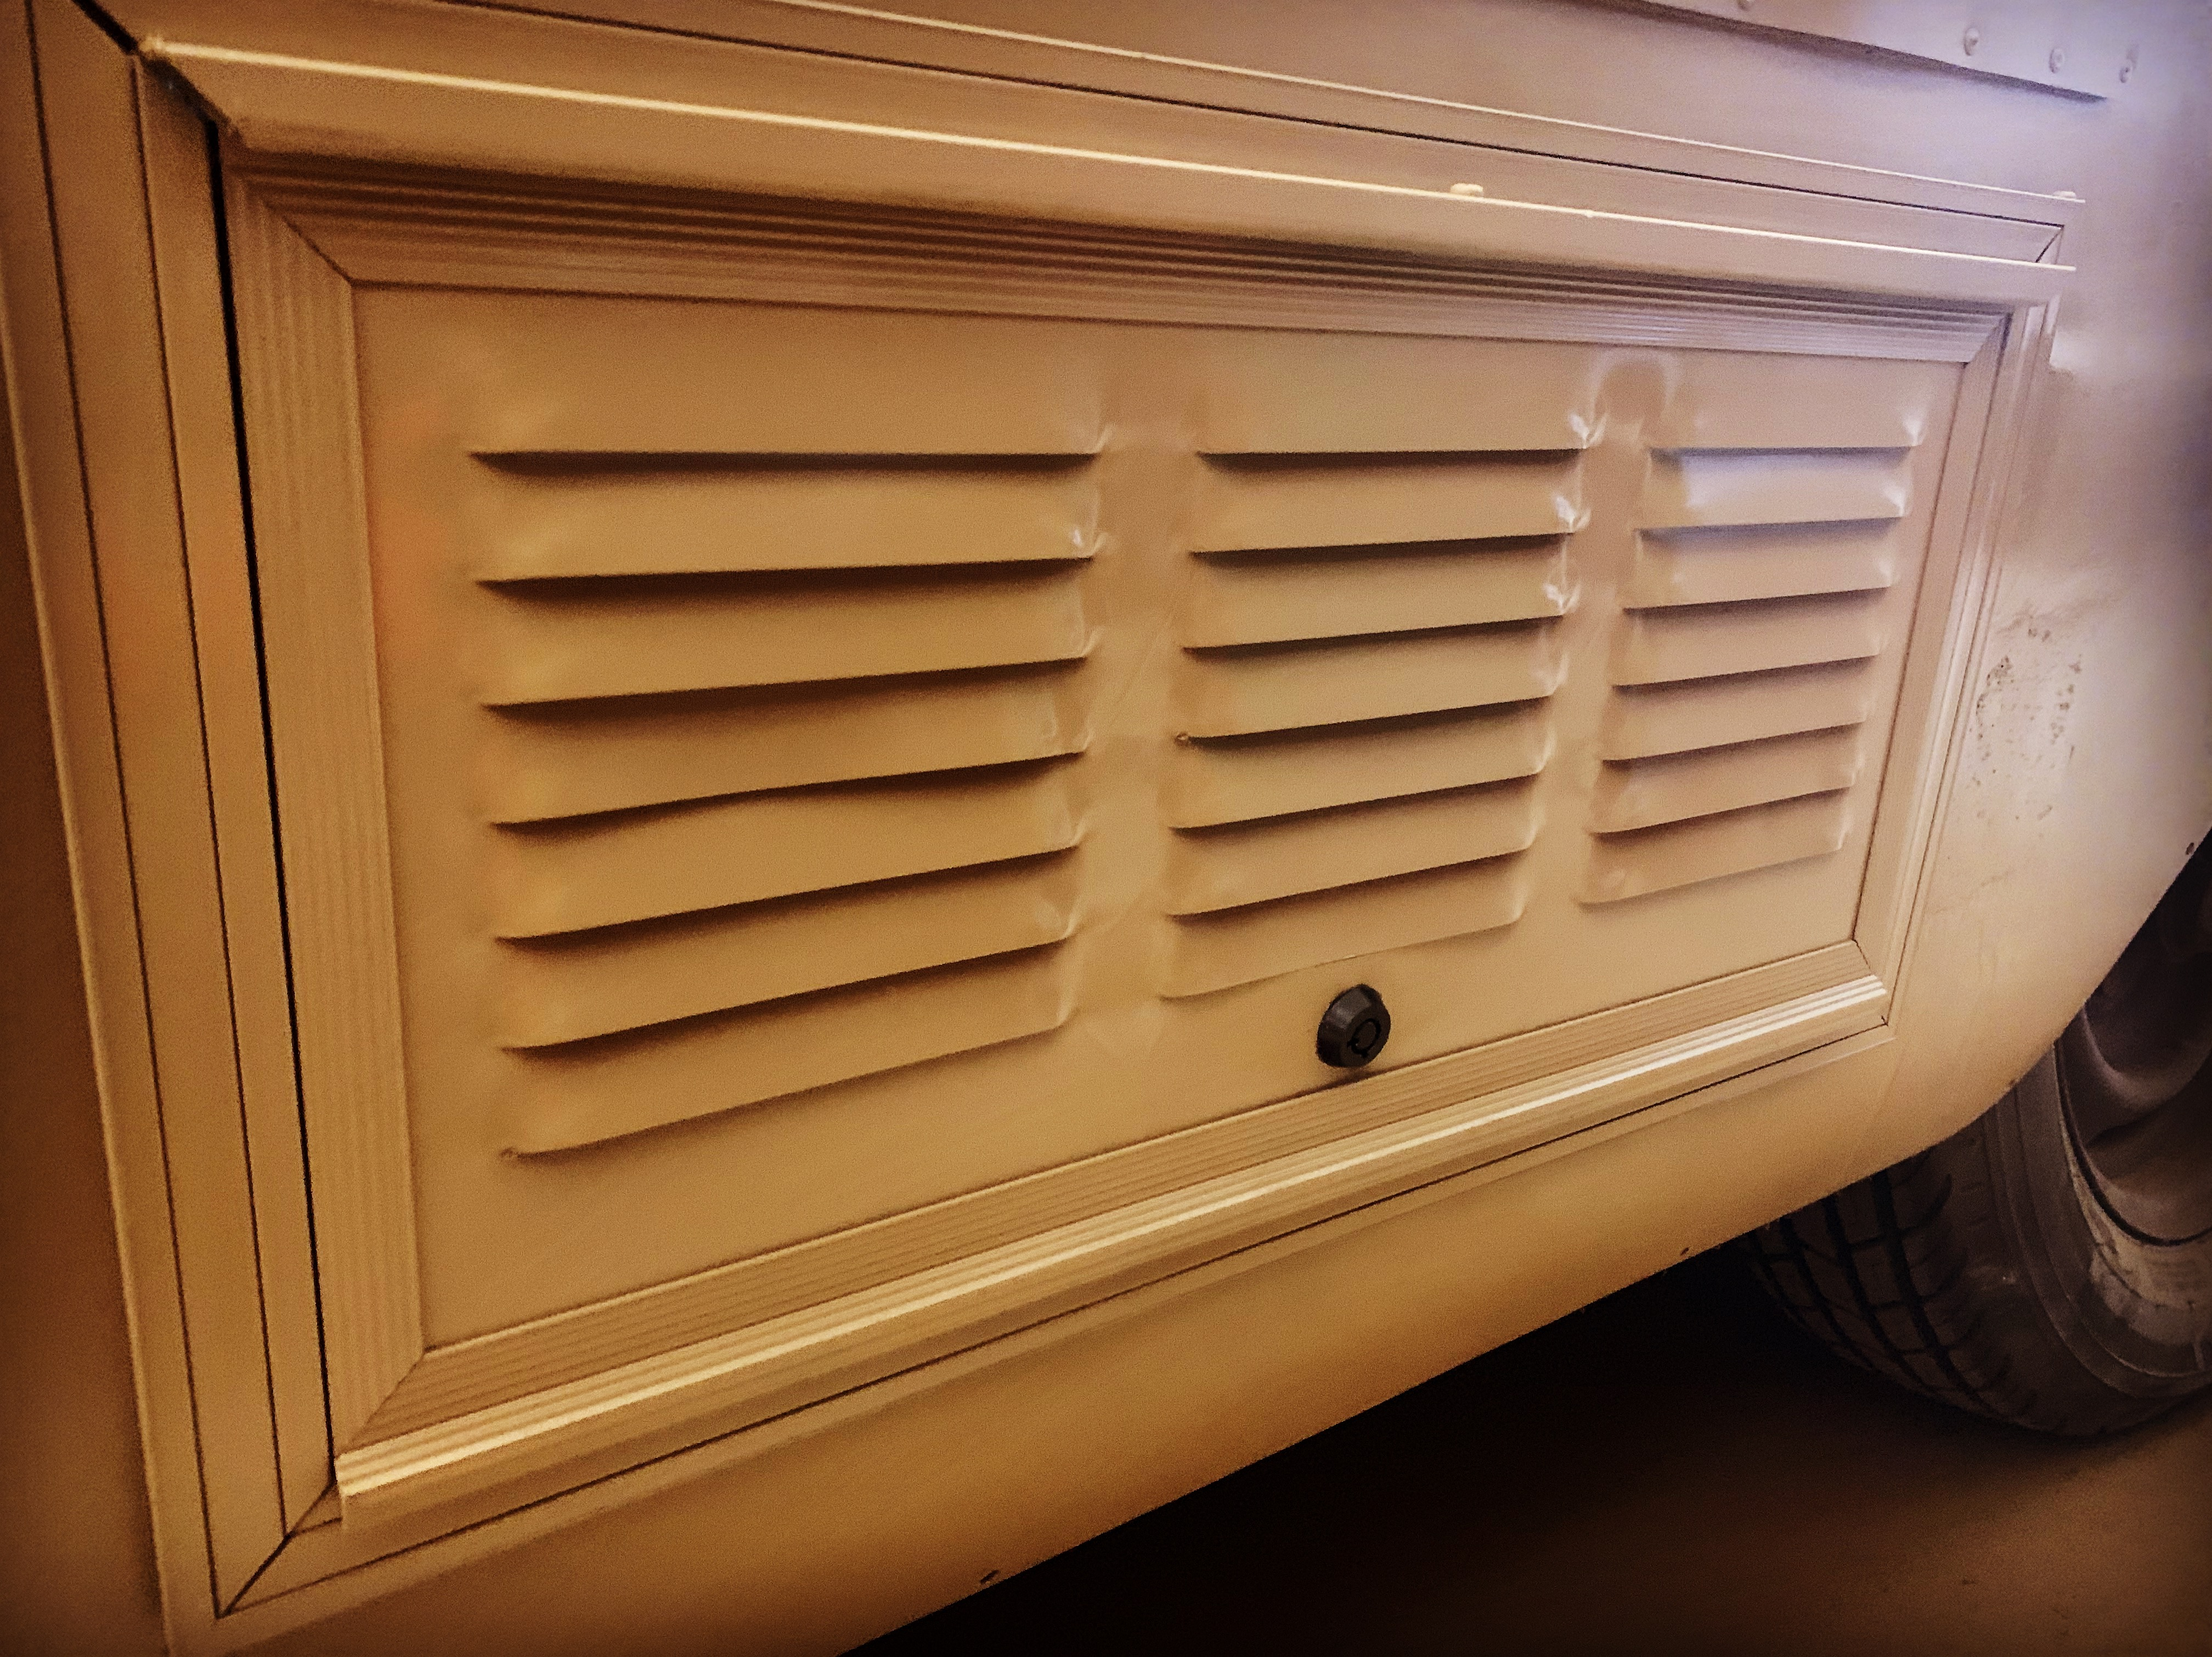
One particularly satisfying project on this trailer was to replace the lock on the refrigerator access hatch. I found a universal "glove box lock" that fit the dimensions I needed. I had to add a few shims and a bit of creative engineering to get the lock to latch perfectly snugly, but it was extremely satisfying when I got it right. These little 20 minute projects always give me the biggest smile.
I had to wait for more of the Krylon Dover White paint to come in, as I didn't purchase nearly enough of it to cover the top, and while that was en route, I decided to start tackling the electrical system. Mounting and wiring these brand new LED lights made a huge cosmetic difference, but also provided a challenge in trying to wire the thing so that most of the wires were hidden.
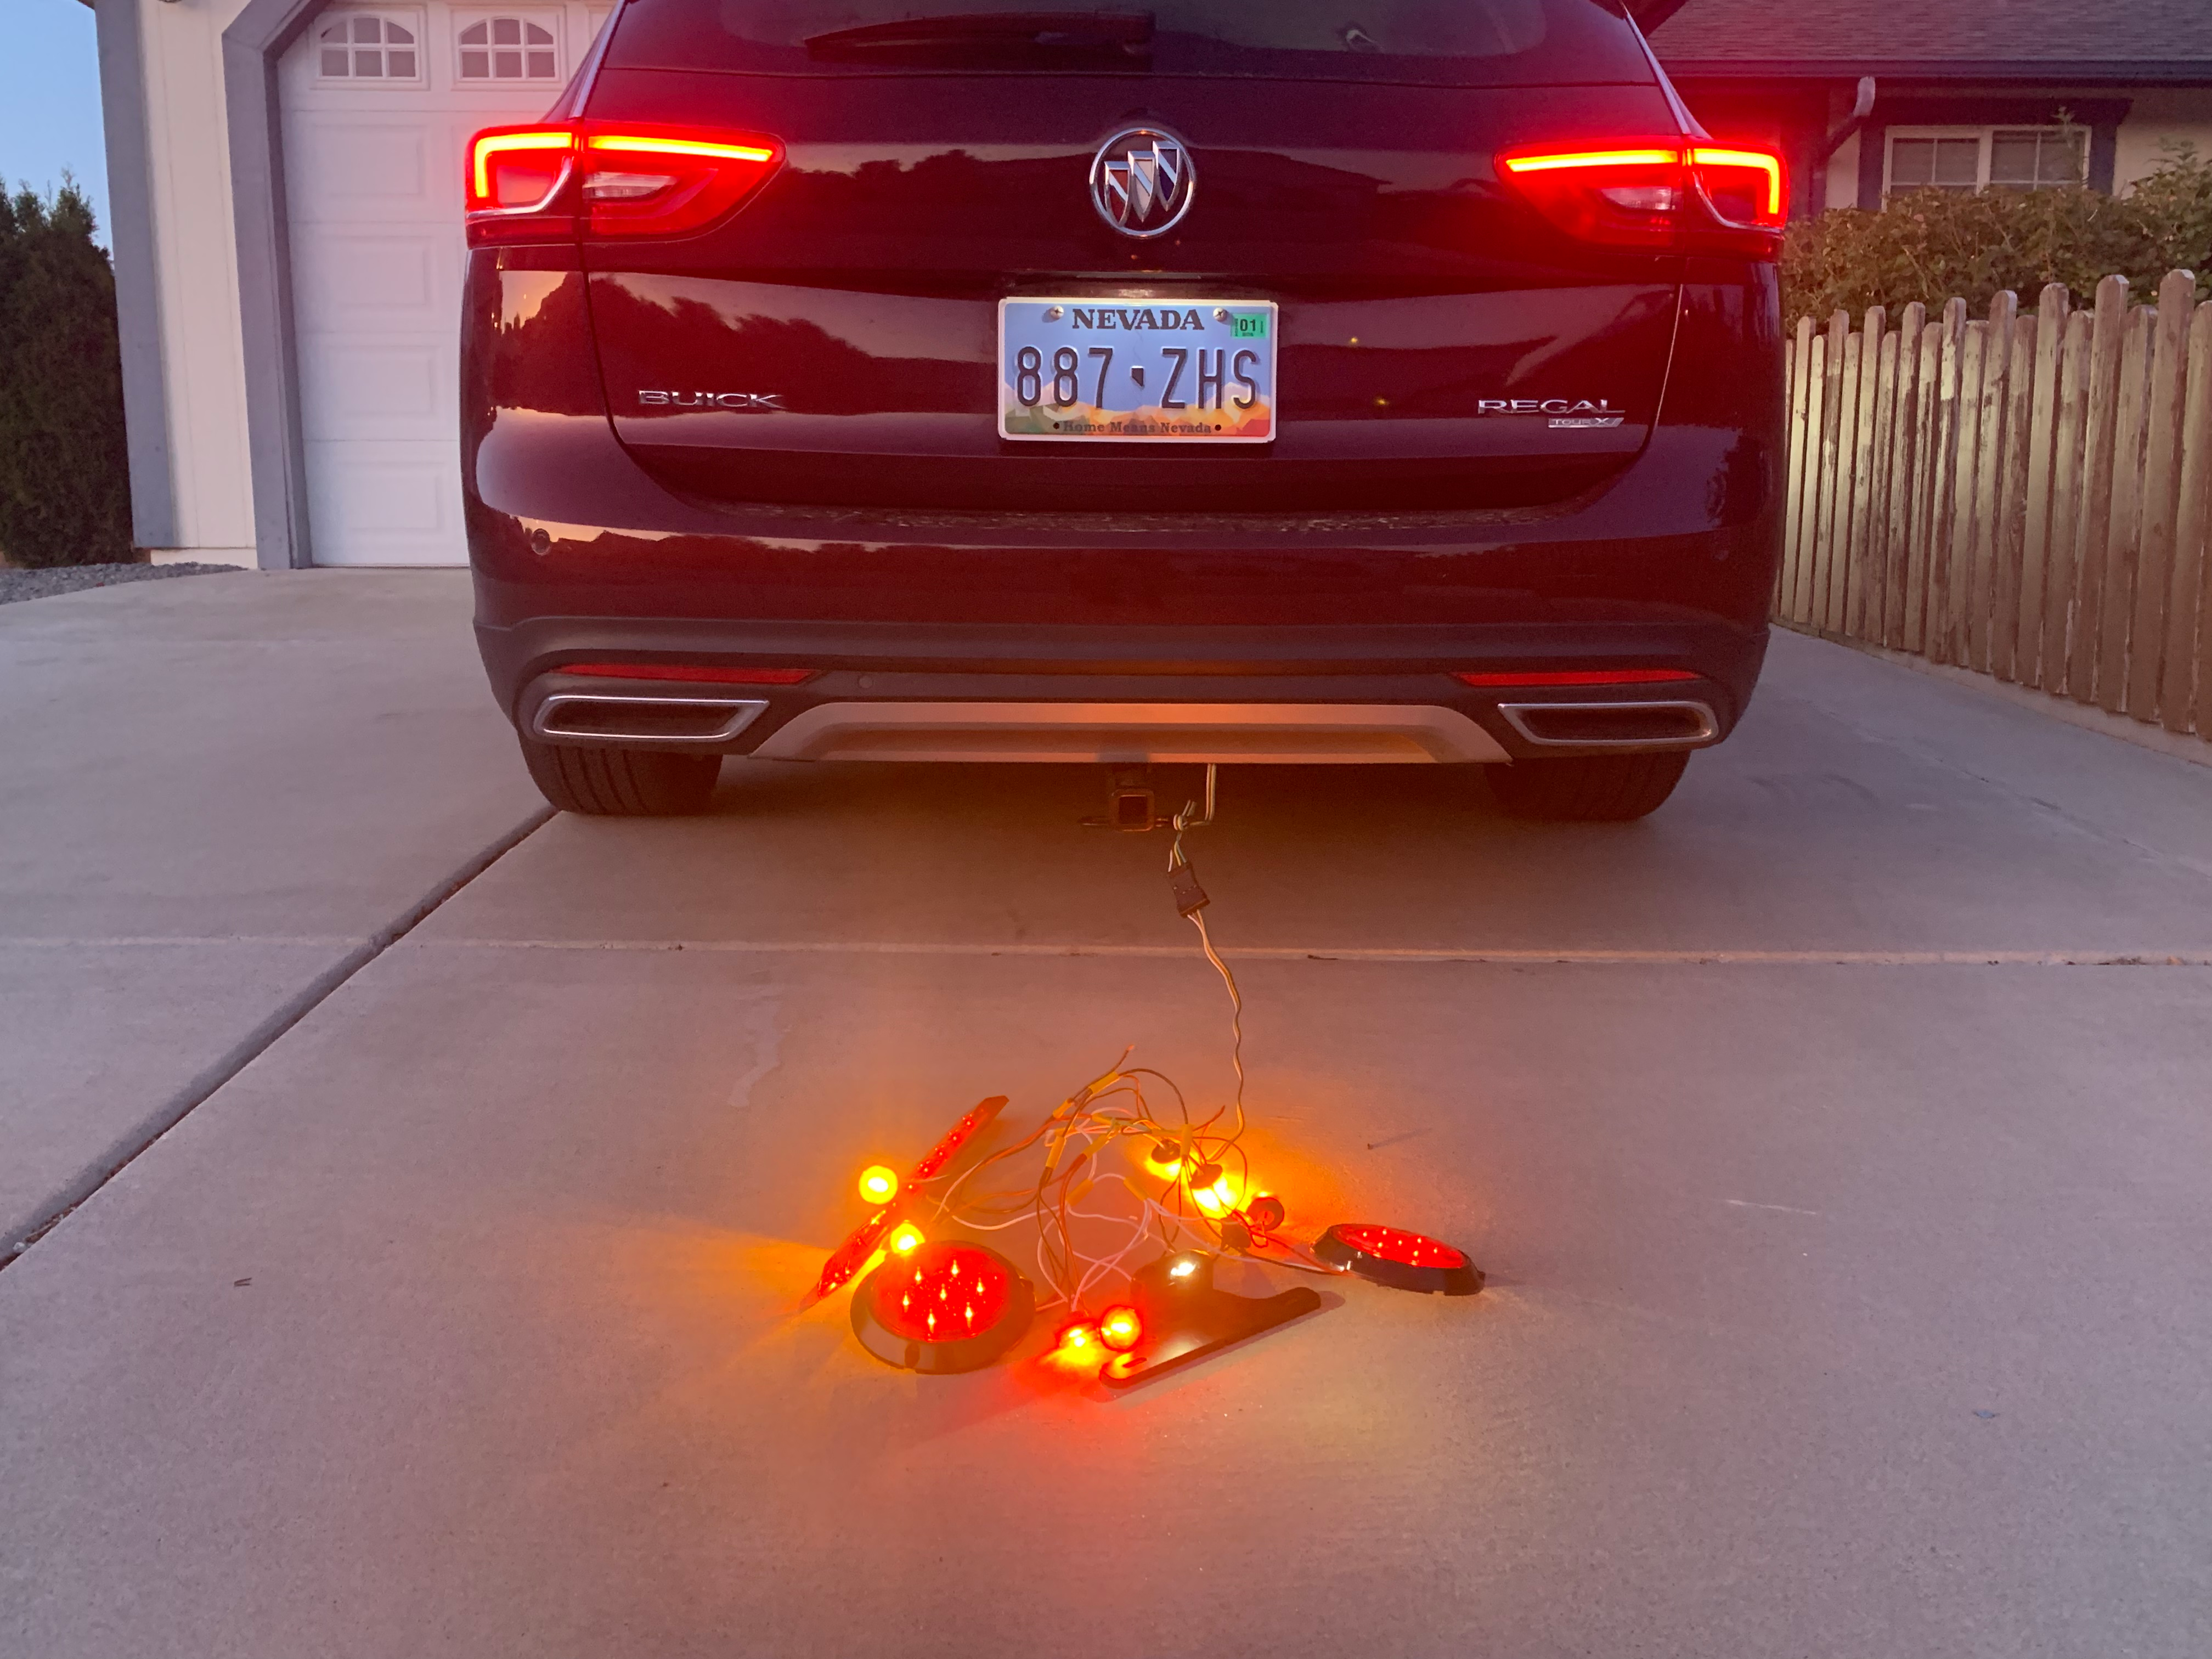
A friend of mine works at Peterson Vehicle Safety Lighting, which is a wholesale manufacturer of trailer lighting. The company doesn't sell directly to consumers, but they engineer and distribute most of the trailer and big rig lighting you see at farm stores and truck shops. I initially reached out to him to provide some insight and weigh options, but he offered to send me a comprehensive package of all the lights and fixtures I would need for this project.
Not having wired a trailer before, I wanted to make sure I got it right before cutting, drilling, wiring, etc. I built a mini harness at my kitchen table to make sure the turn signals and brake lights would work the way I thought they would.
When you're wiring up a trailer, there is a four-wire harness that comes pre-packaged for ease of use. It's a flat of four 16-gauge wires in green, yellow, brown, and white. White is your ground. Brown is your constant 12v for the running lights. Yellow is for left-turn signals and brakes, while green does the same for the right. You can remember that yellow is left because it has L in it while green has R in it.
Indeed, I wired it up right the first time, which gave me another little jolt of serotonin.
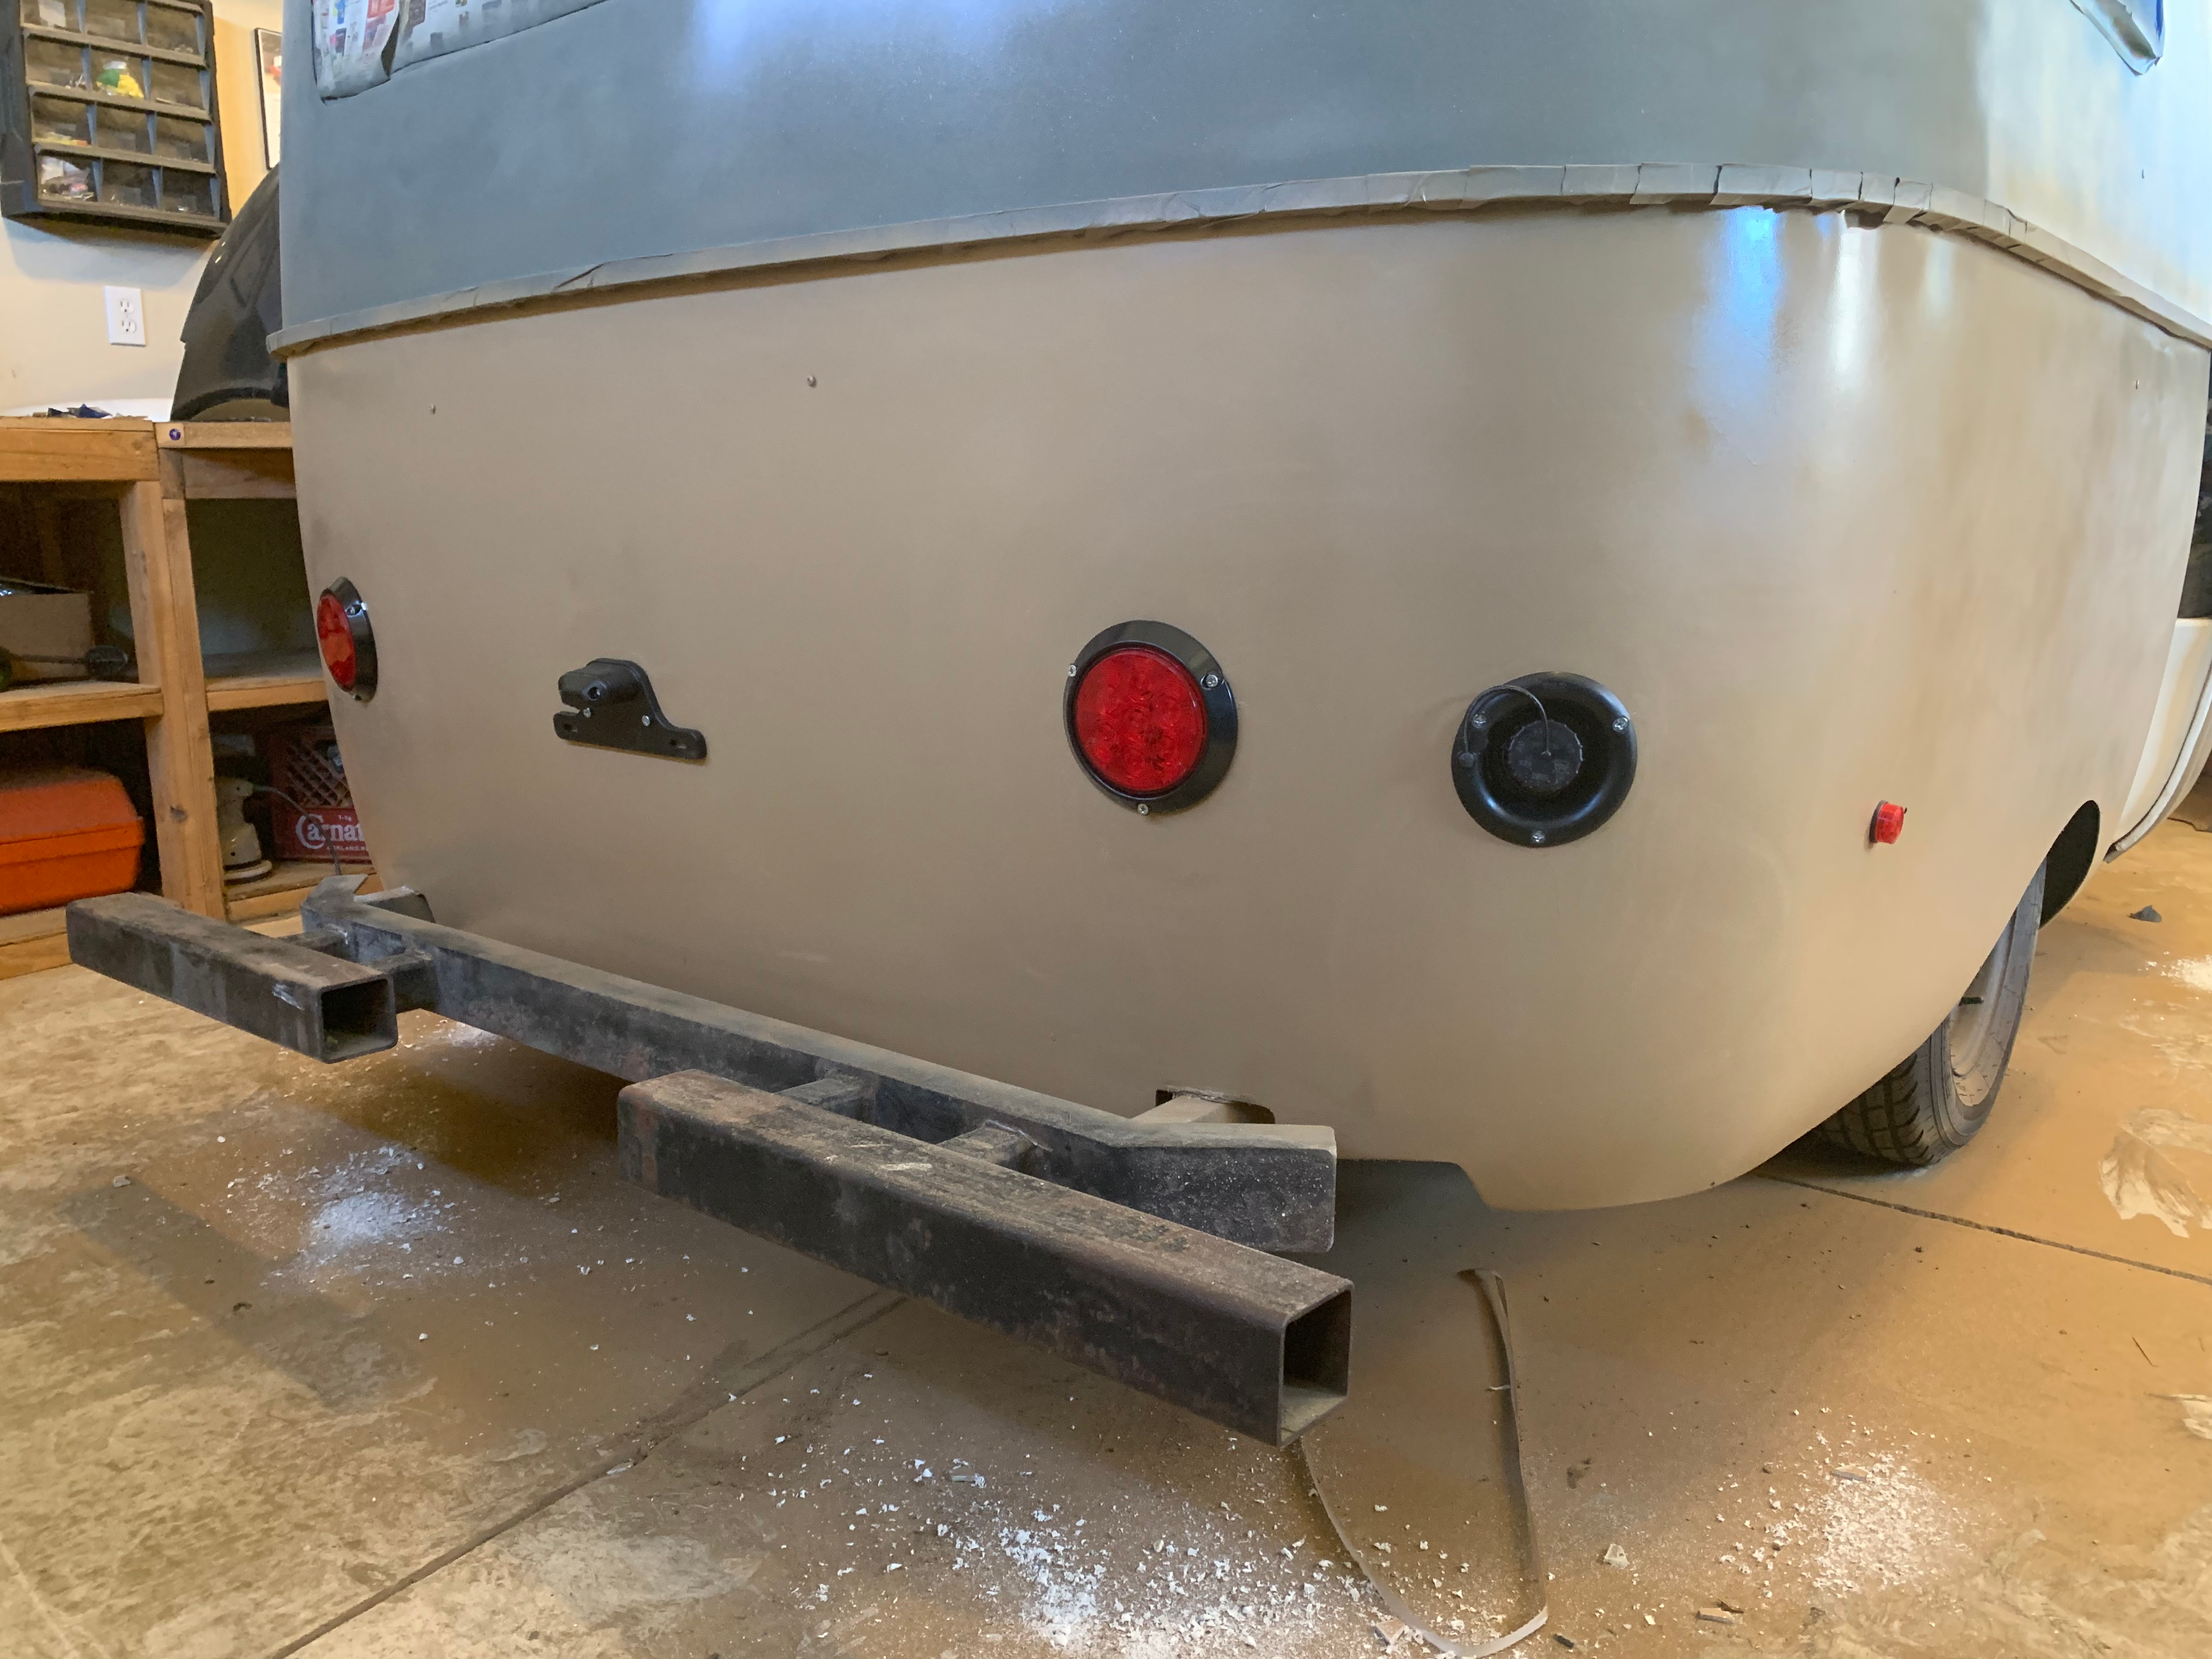
Holes drilled, lighting installed, easy peasy. The small LED side markers are a simple little press-in self-sealing unit which requires nothing more than a 3/4" hole drilled, and are bright as all hell. I put in a new pair of round tail/stop/signal lamps on the back flanking a center license plate light, as well as a CHMSL. Each side has a low mounted turn signal/marker, and a high-mounted marker; red at the rear and amber at the front, natch. This is a huge step forward from the dim and barely functional signals on the trailer when we bought it.
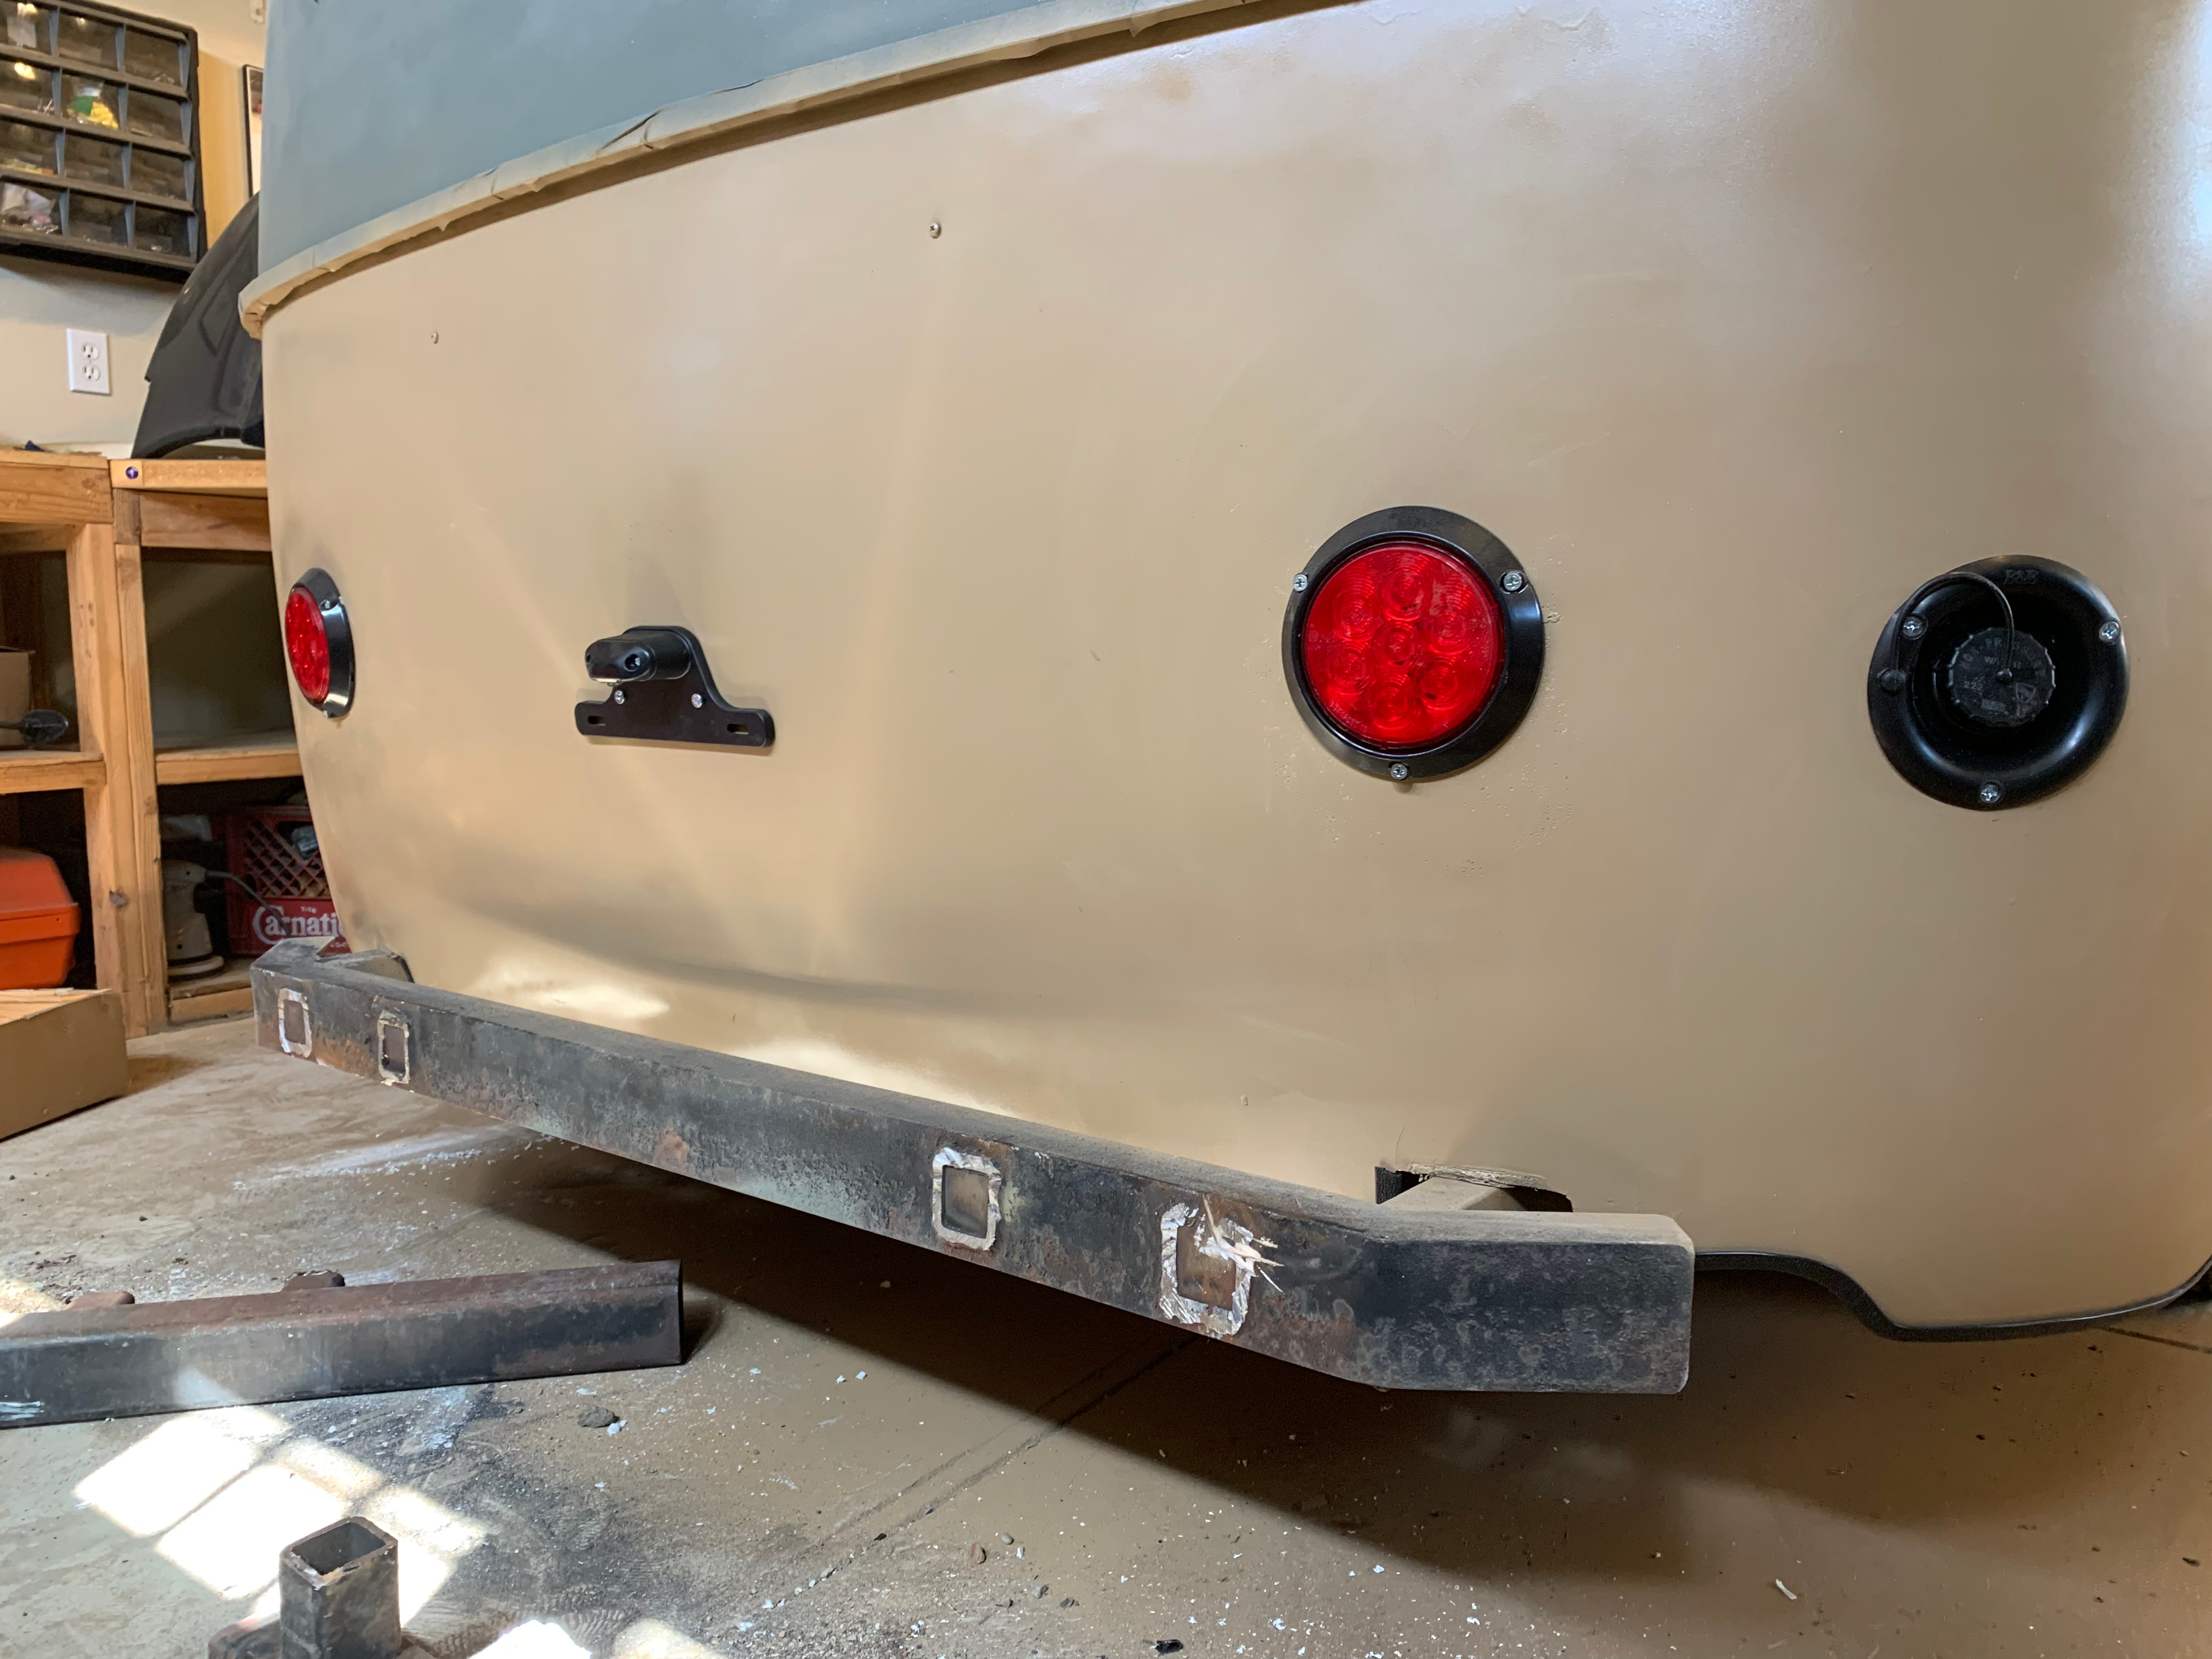
In another case of hindsight being 20/20, I decided to cut off the rear bumper extensions and re-paint the bumper. It probably would have been easier to do this before painting the bottom half of the trailer, but live and learn, I suppose. I'm not sure why these shin-bashers were added to the trailer, but they were a huge pain in the ass to cut off. It took a trio of death wheel discs to cut most of the way through four box tubes, then another two Sawzall blades to finish the job. Gnarly.
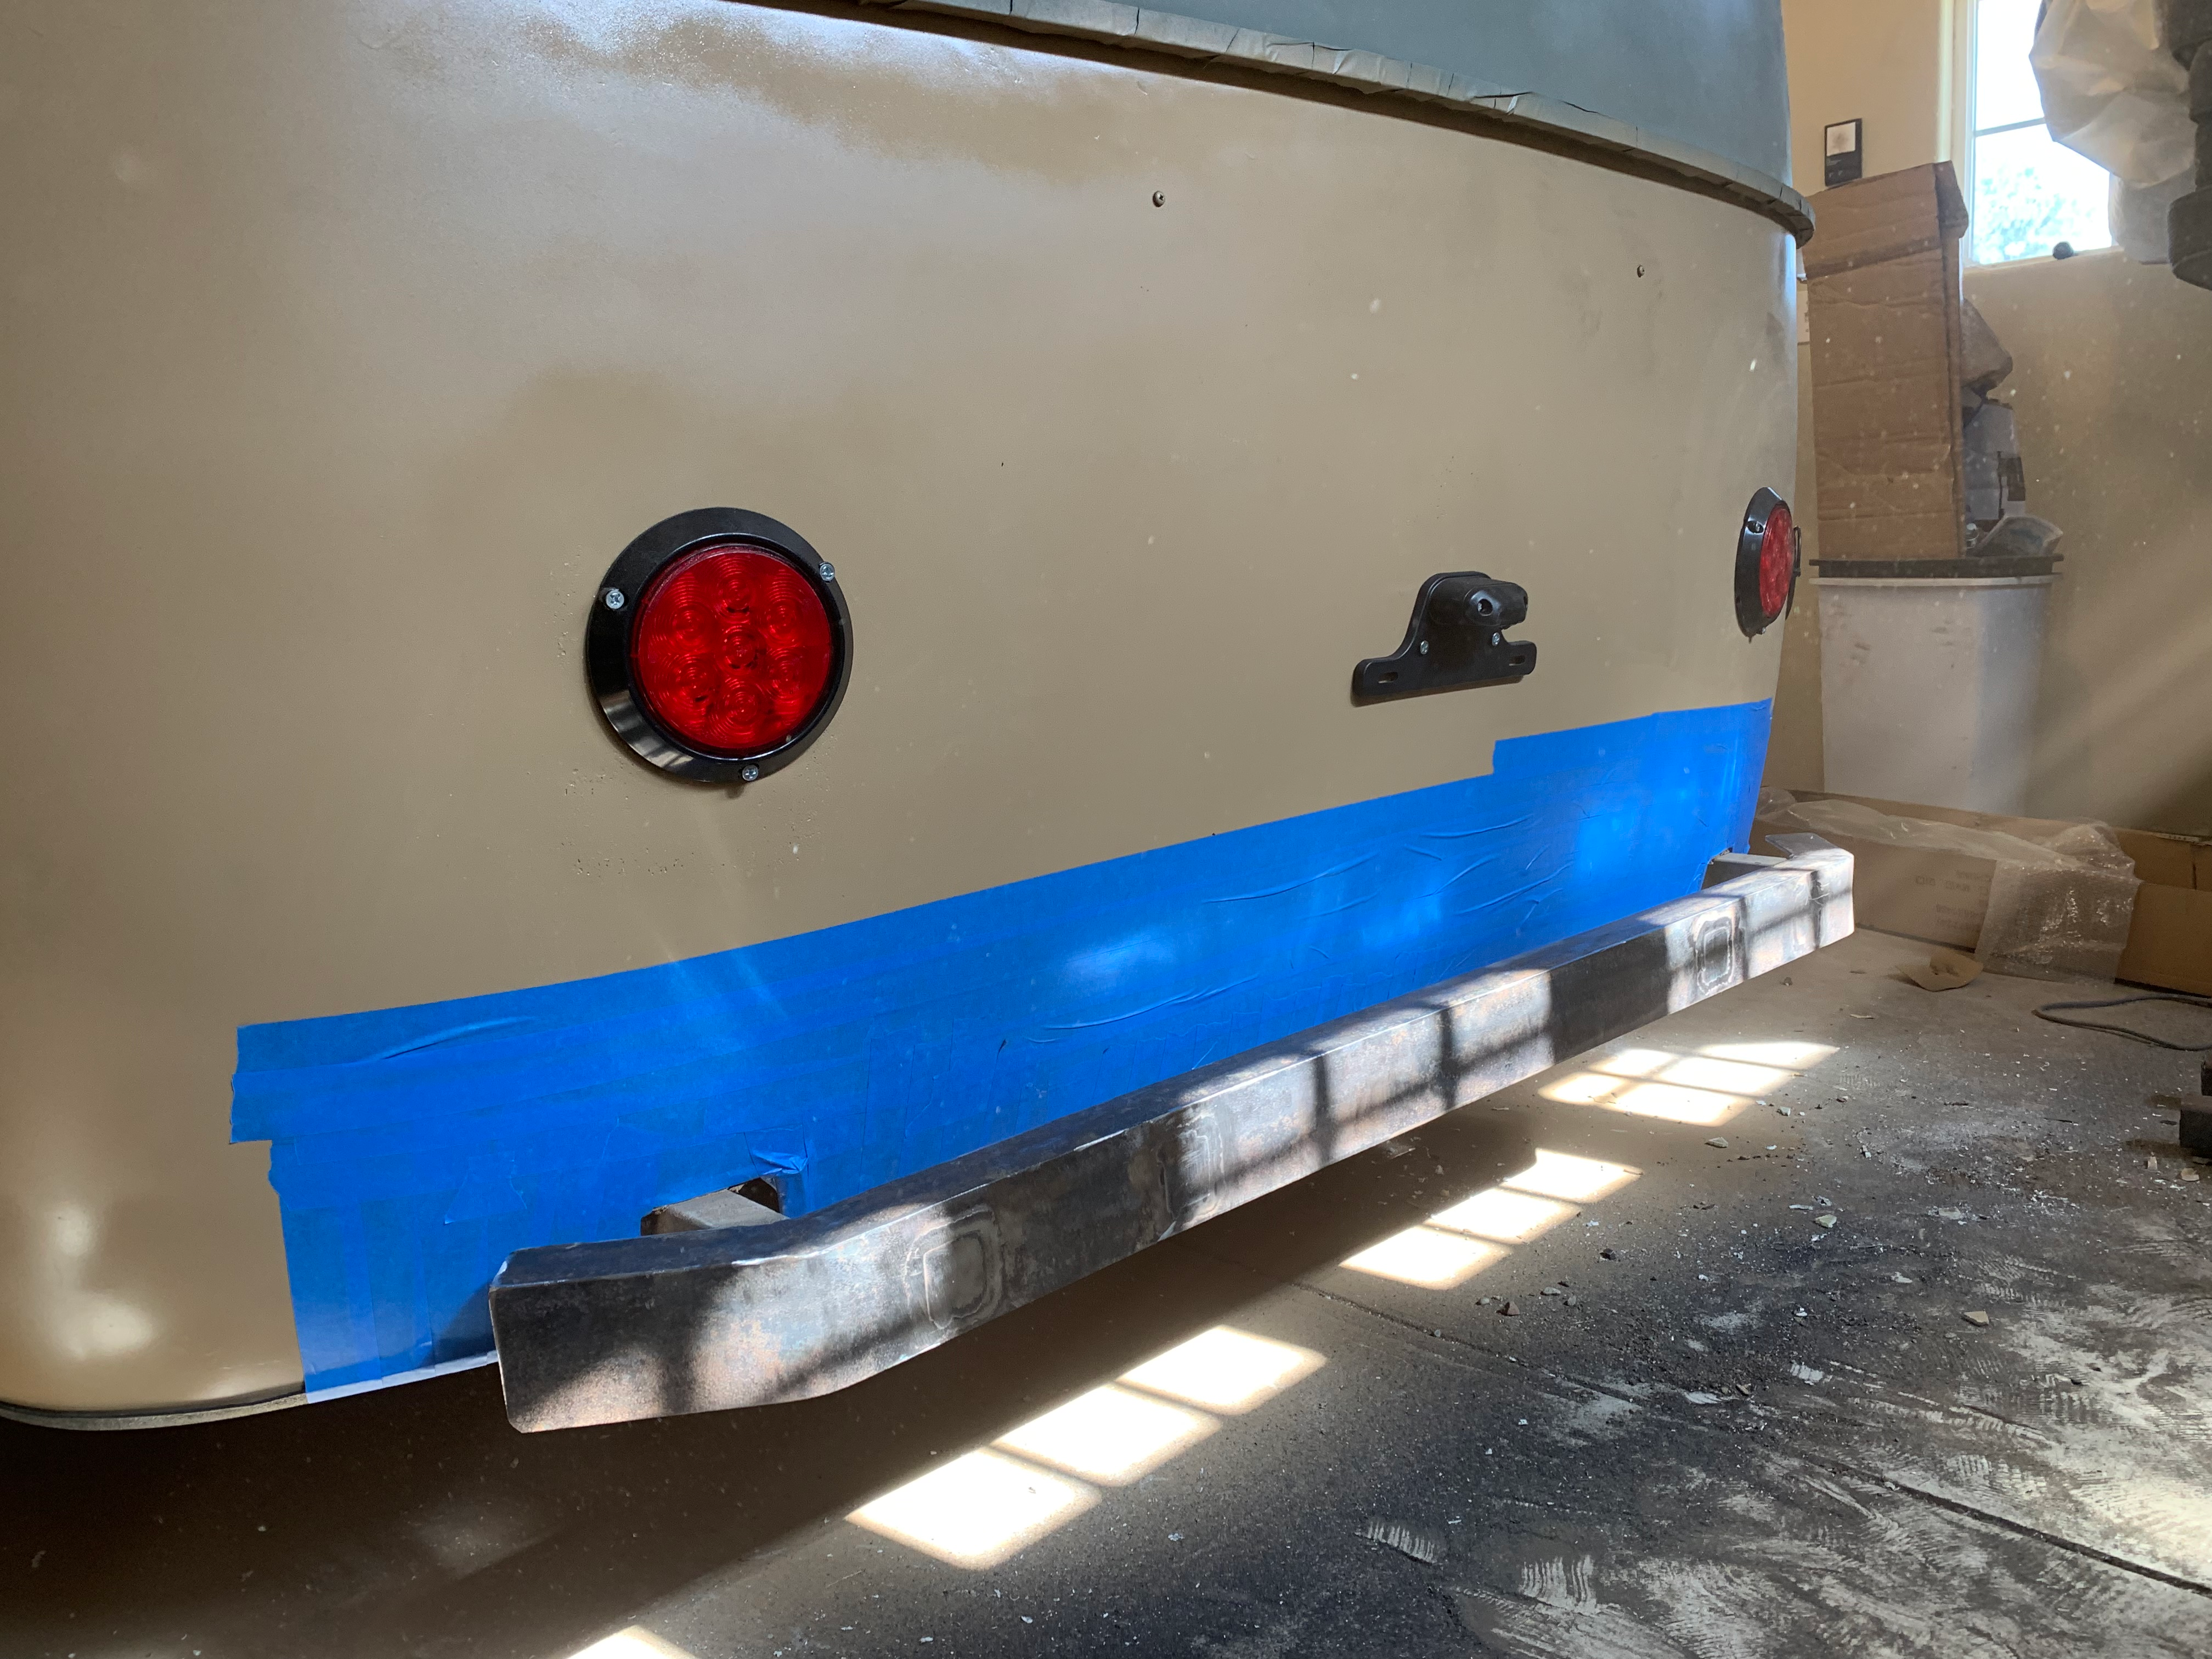
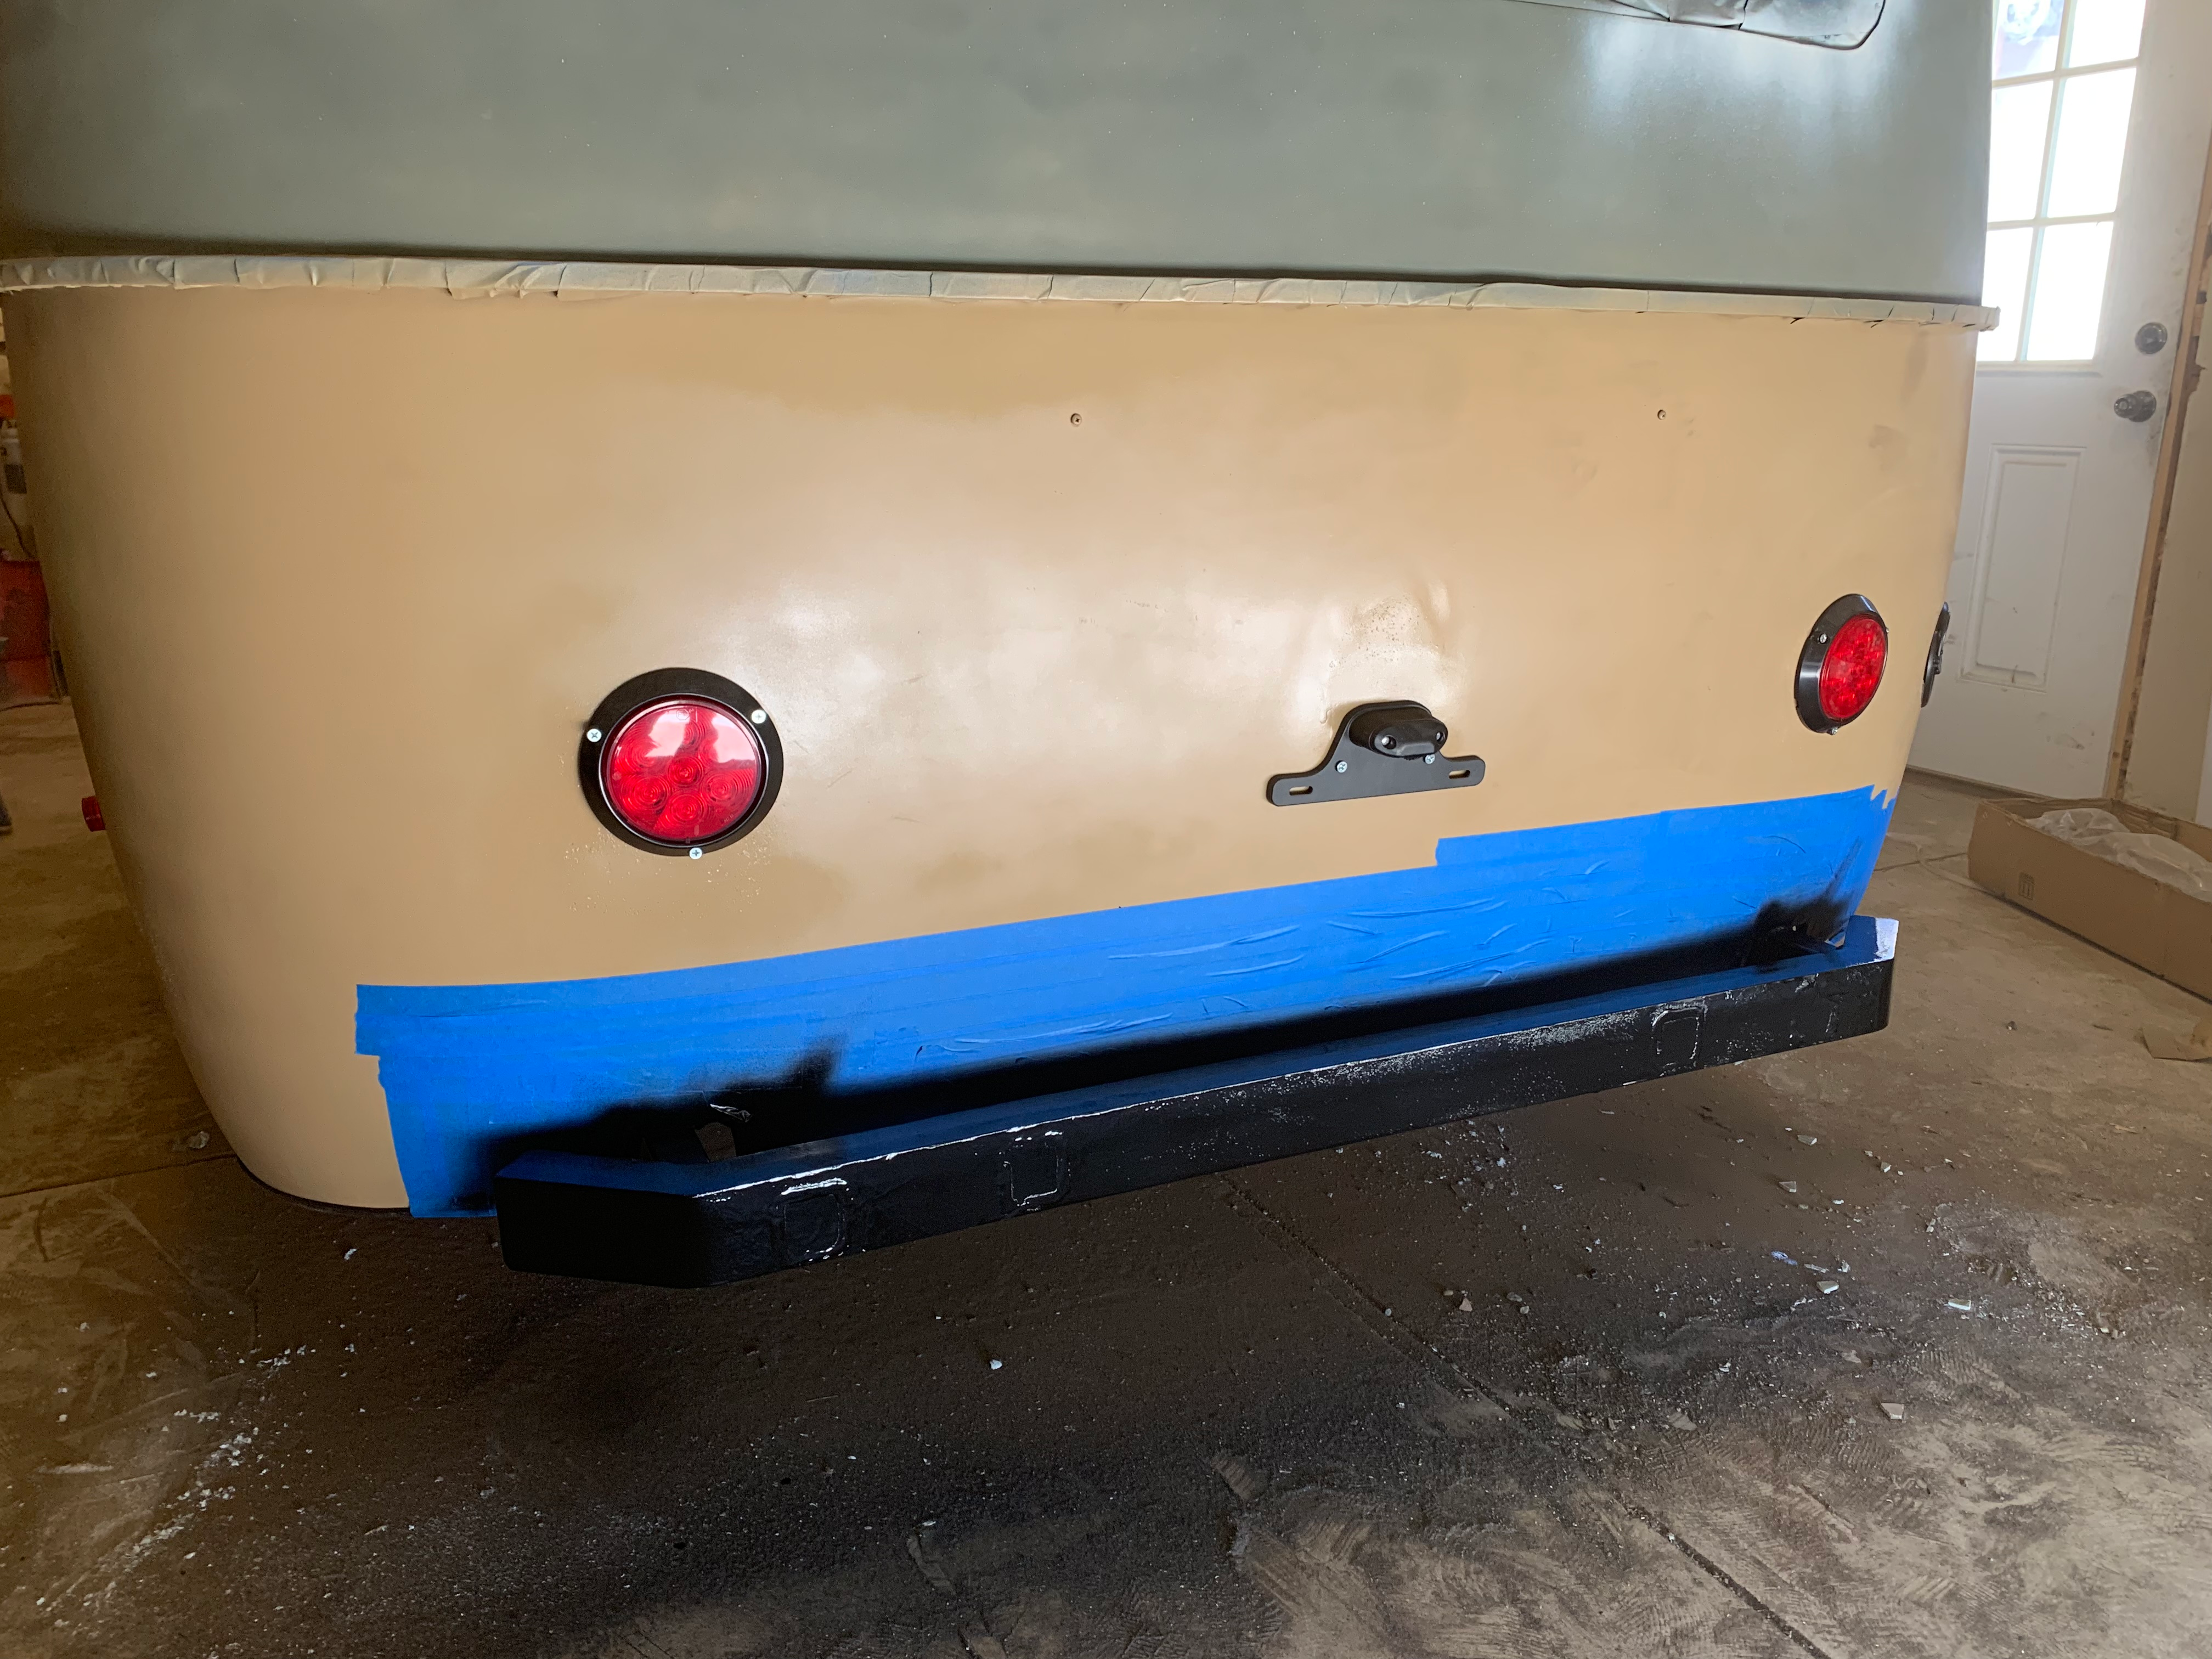
After grinding it flat, sanding it smooth with a rough grit on an orbital, and masking off the area and it was ready for paint. It's amazing what a blast of fresh gloss black will do to a flat bumper like this.
I'm not sure this bumper will do much good anyway, because if we're rear-ended while towing, the average American SUV will impact the rear window anyway. It may as well be pretty, then.
More of the same at the front, only this end required much less prep work.
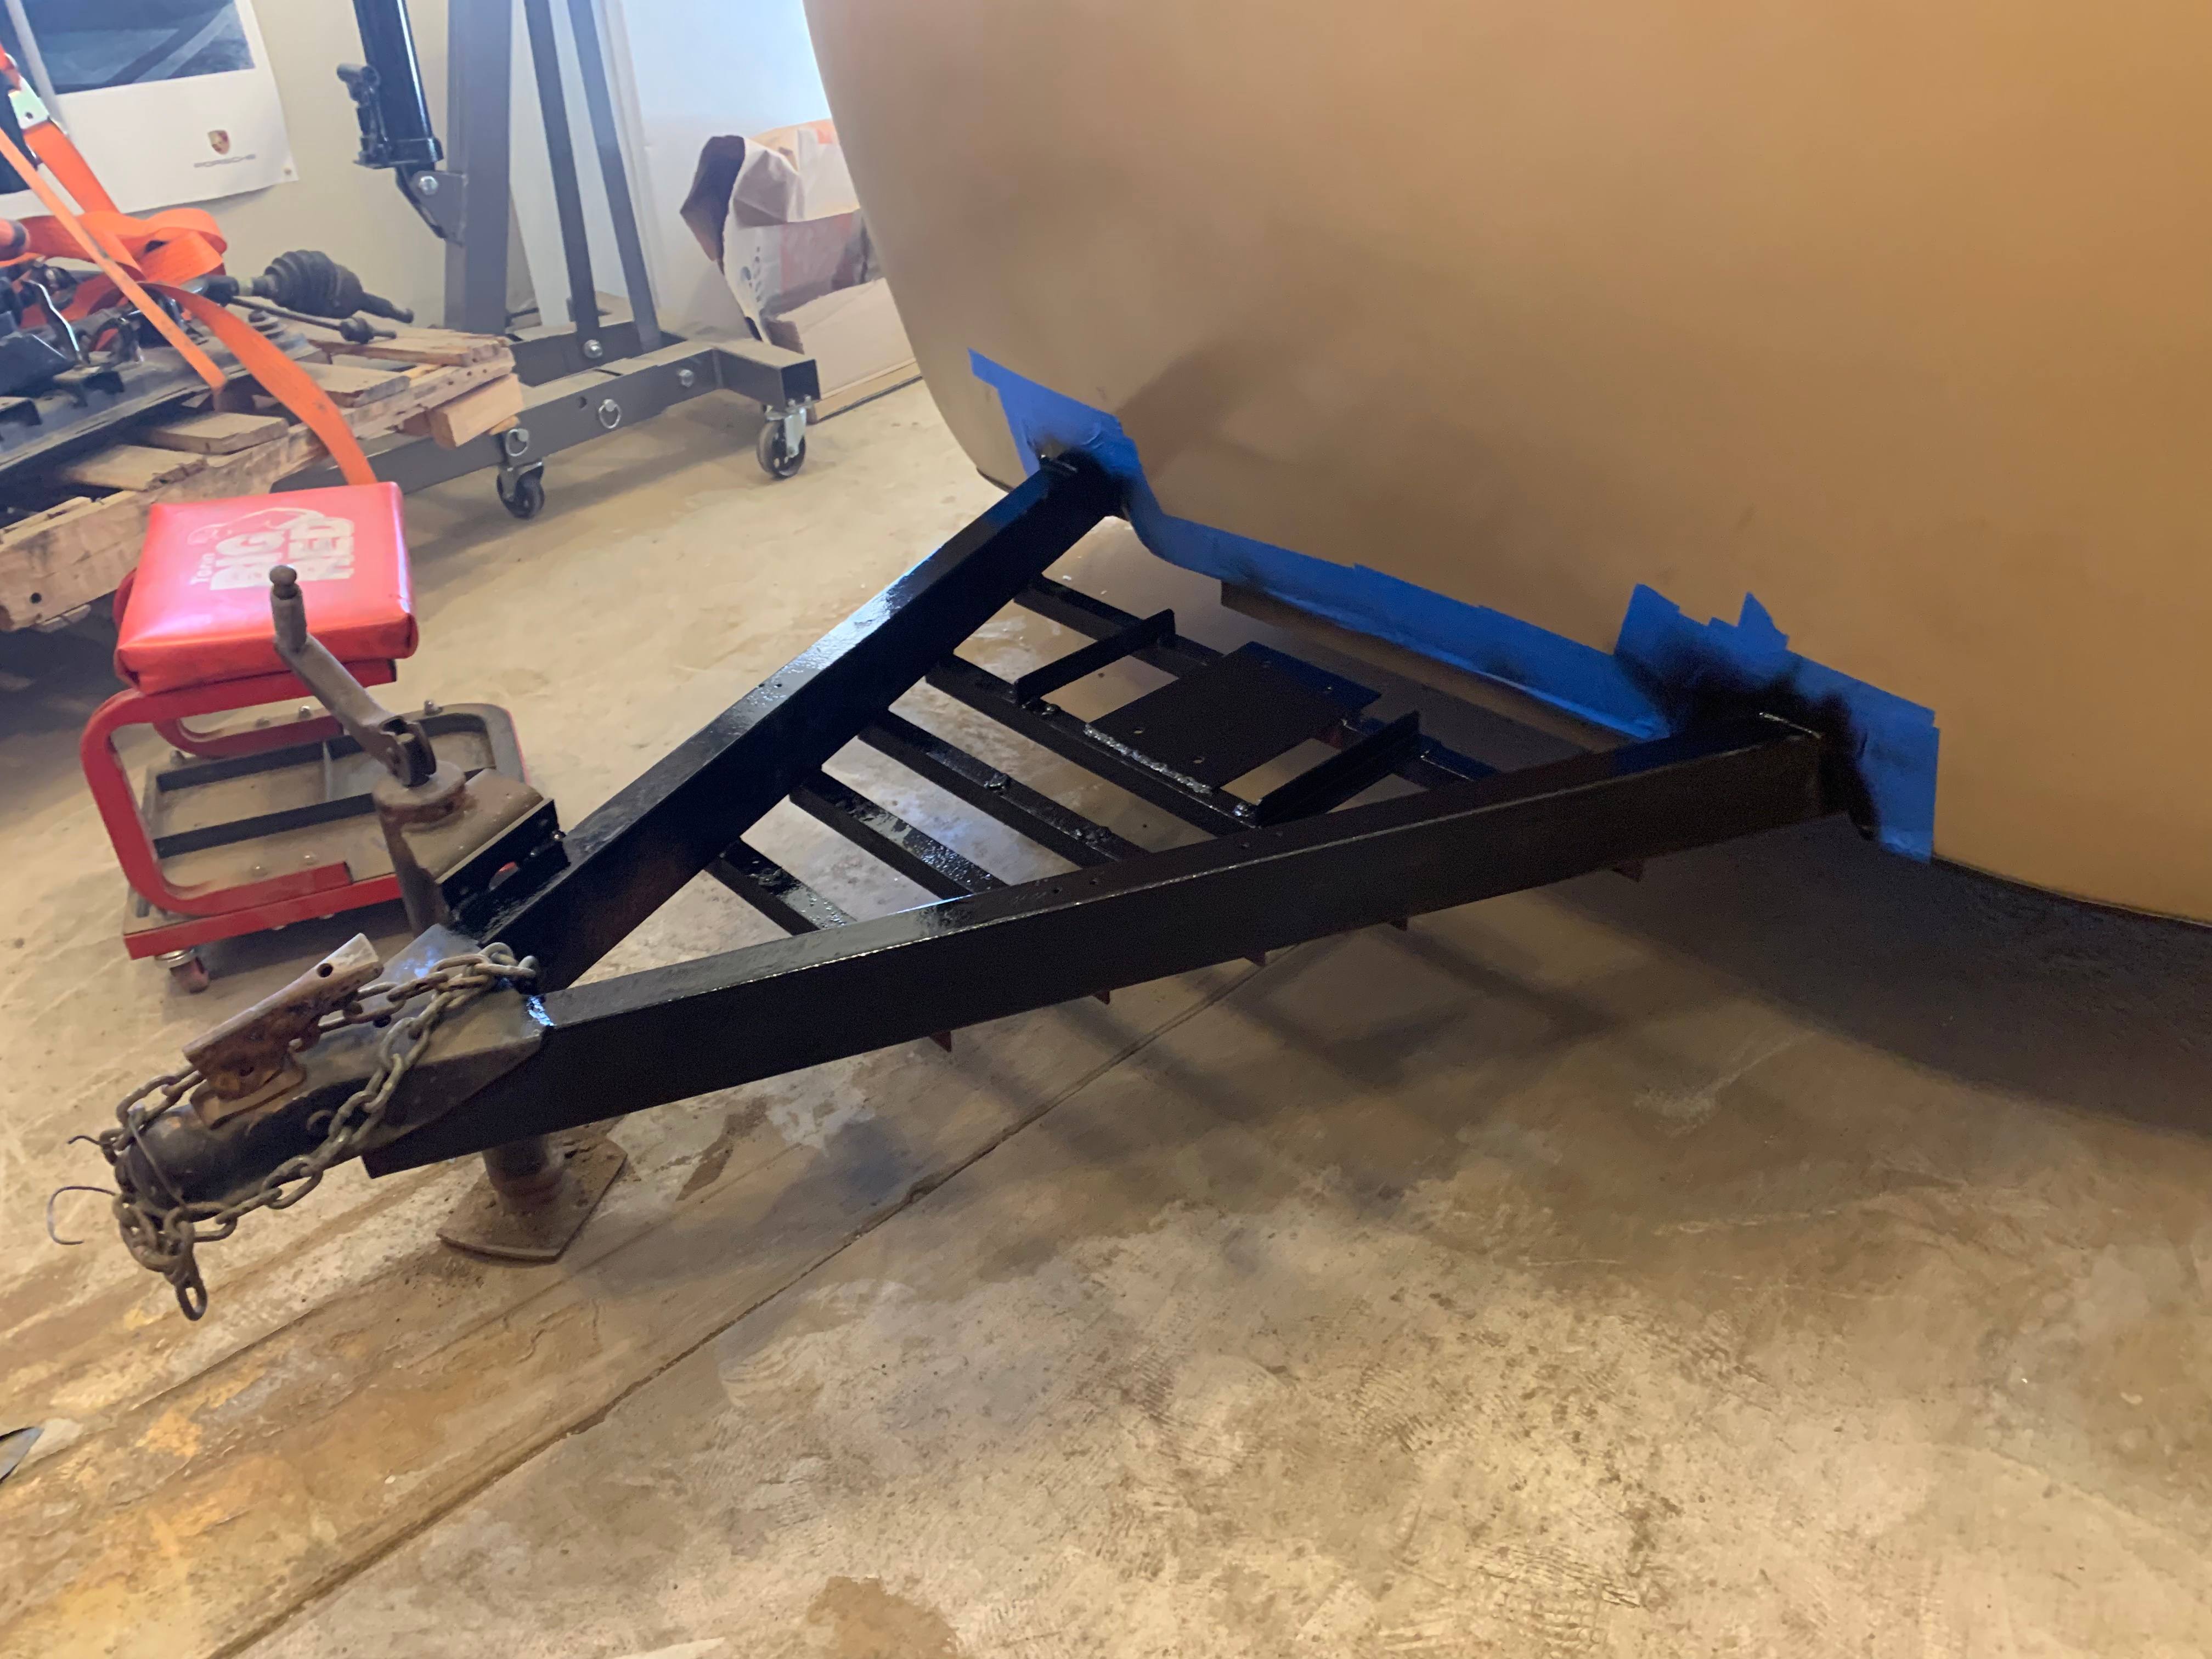
For the effort expended, I'm happy with the result. That's a good looking bumper!
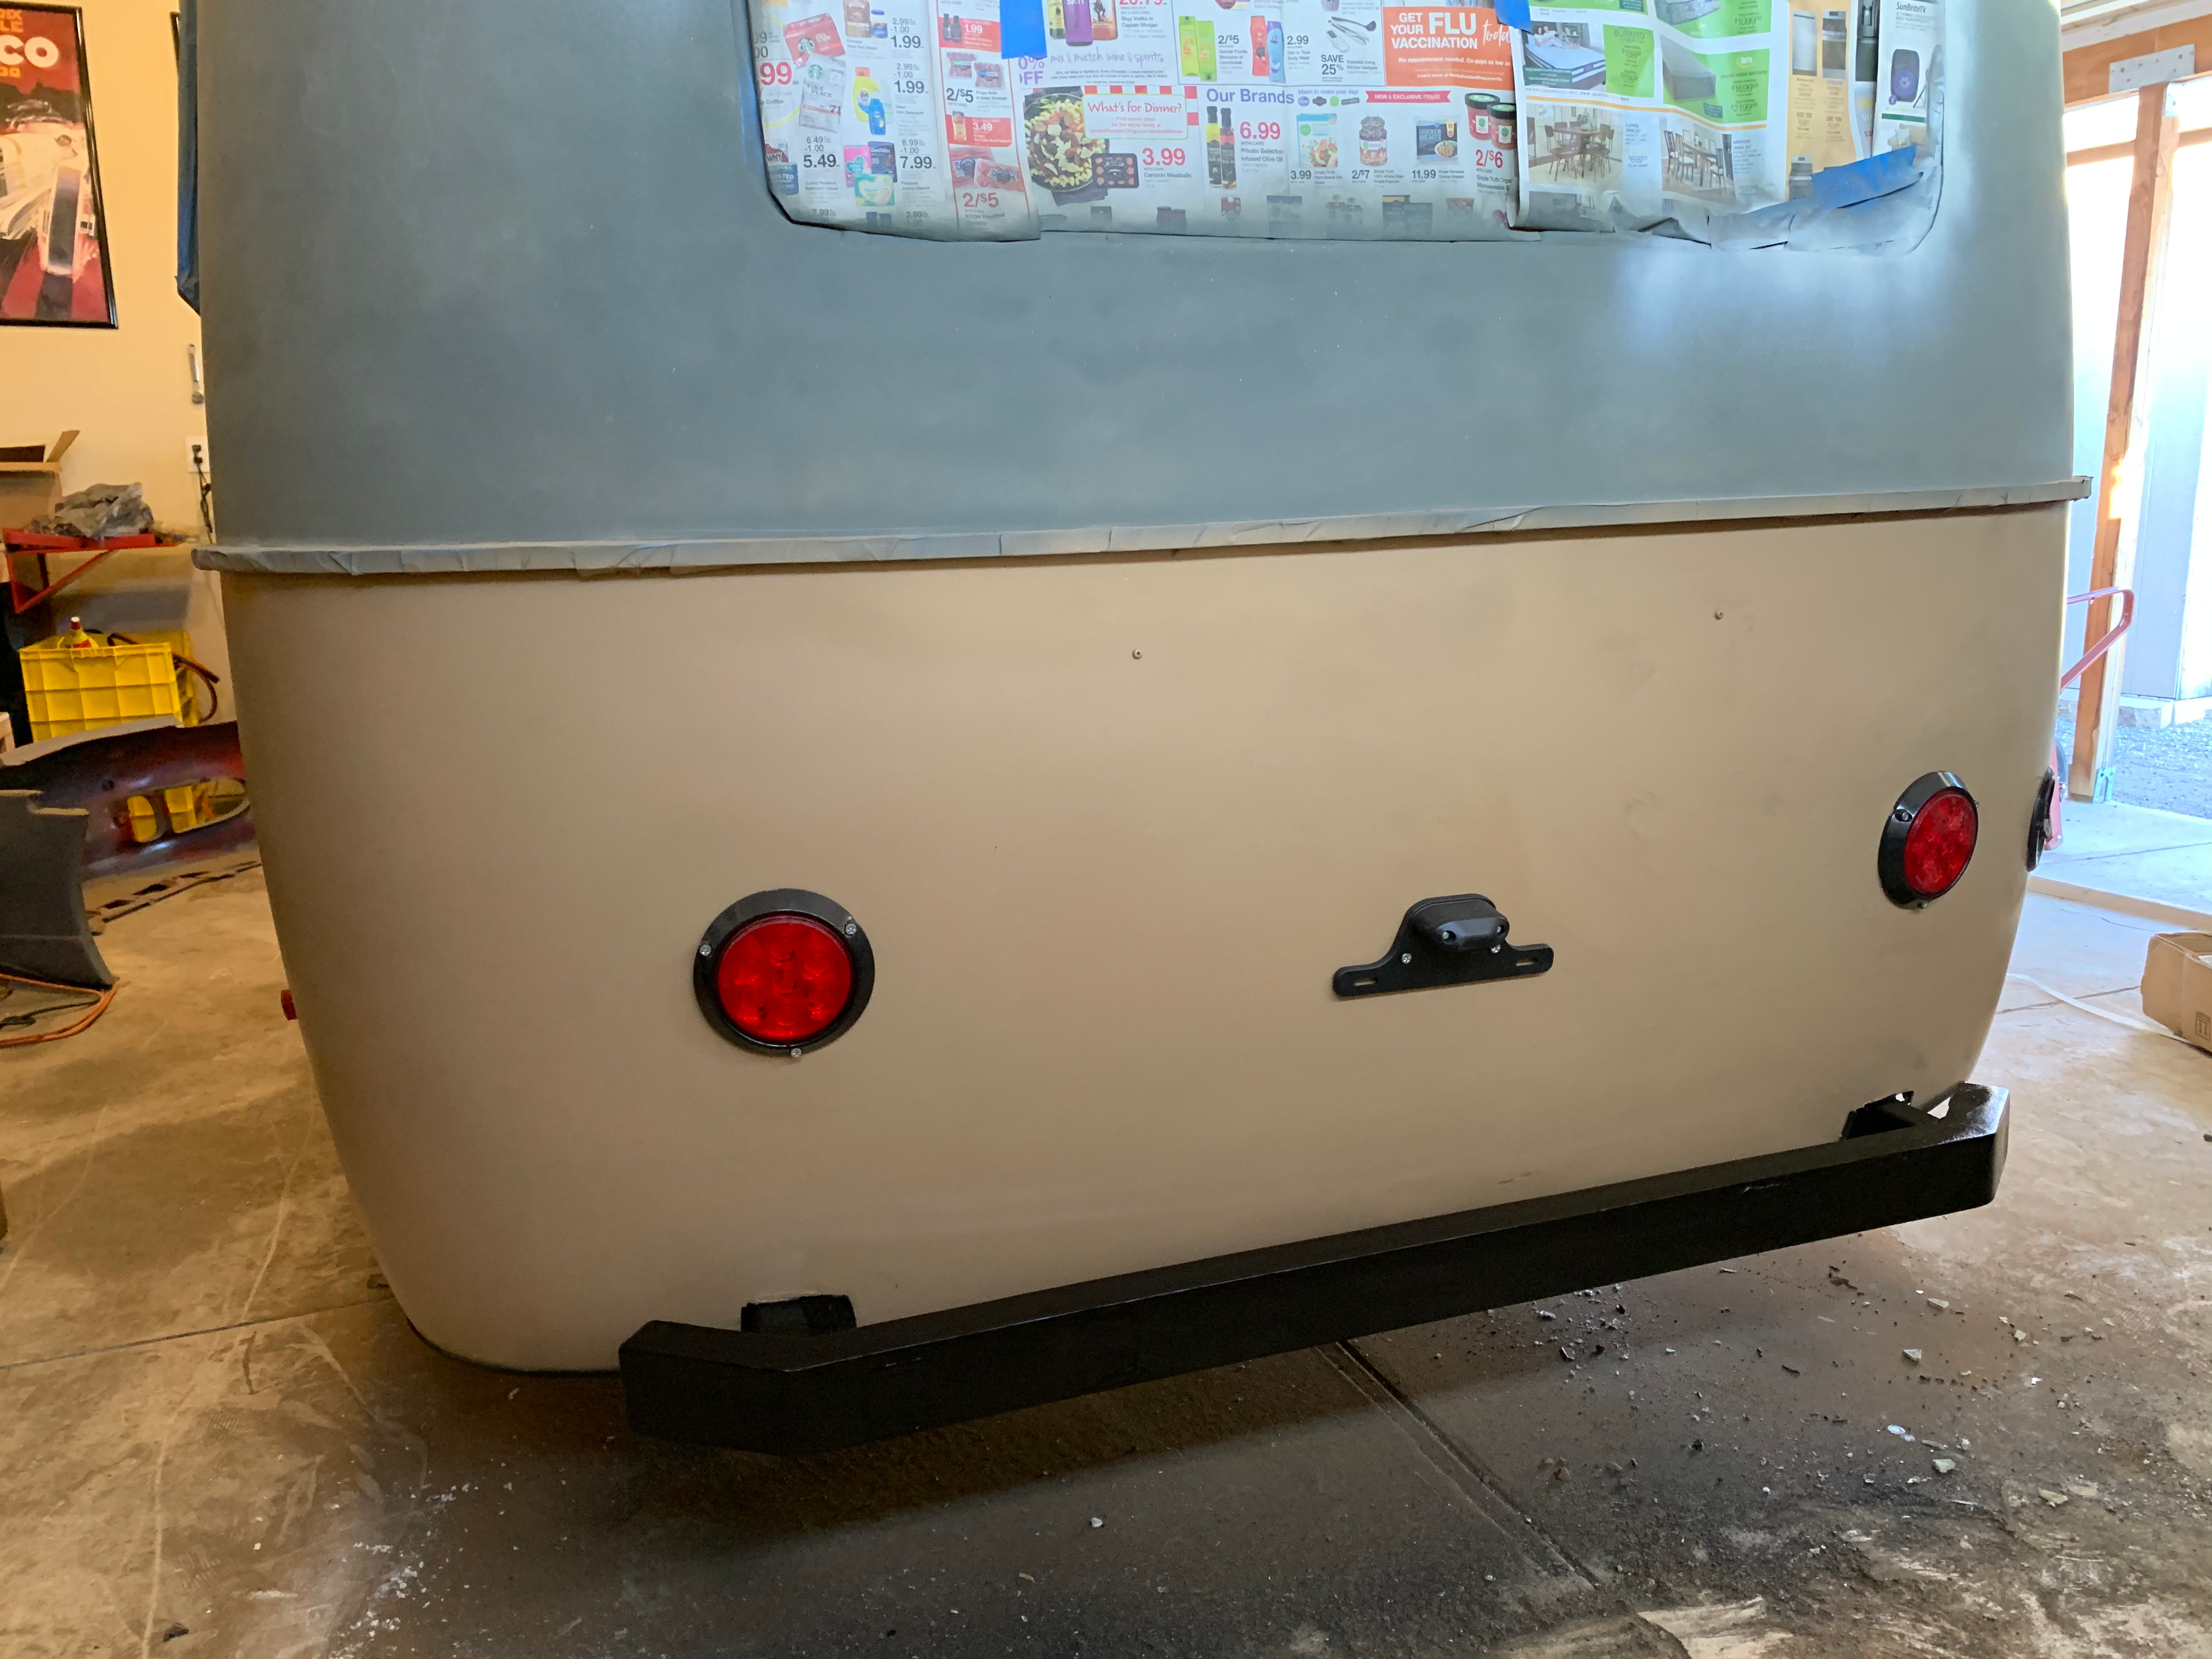
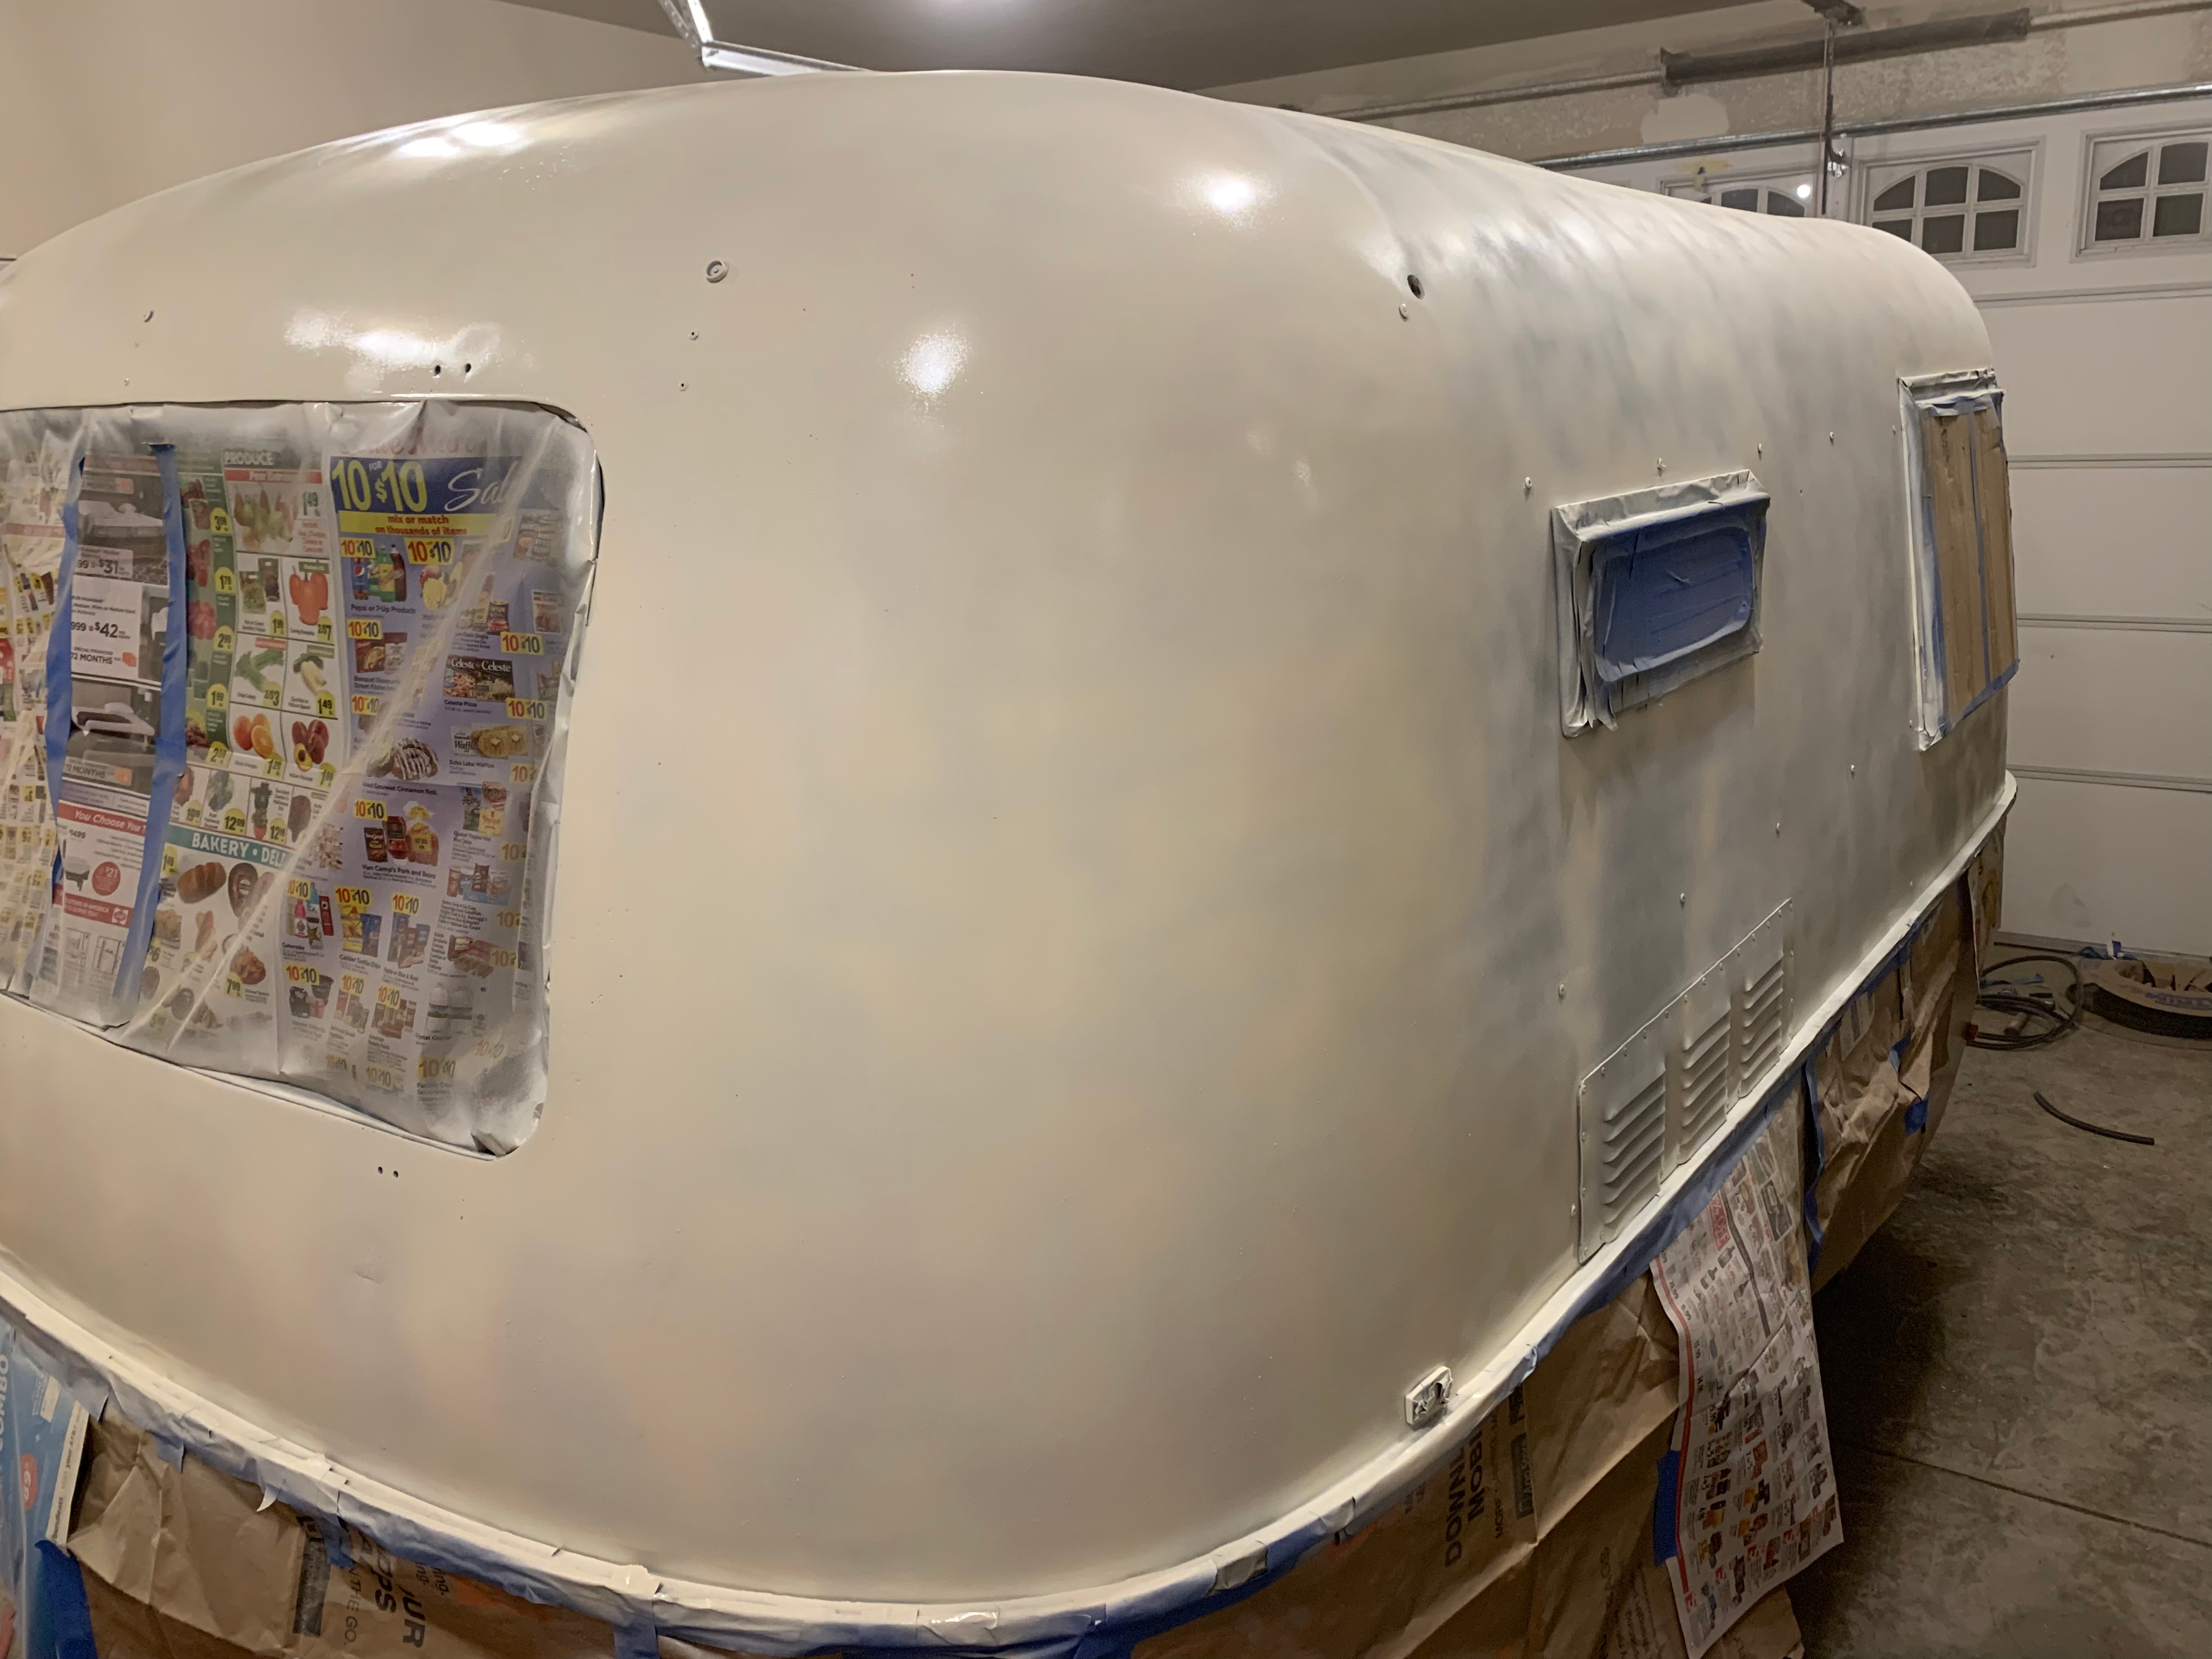
When my paint finally arrived, it was time to add a few more coats. See what I mean about the primer, though? I definitely would have required fewer coats if I'd used a lighter prime coat.
But, I'm happy with the result, for sure. The gold decals really set the thing off.
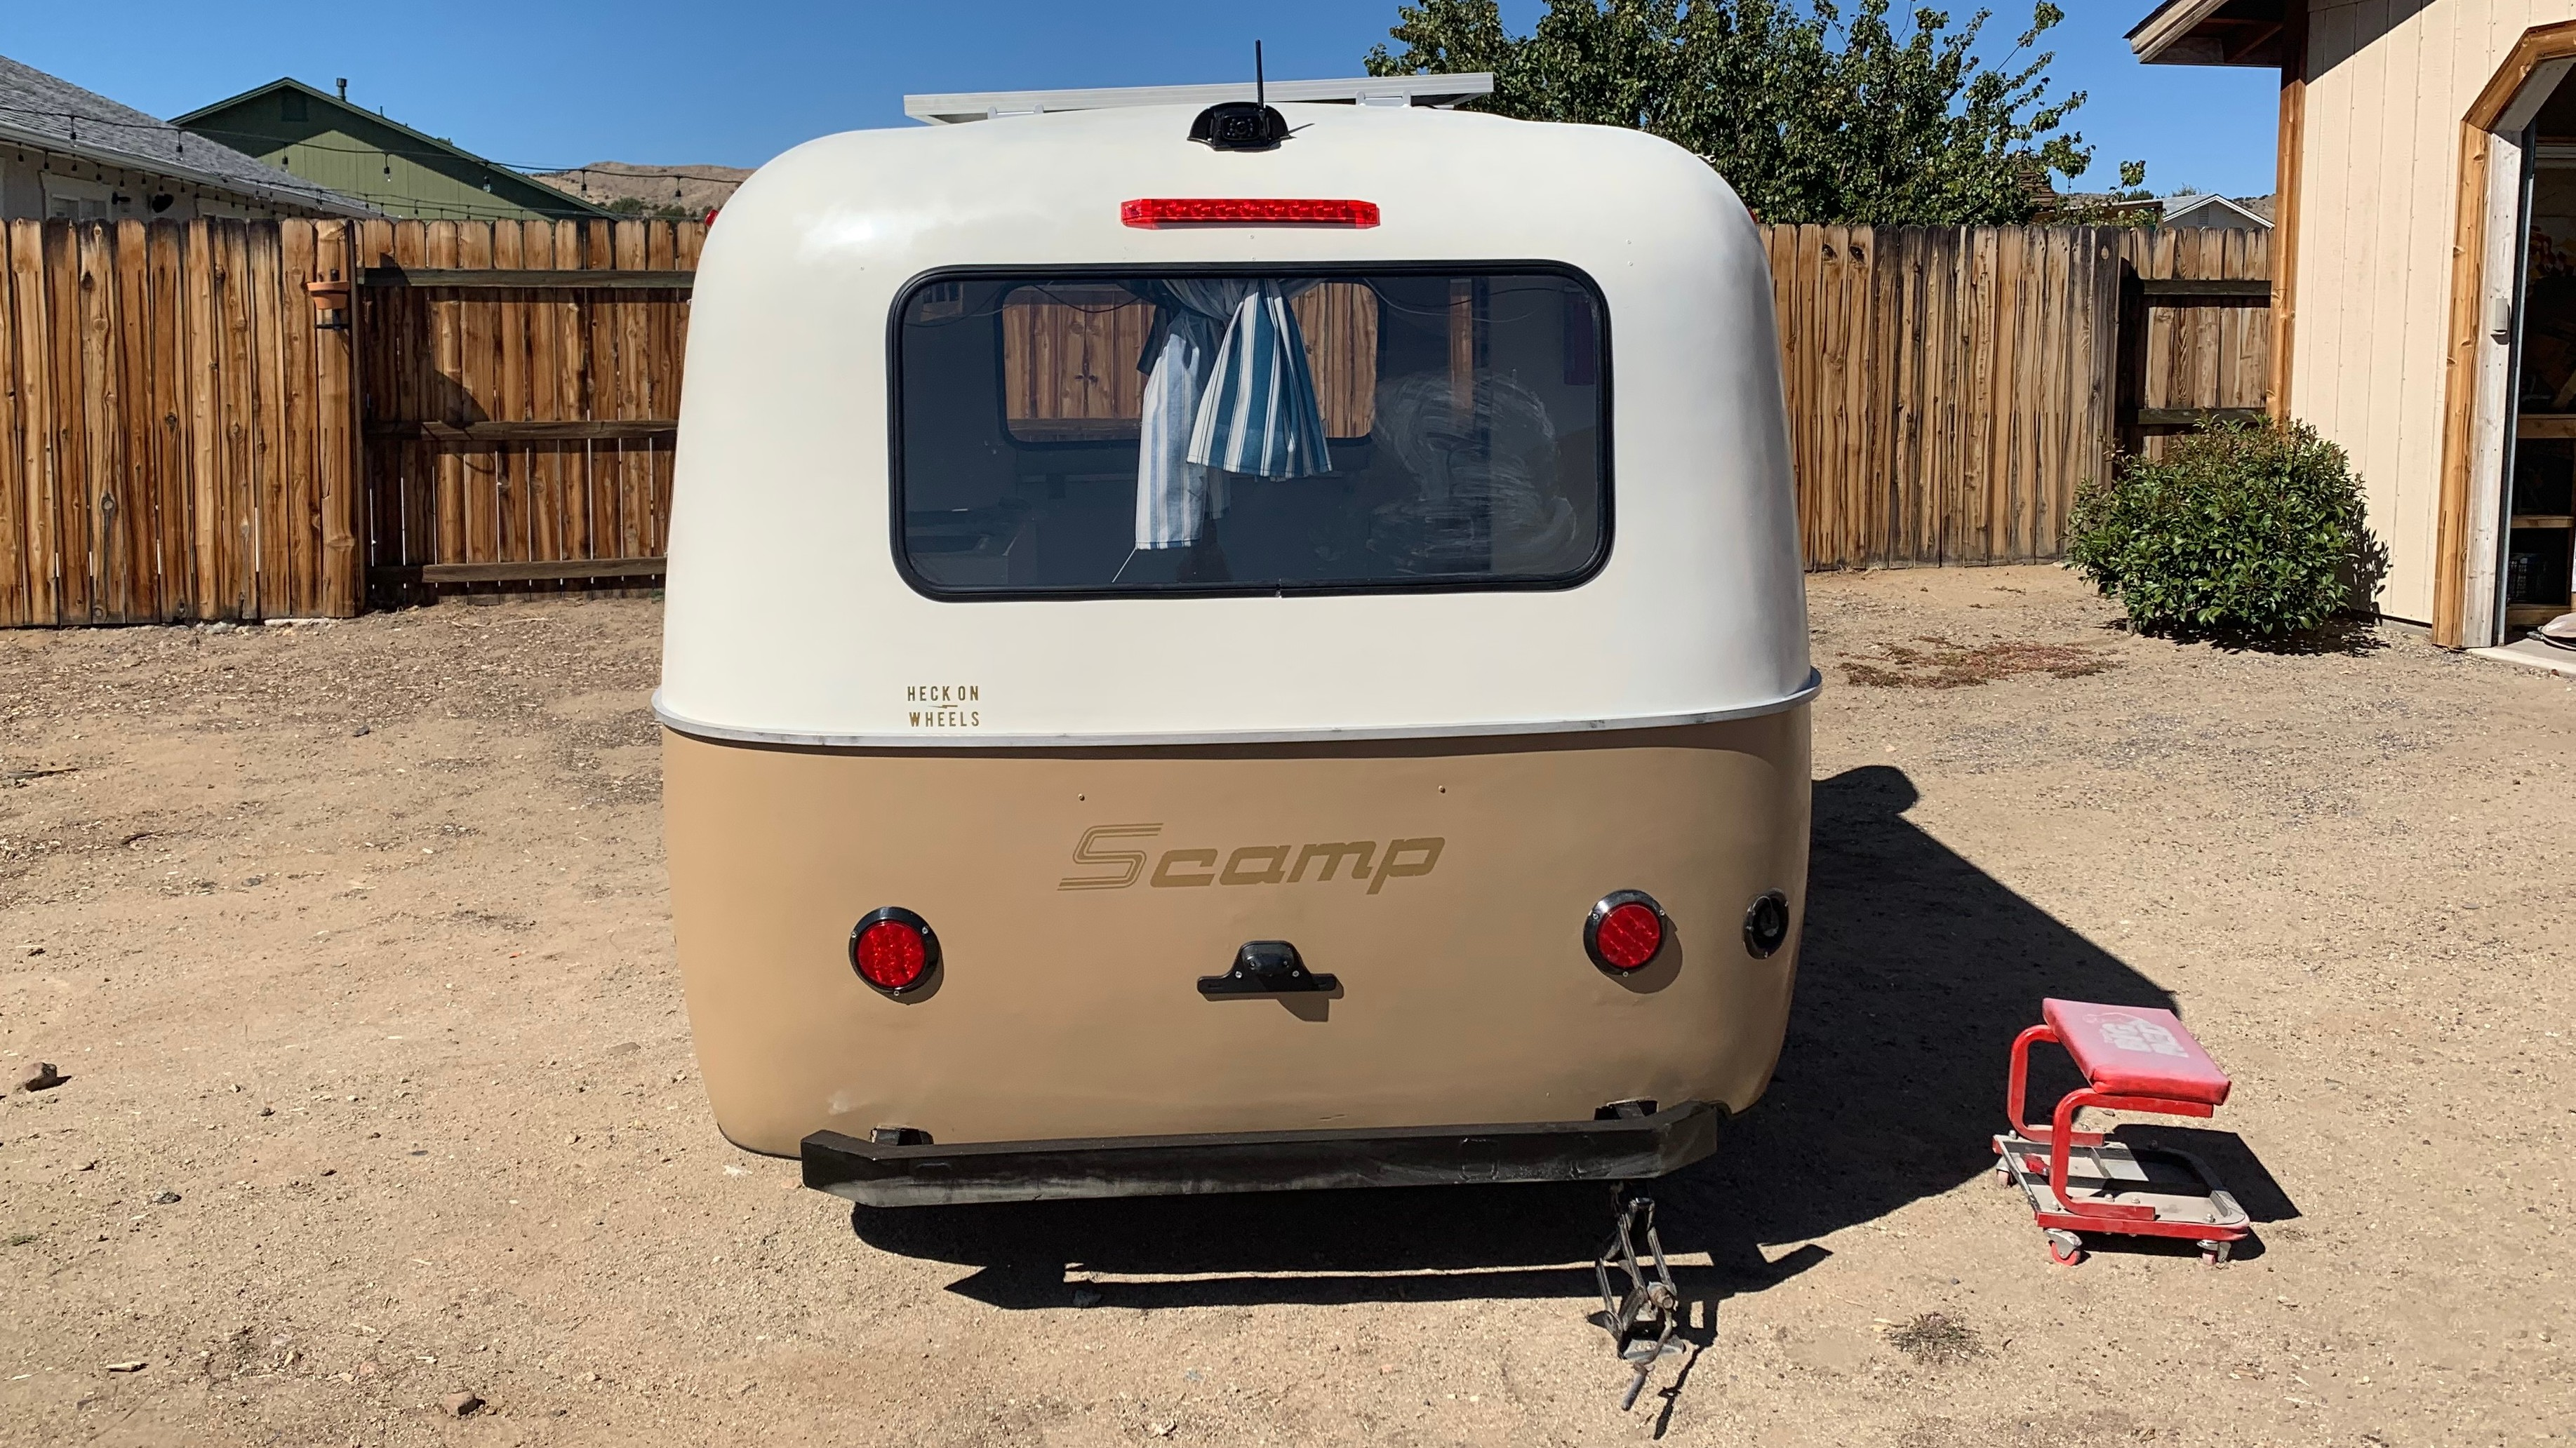
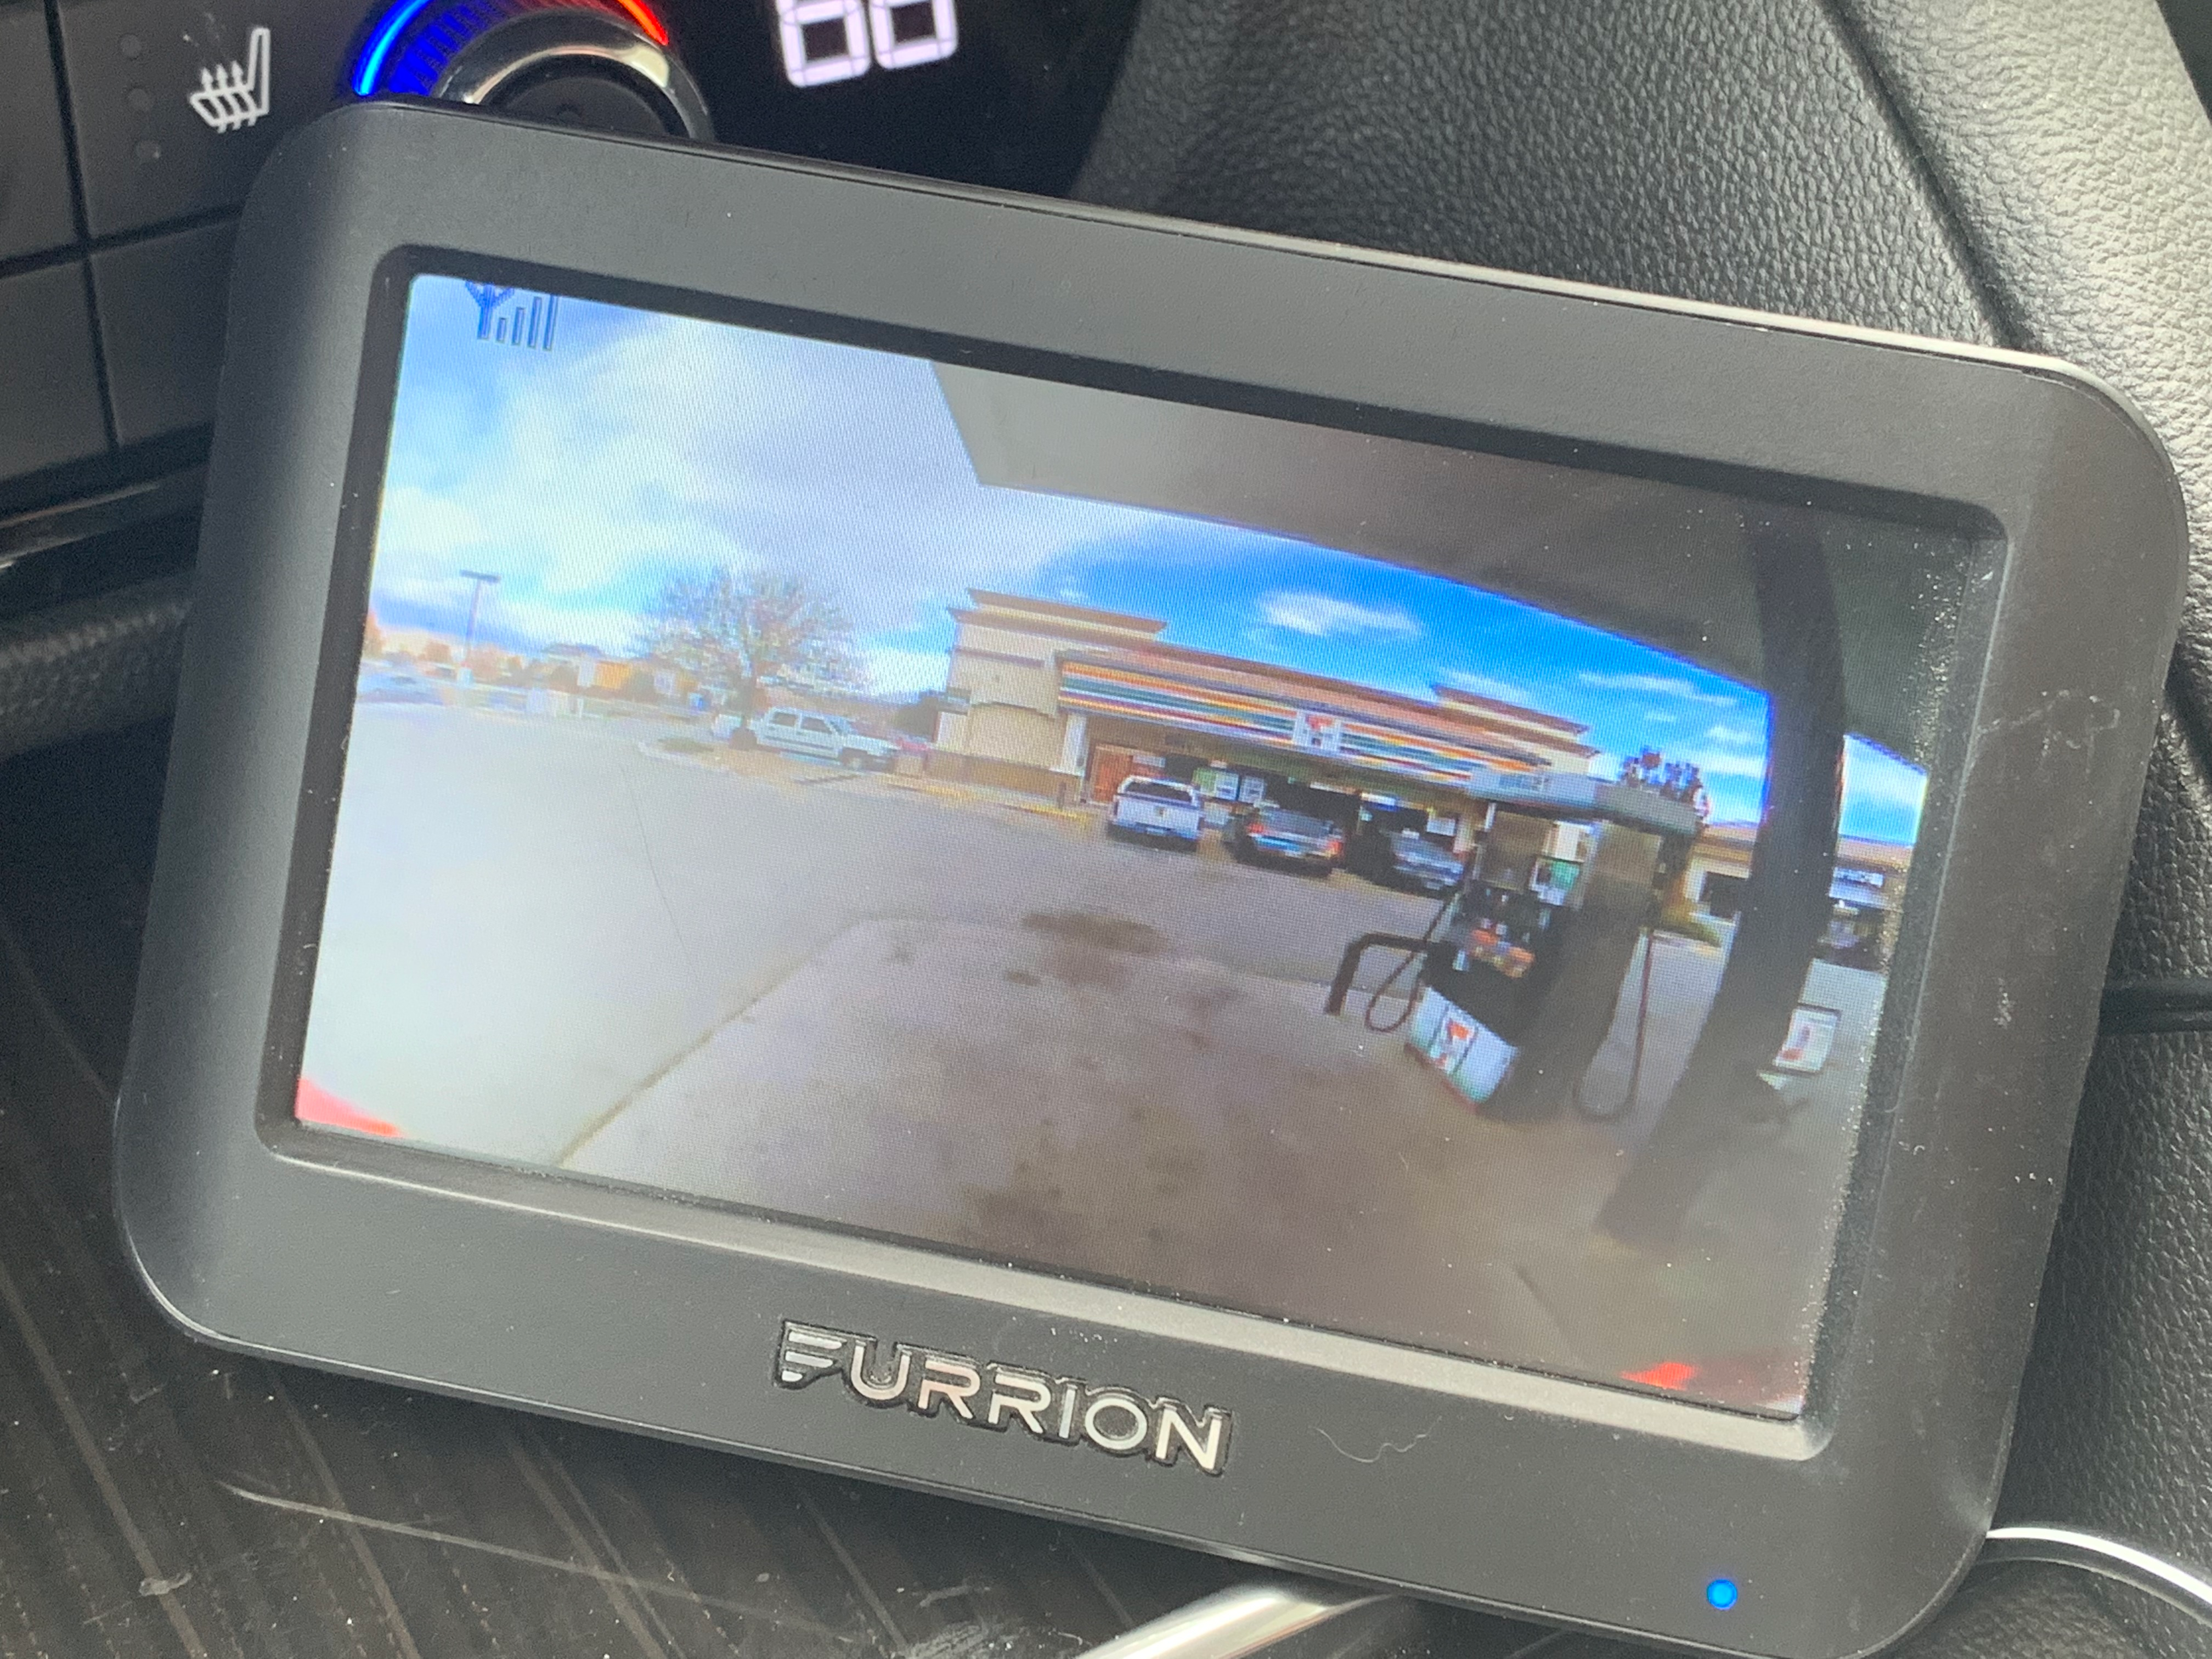
Because our car's rearview mirror is about two feet too low to just look through the trailer's big for and aft windows, I decided that, in deference to safety, I needed a rearview camera while towing. I may have been influenced by my experience towing with the GMC Sierra. This setup isn't nearly as high-tech, but it's nice to have a clear rear view. The camera wires into the exterior running light circuit, so it turns on when you turn on the tow vehicle's headlights.
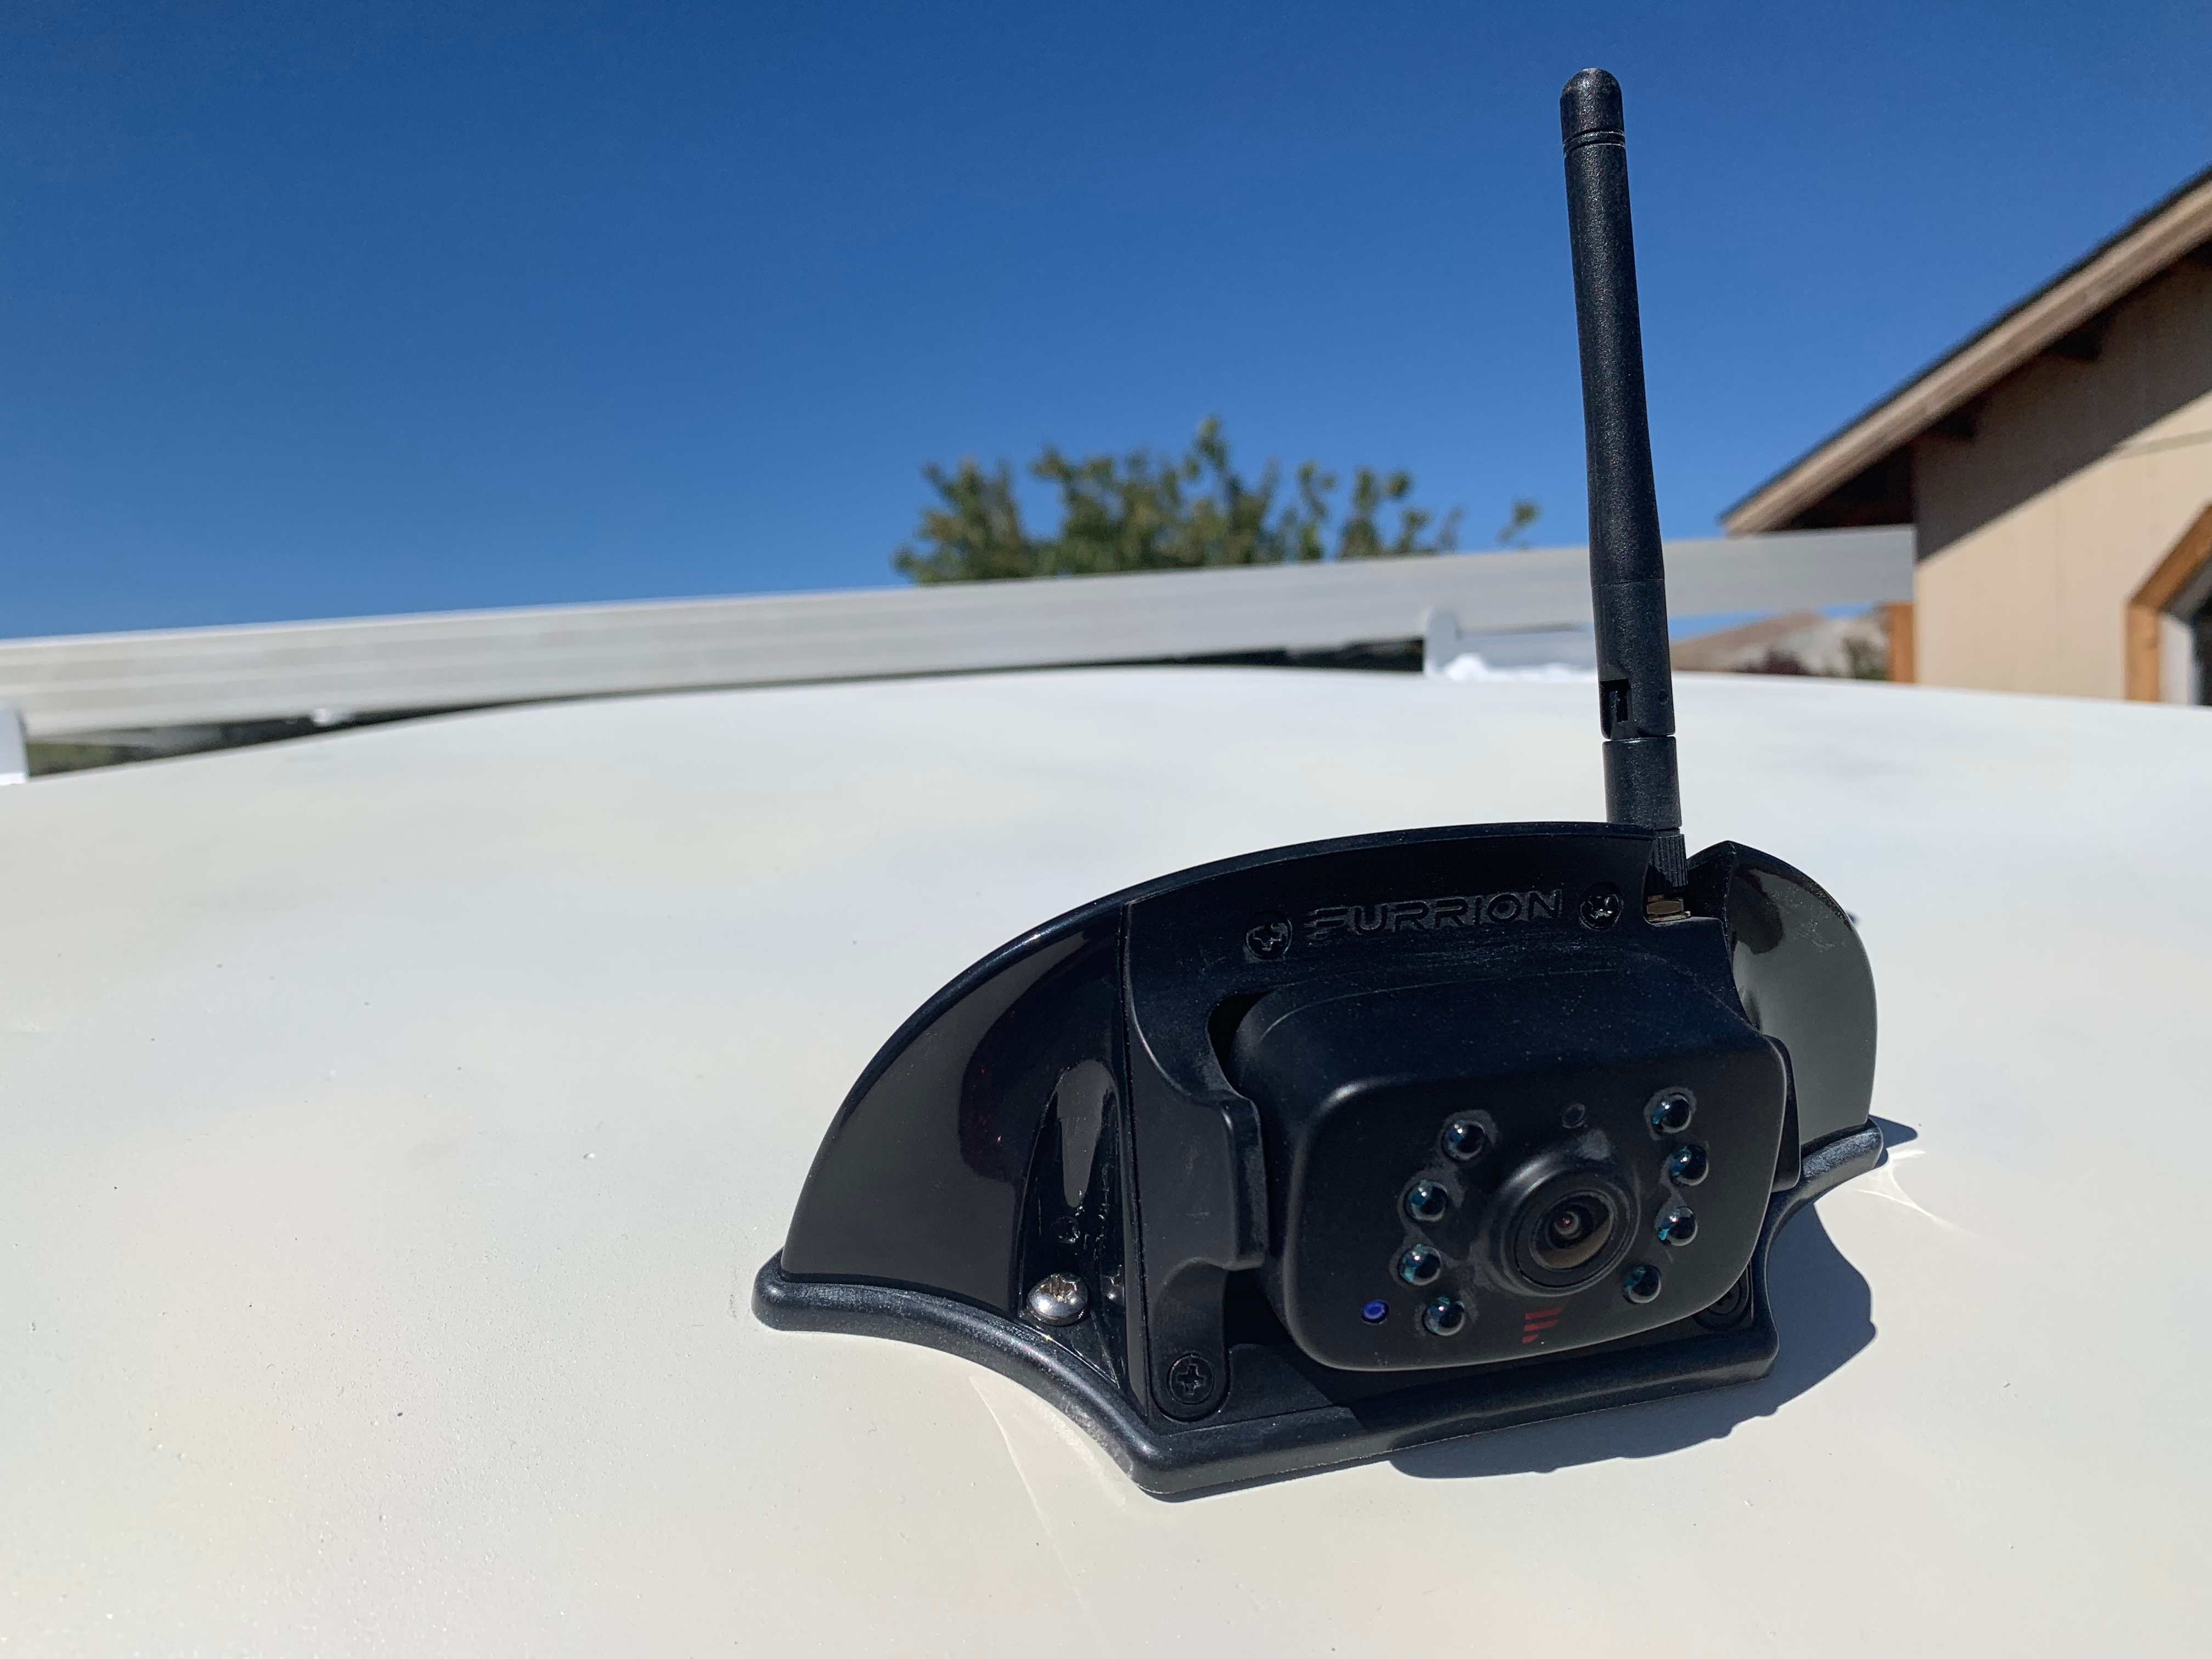
After doing some research, I bought this kit from Furrion. The display isn't the greatest, looking mostly like a GPS unit from a decade ago. Larger displays are available but at a much higher price point. For the $350 price tag, this kit worked well enough for my liking. I'm happy to have that extra peace of mind, and a display that transfers between tow vehicles.
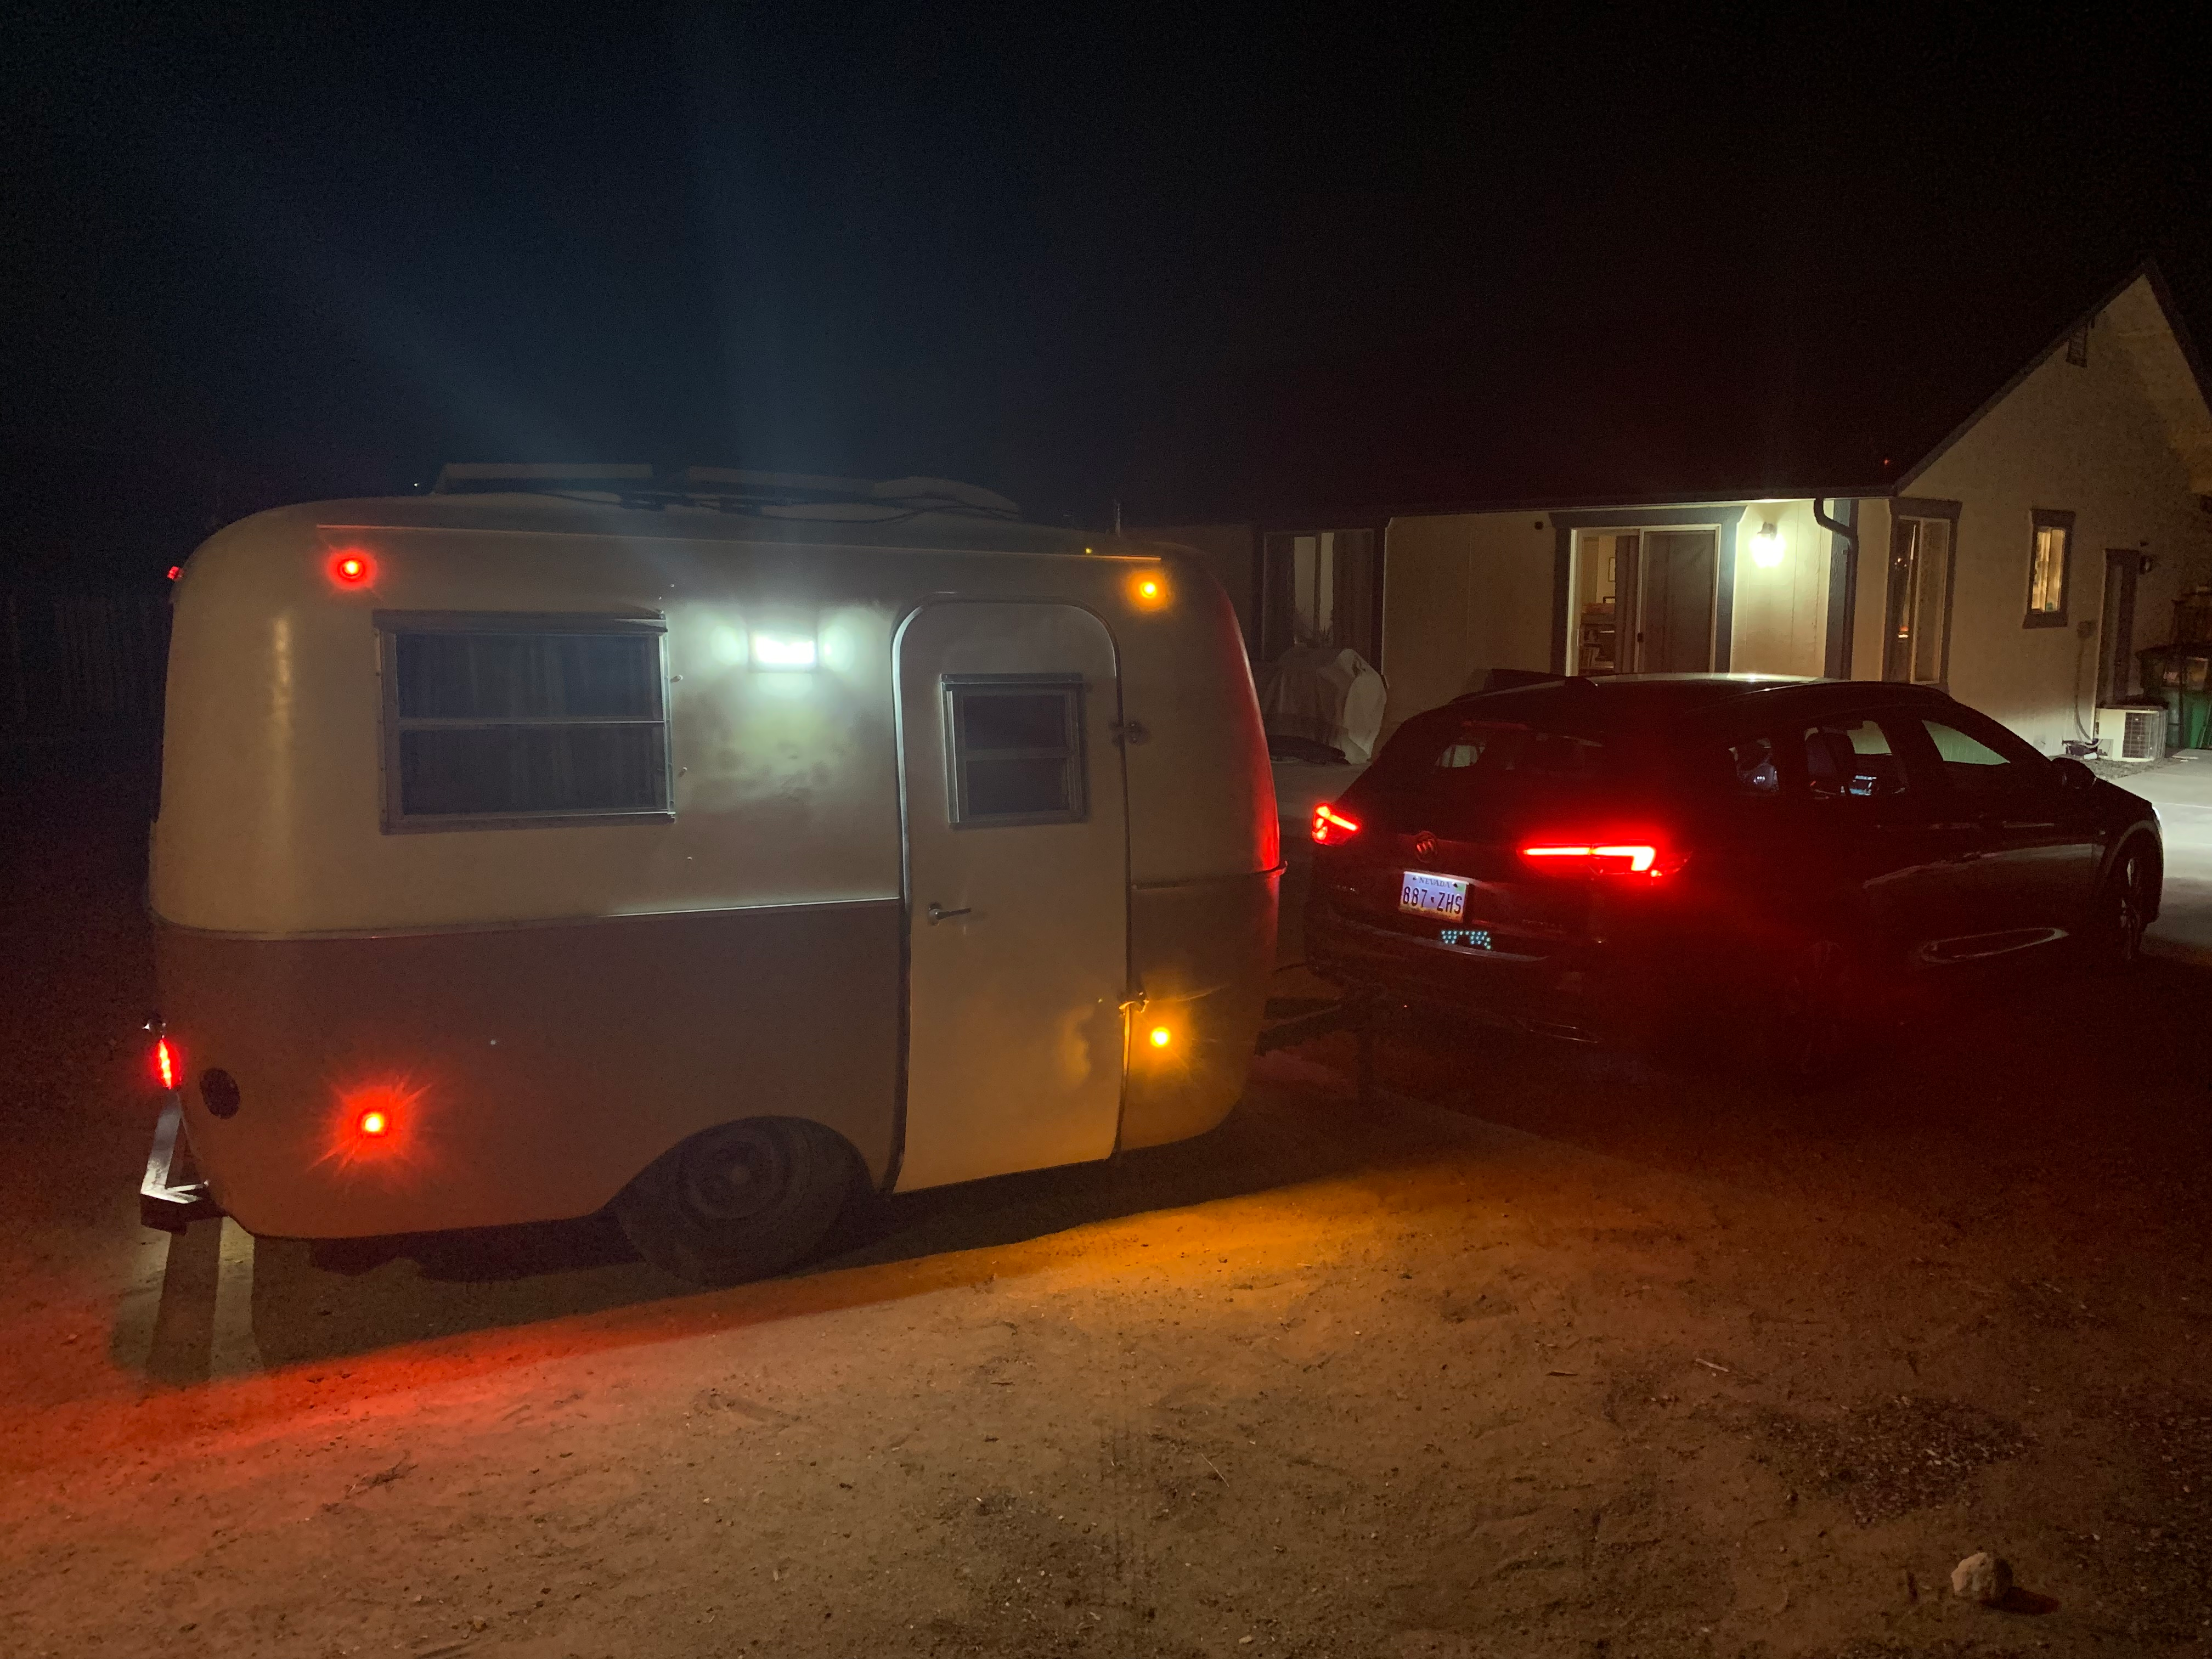
It finally came time to hook the trailer up to the Buick for its first tow since the exterior refurb began. Plugged in, it looked great lighting up the night. I tested the brakes first, and they all worked exactly as expected. Then I ticked on the left turn signal and my joy deflated. Womp womp.
I used that aforementioned gReen and yeLLow mnemonic and everything worked out great except for one thing. I was wiring the trailer from inside the trailer, naturally. I didn't think about the fact that left and right are in reference to the direction it travels down the road. I wired everything correctly, but it was reversed. So now on my trailer I've inadvertently reversed that mnemonic. Duh, I'm such a dork.
At any rate, it's an especially good looking tow combo at night now that I've replaced all of the exterior lighting with LEDs. And before I get comments about blinding people on the highway, don't worry, the exterior porch light has an off switch.
I hitched up and headed to visit my friend Joe at a local trailer repair shop. He got me hooked up with a trailer tongue box, a trio of new leveling jacks, a new hitch coupler, new safety chains, and some snazzy wheels and tires. I'm just as anxious to see the finished result as you are!
I'll discuss the photo-voltaic system on the roof, and the 12v power system inside the trailer, in a future installment. We're hoping to get on the road by January 1, so we still have a long way to go and a short time to get there.
