How I Fixed A Broken Sunroof In One Of The Most Unreliable Cars Of The Modern Era
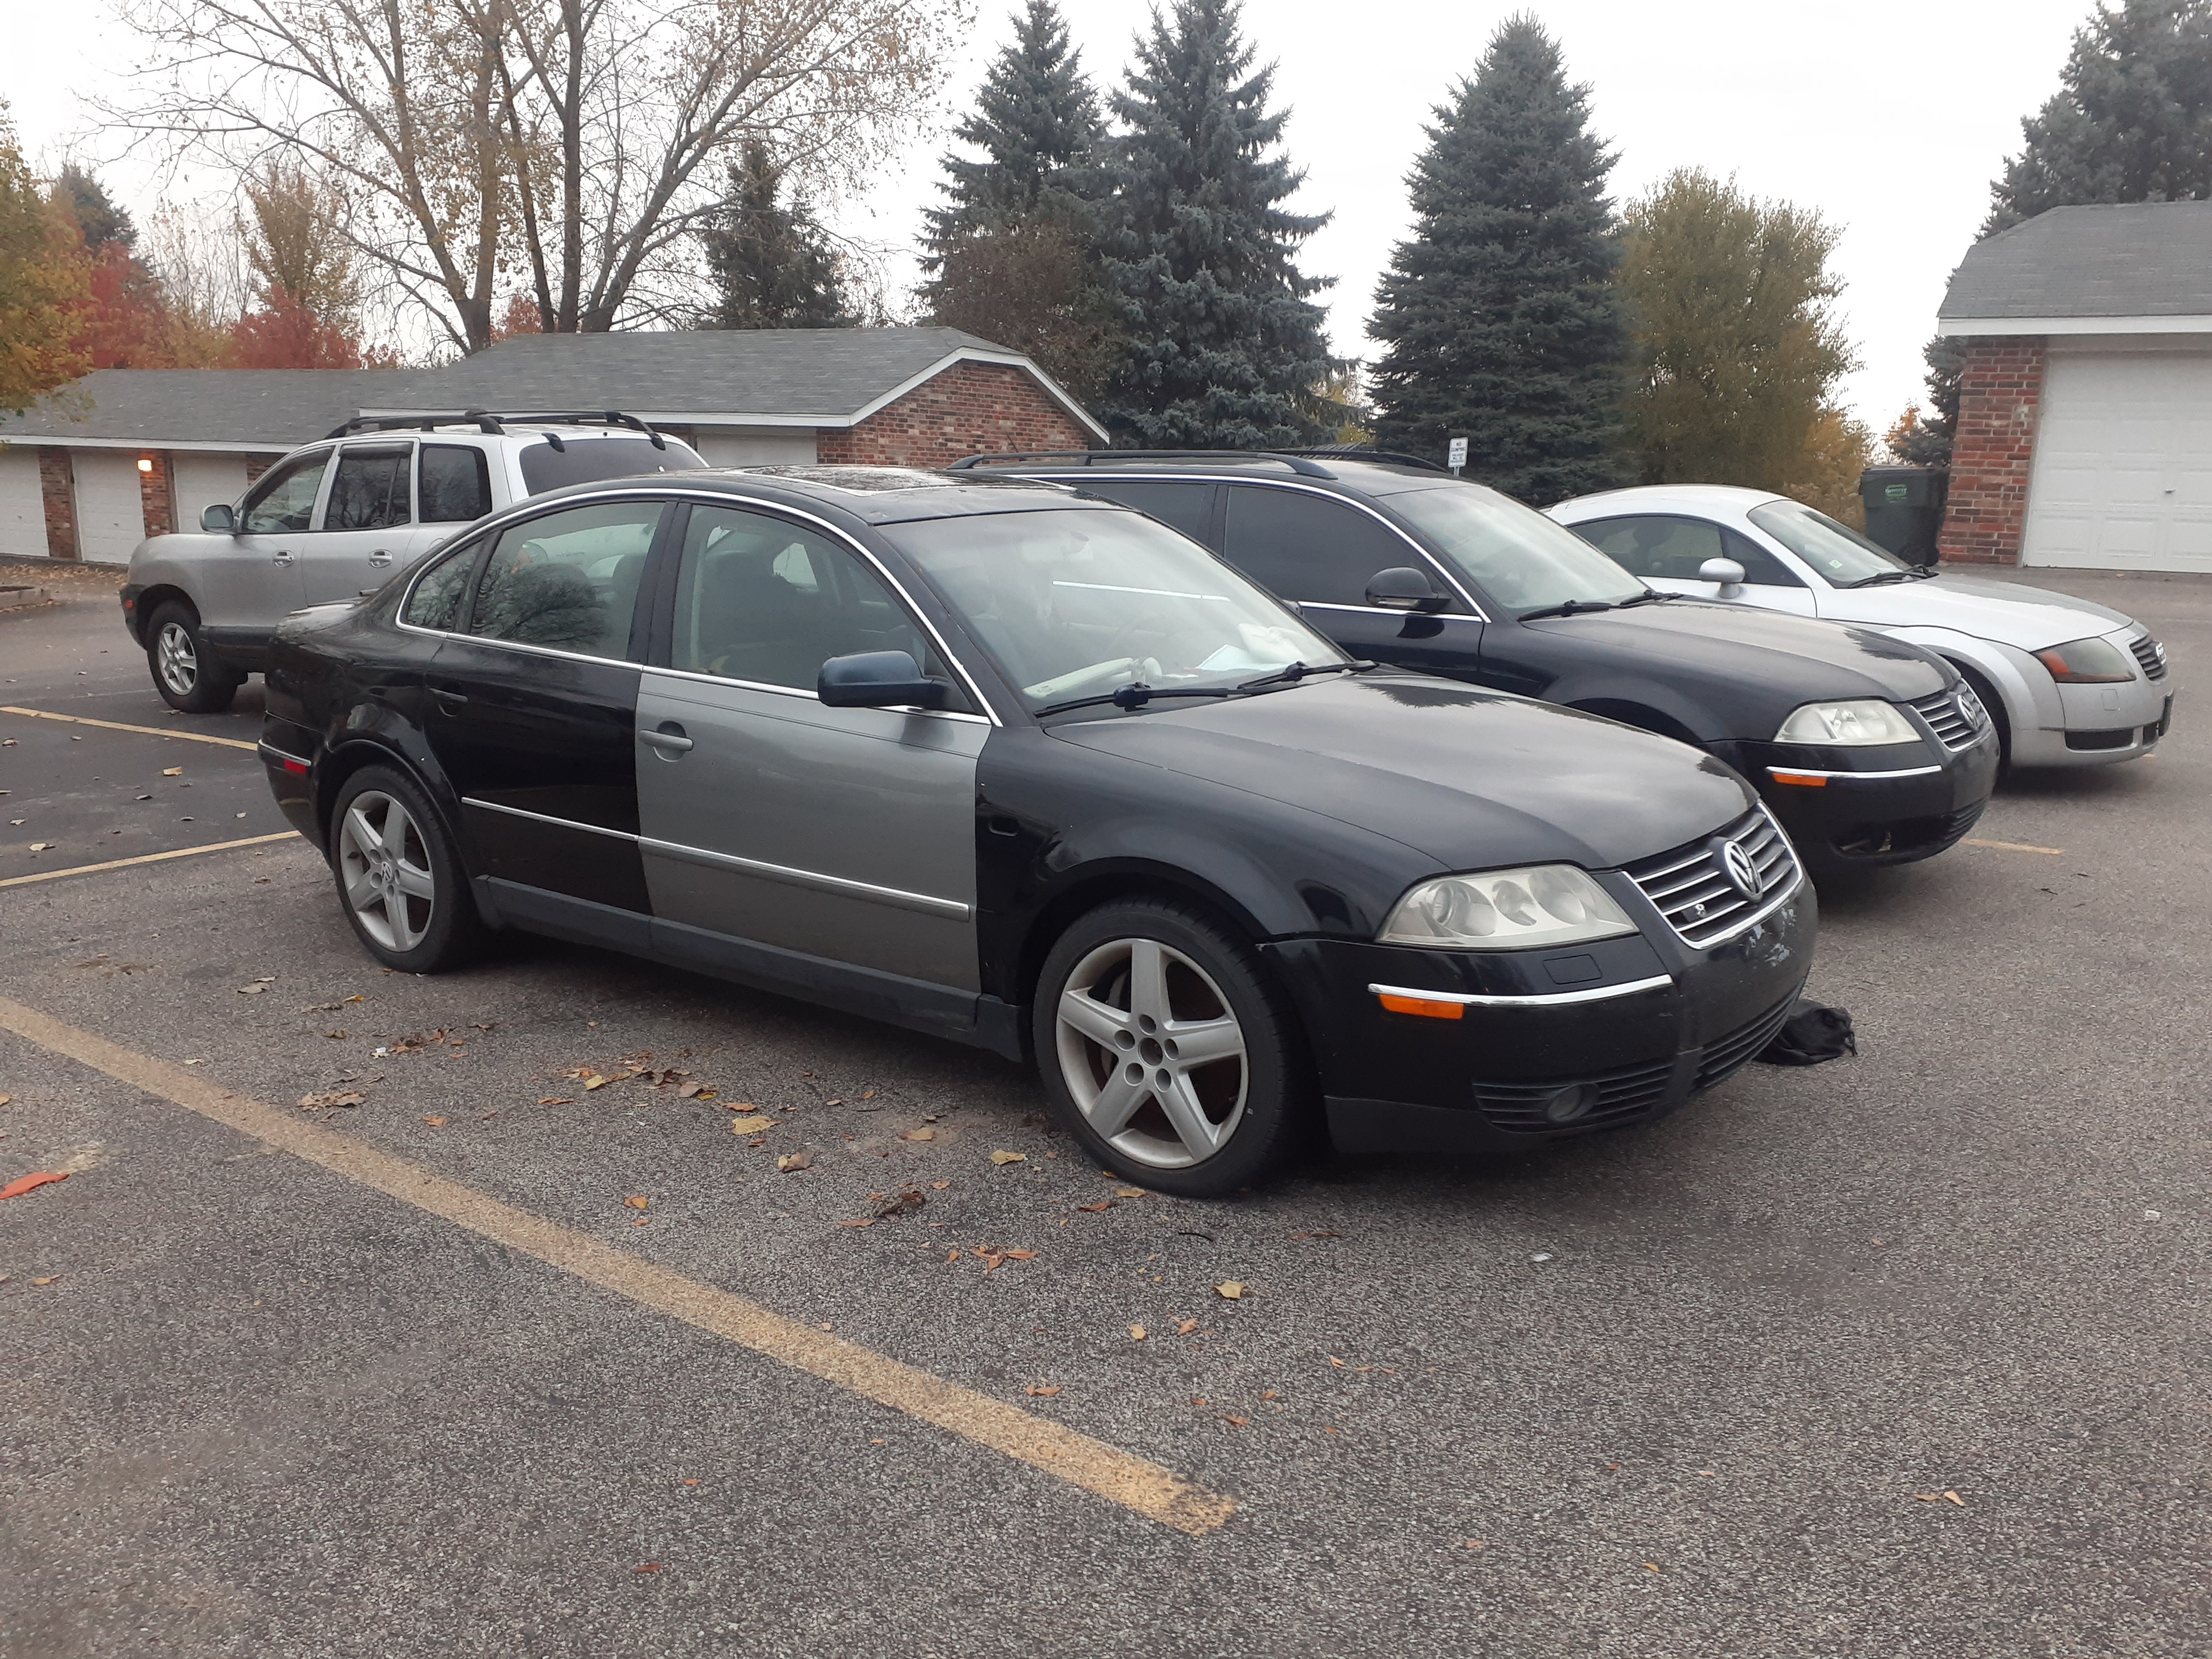
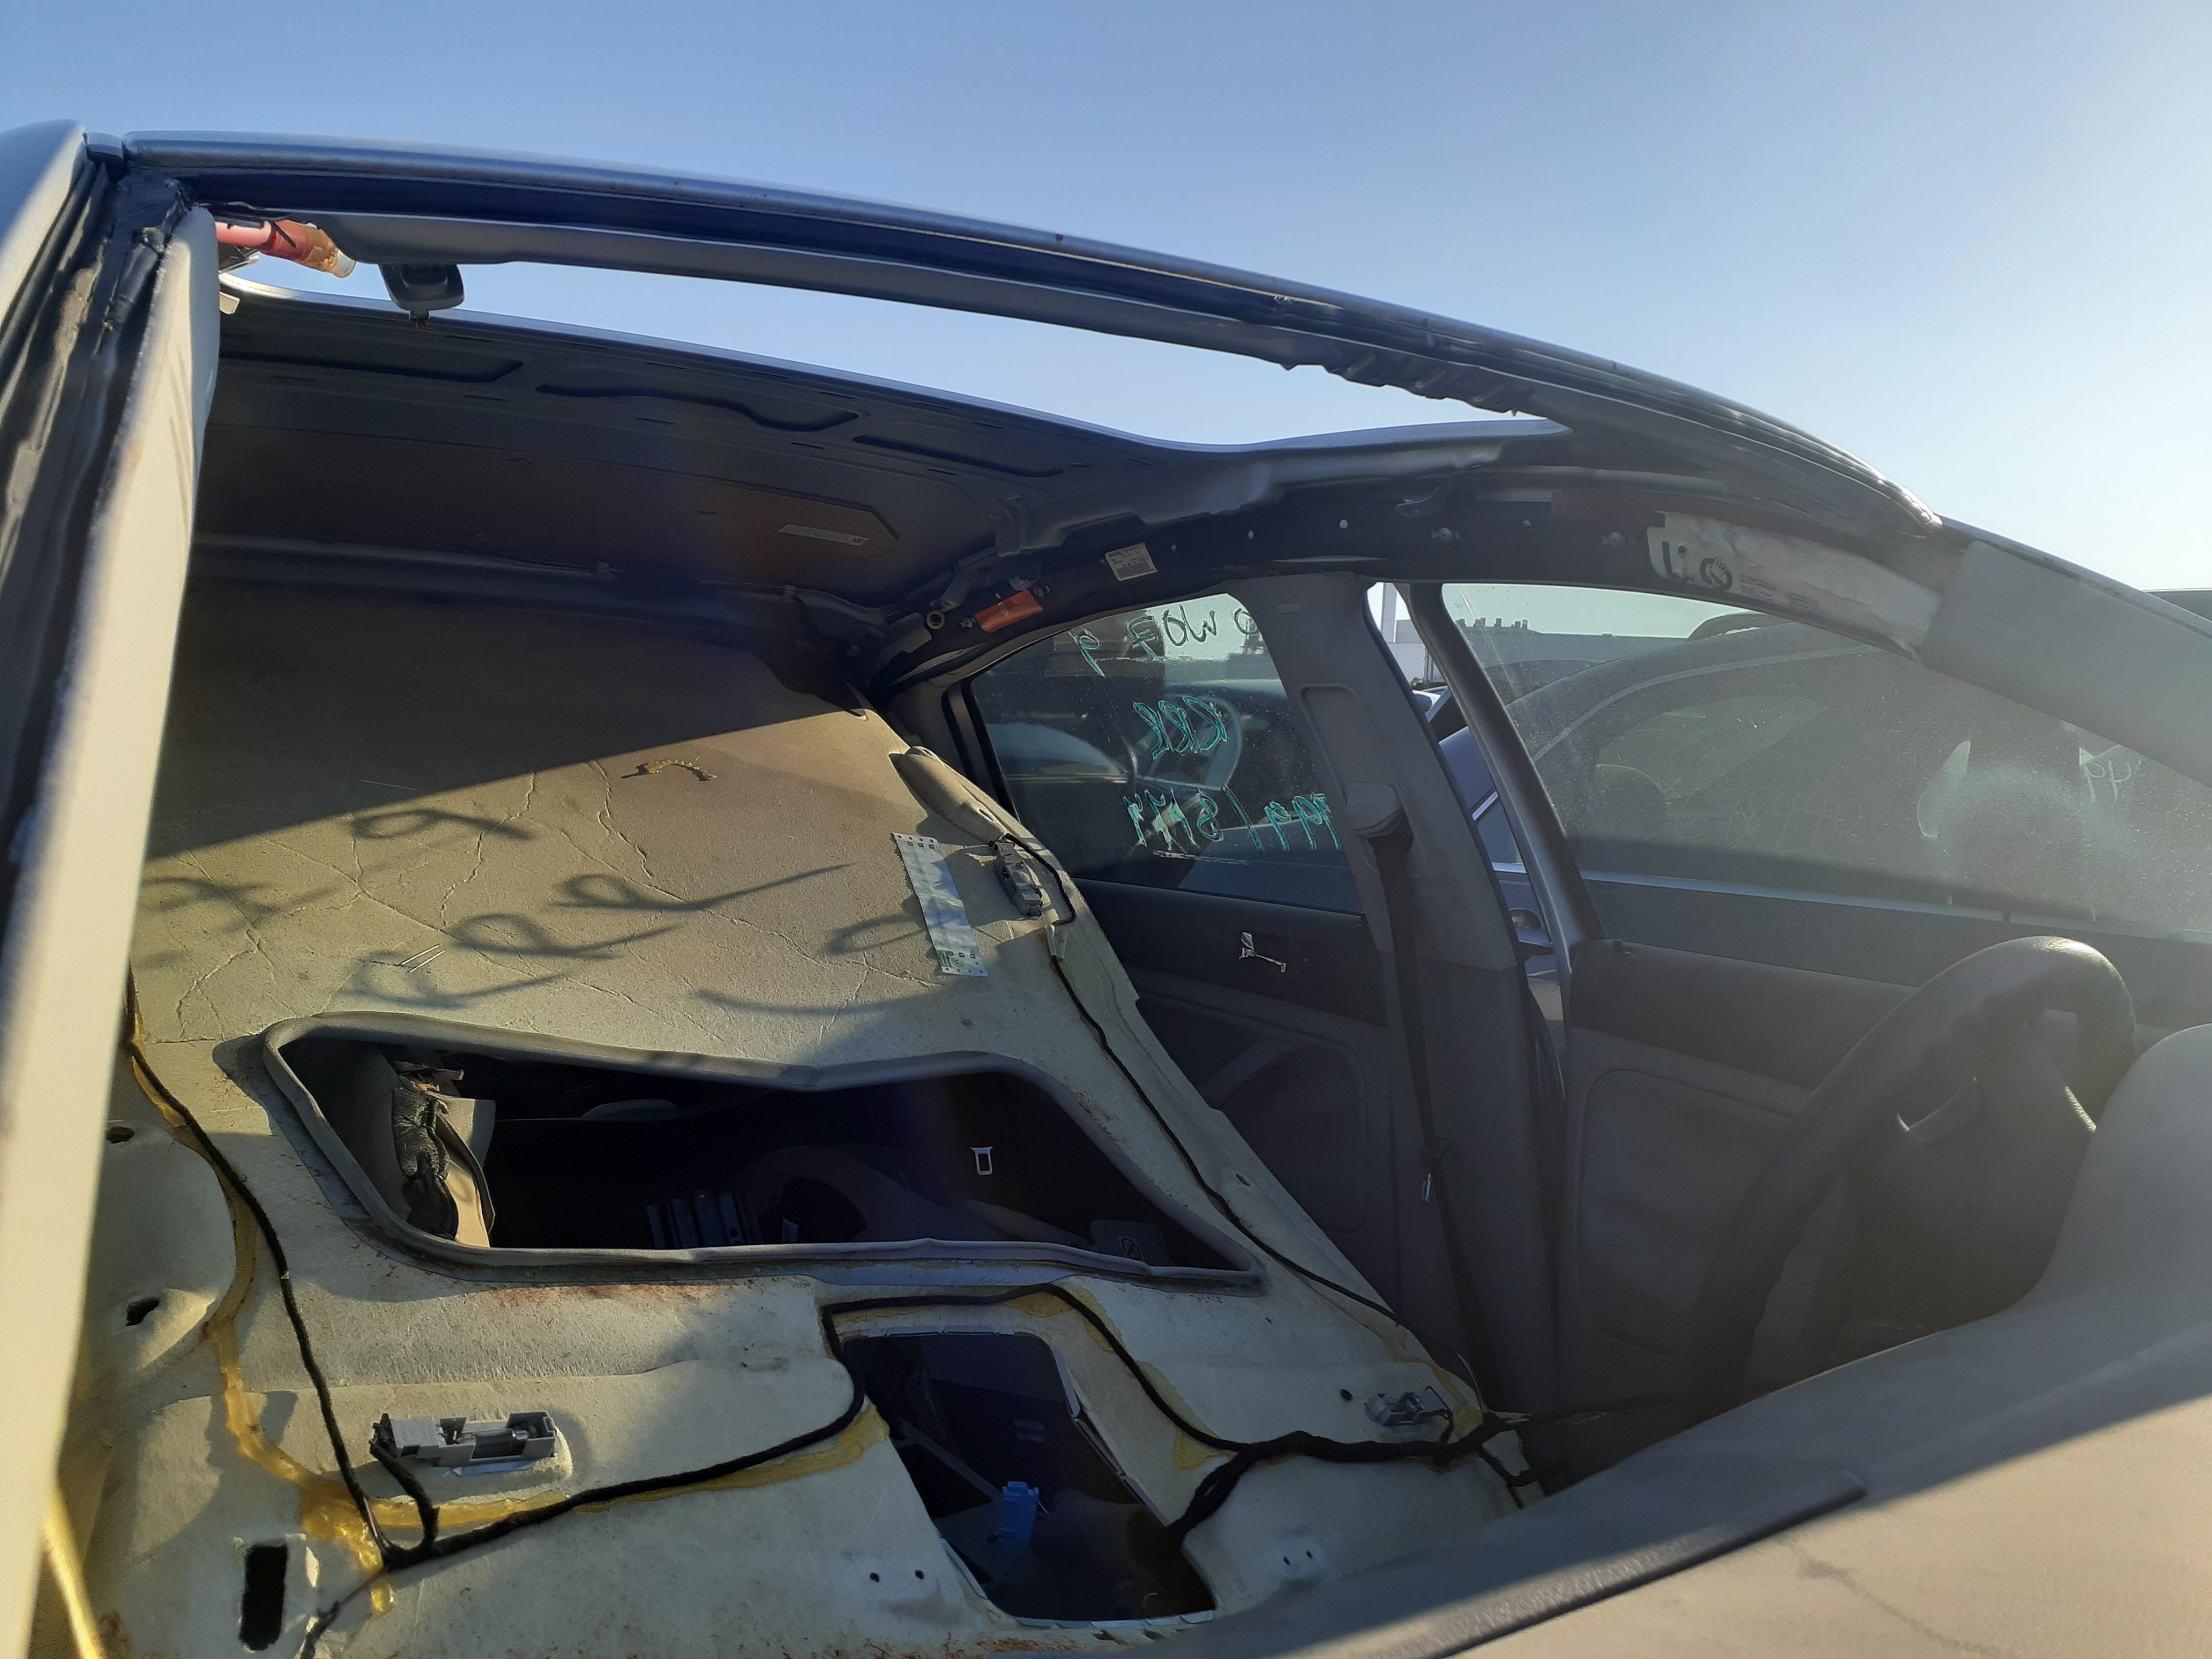
When I bought my holy grail Volkswagen Passat W8 manual there was one thought constantly hanging over my head: "Winter is coming." The sleeper of a sedan has some pressing issues, like a misfire, and annoyances like a front passenger door that's entirely the wrong color. However, the most important issue to me is that the entirety of the car is open to the elements through the hole where the sunroof used to be.
The first owner of this beautiful example of German engineering found himself in a bit of an unintentional game of bumper cars with another vehicle. That crash caused the Passat to hit a curb and a pole, with the pole shattering the sunroof like the worst consolation prize ever. The next owner decided to simply glue a plastic window to the roof, which clearly didn't stick around for too long. With the car now in my hands, I feel it deserves proper fixes, not half-baked efforts just to get it on the road again.
The Problem
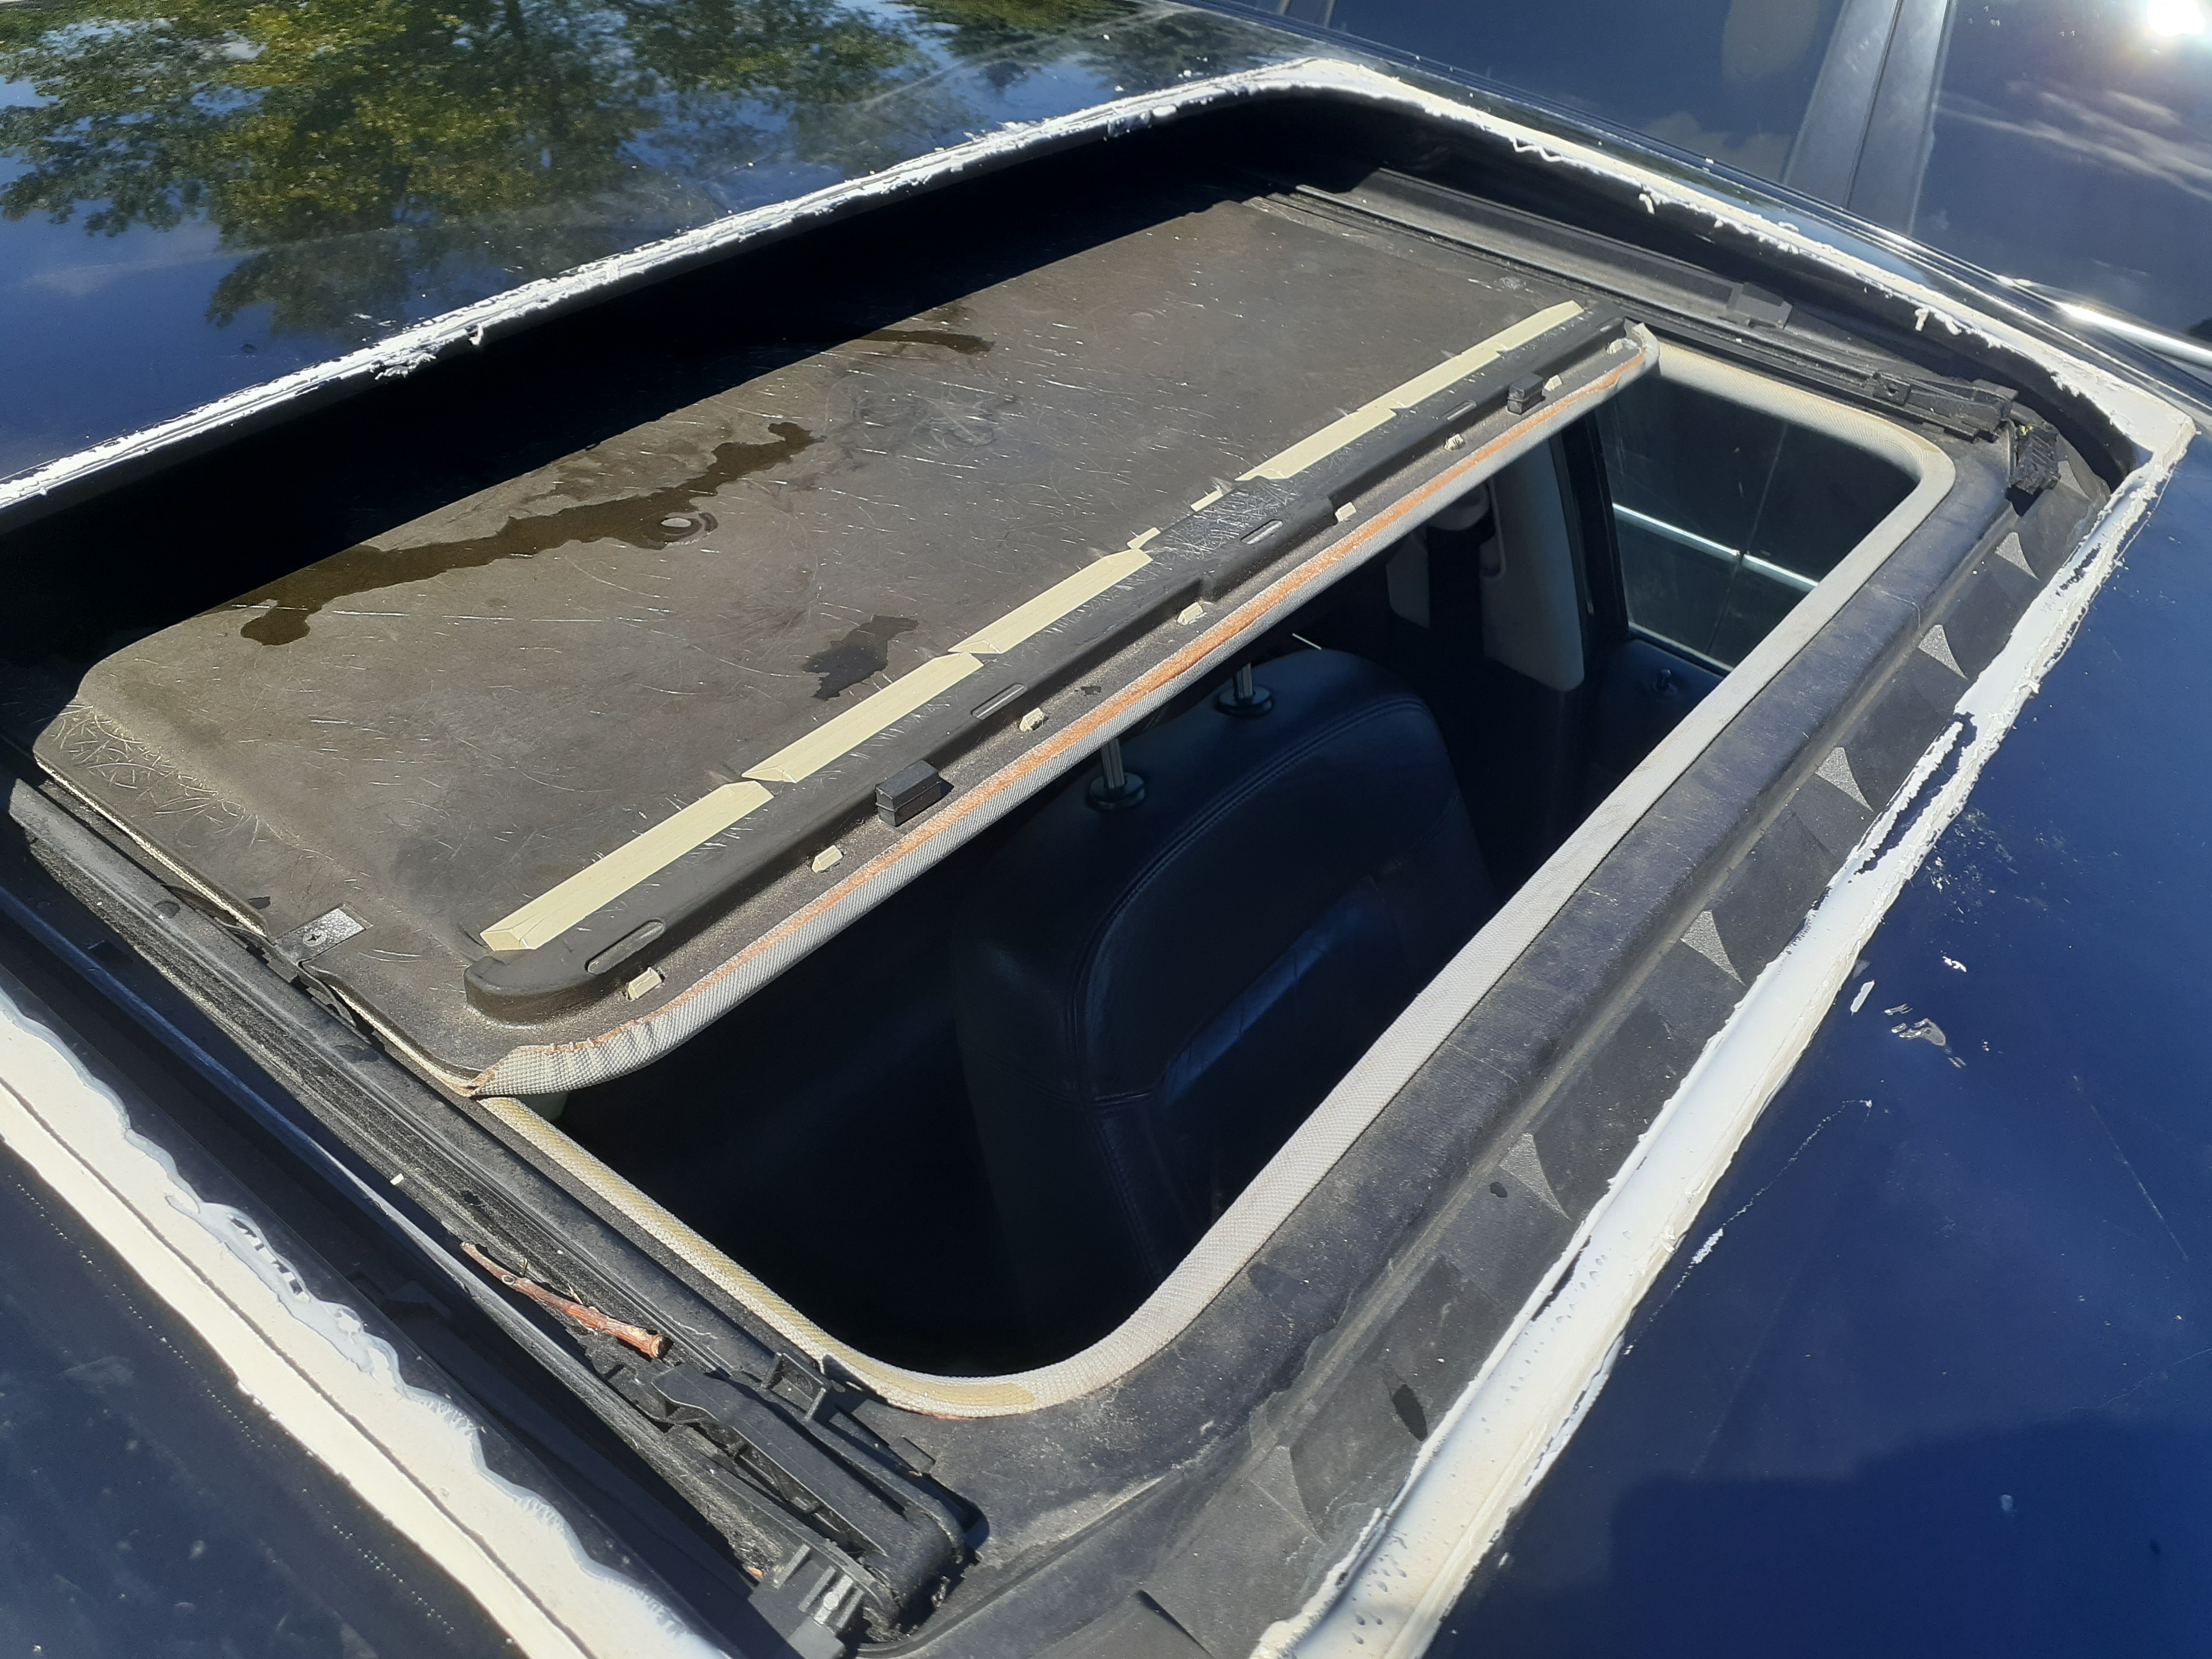
I looked through the remains of the W8's sunroof. To me it appeared to need only new glass and plastic carrier pieces.
So, I decided the best route to fix this would be to go to a pick-n-pull style junkyard for glass from any one of the Passats on hand. Lucky me, my local yard had eight Passats, four of which had sunroofs. We decided to do it on a weekend so I didn't have to crunch on time.
During the week leading up to the salvage yard run, my partner tried to surprise me by having a new sunroof installed while I was at work. She called about a dozen or so shops. Of those shops, only two wanted to take a look at the W8, and the cheapest quote was $4,000. Even though the W8's sunroof is no different from a regular Passat, none of the shops wanted to touch it. Funny enough, however, most of the shops gave her offers to buy the car that would have easily quadrupled or quintupled the $800 I spent on it. I laughed about it and decided to continue my plan to restore the car.
That weekend my partner and I hopped into our Ford Ranger rally truck and set off. Neither of us had been to a pick-n-pull before but I was determined to leave with a sunroof, and she was determined to leave with a bumper for her 1999 Toyota Camry.
A Parts Scavenging Adventure
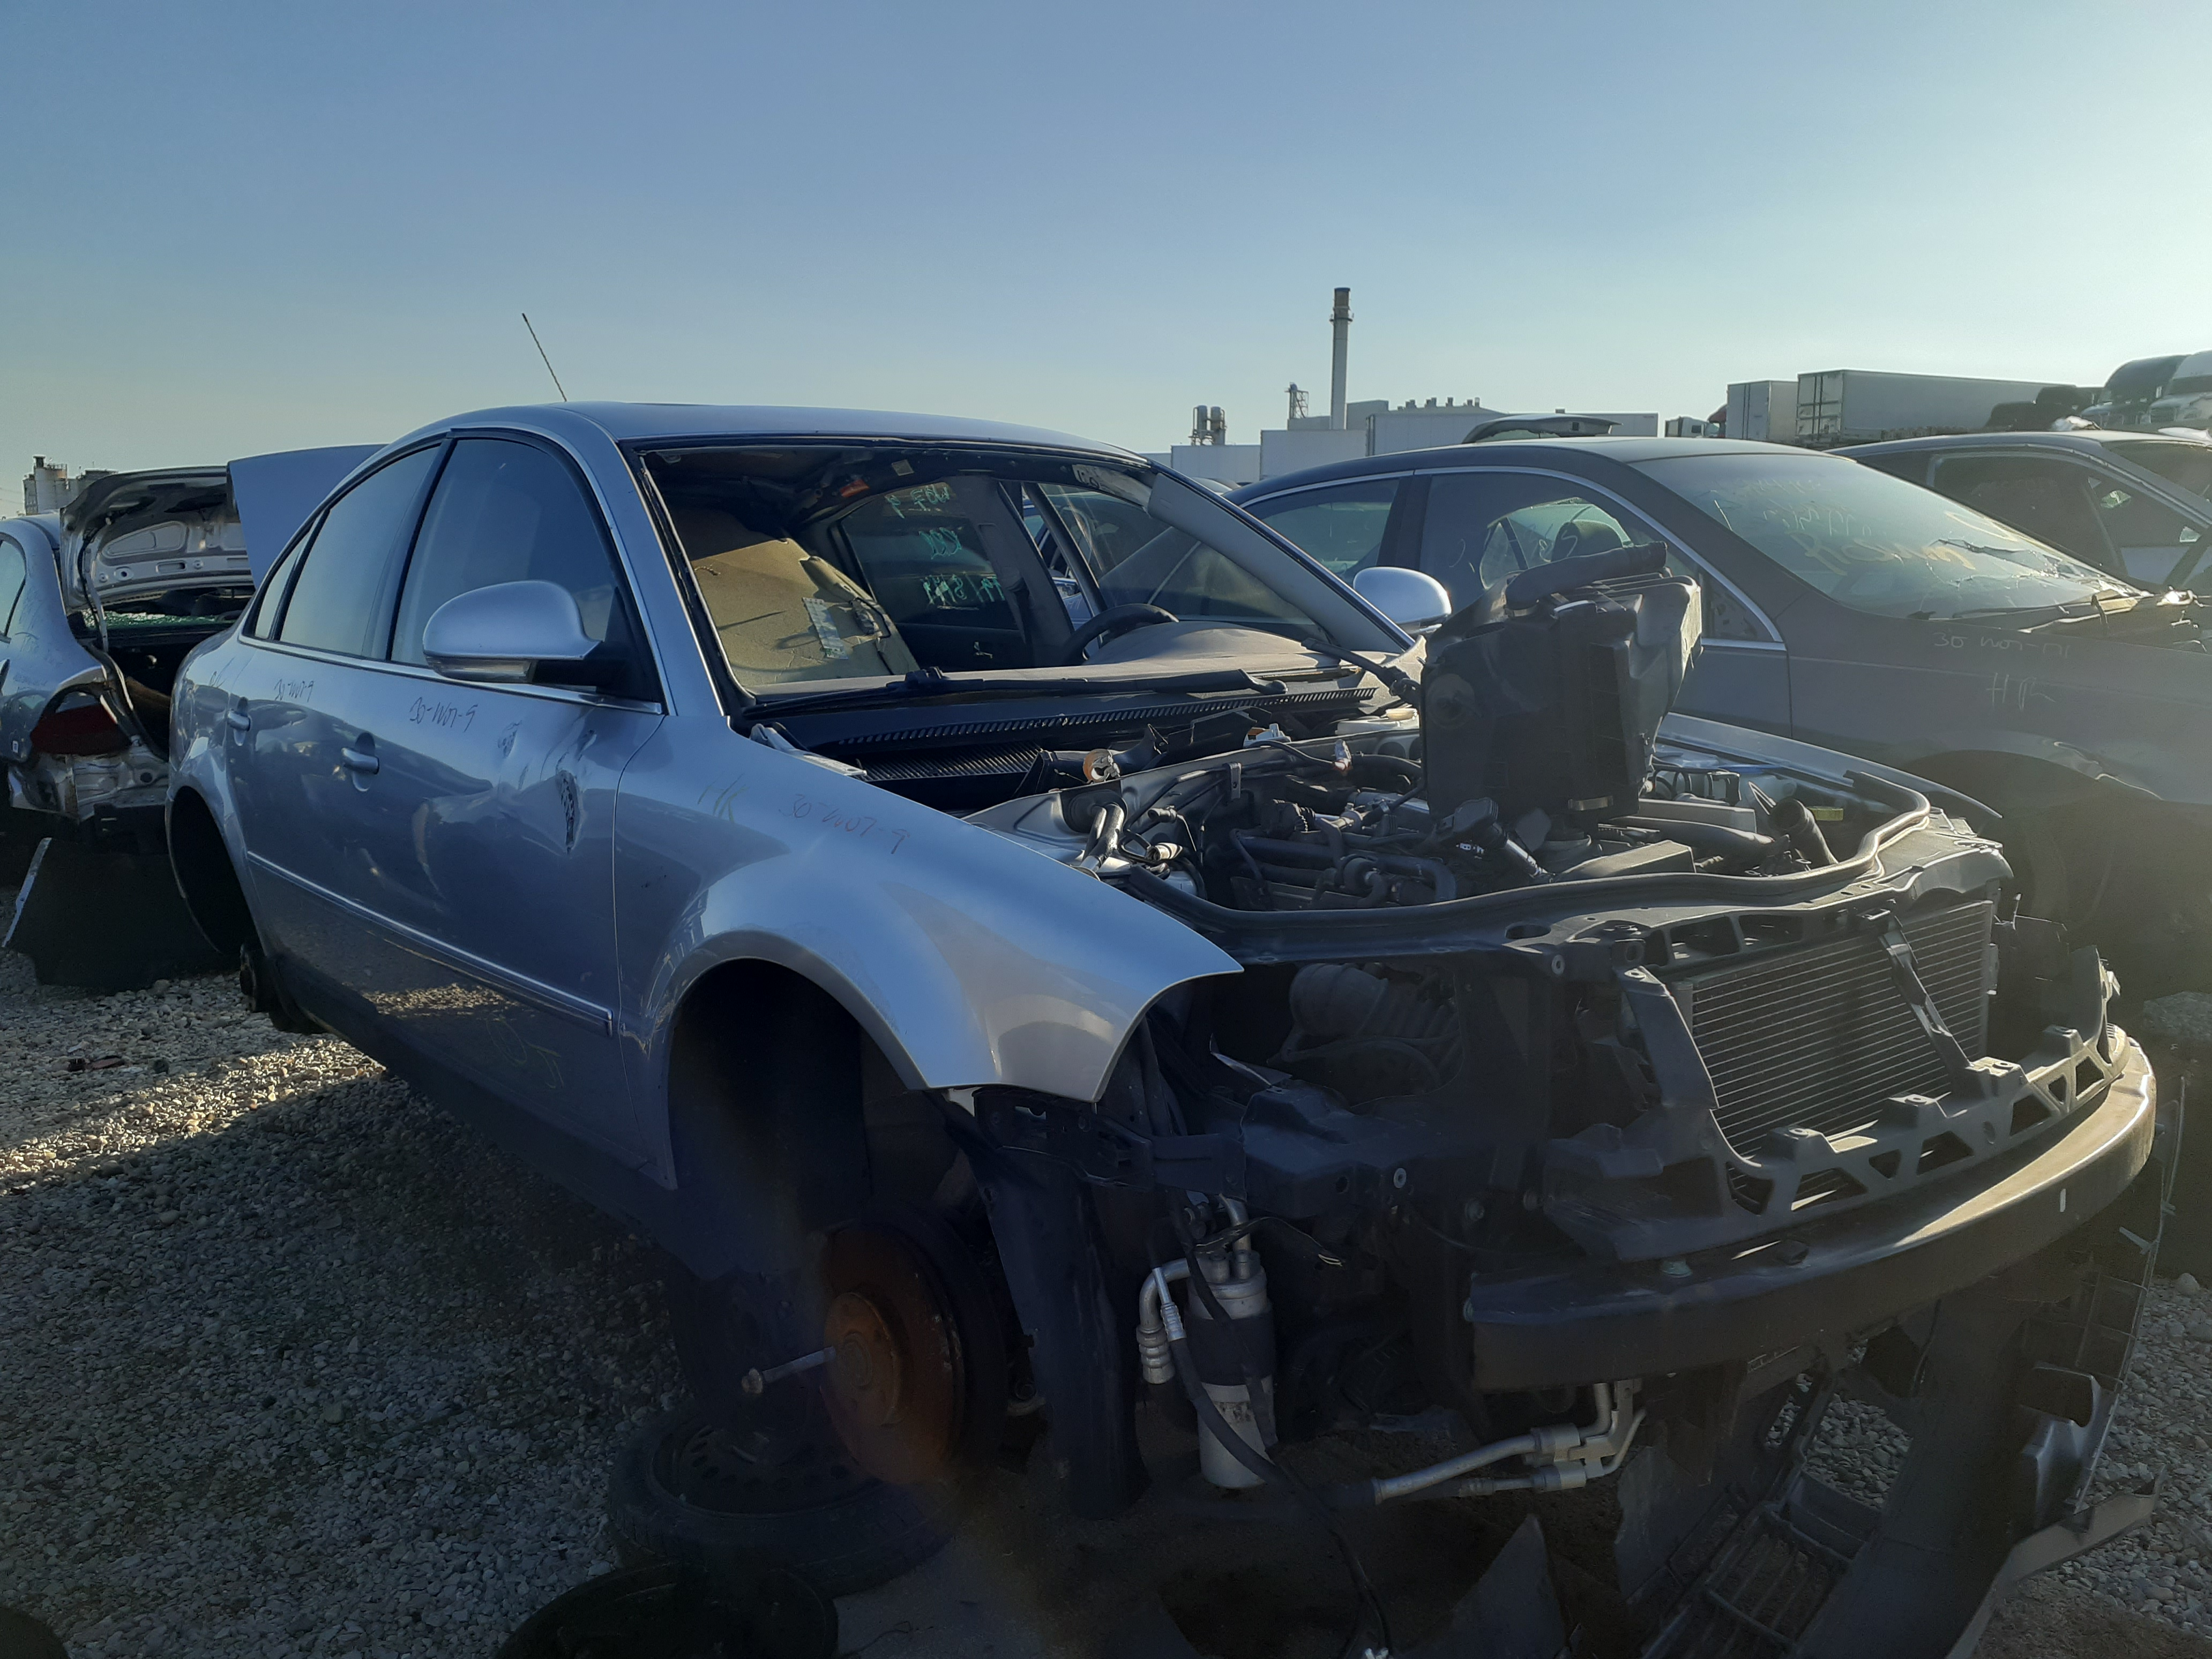
If you've never been to a pick-n-pull yard before, it's something I highly recommend. These places are basically car-part playgrounds, where the only rules are you have to get your parts out of there by a certain time. Wheel in your tools and go to town on any cars of your pleasing. I chose the Passat that was in the best condition as the one to lose its sunroof glass.
Following the wise instructions of the Humble Mechanic I was able to remove the sunroof glass in just over a minute.
With the glass out, I was going to wrap up my day at the yard by taking the plastic supports with me. But that's when I discovered they aren't really removable. They're set in the sunroof track and from what I was able to tell, weren't supposed to come out. Crap.
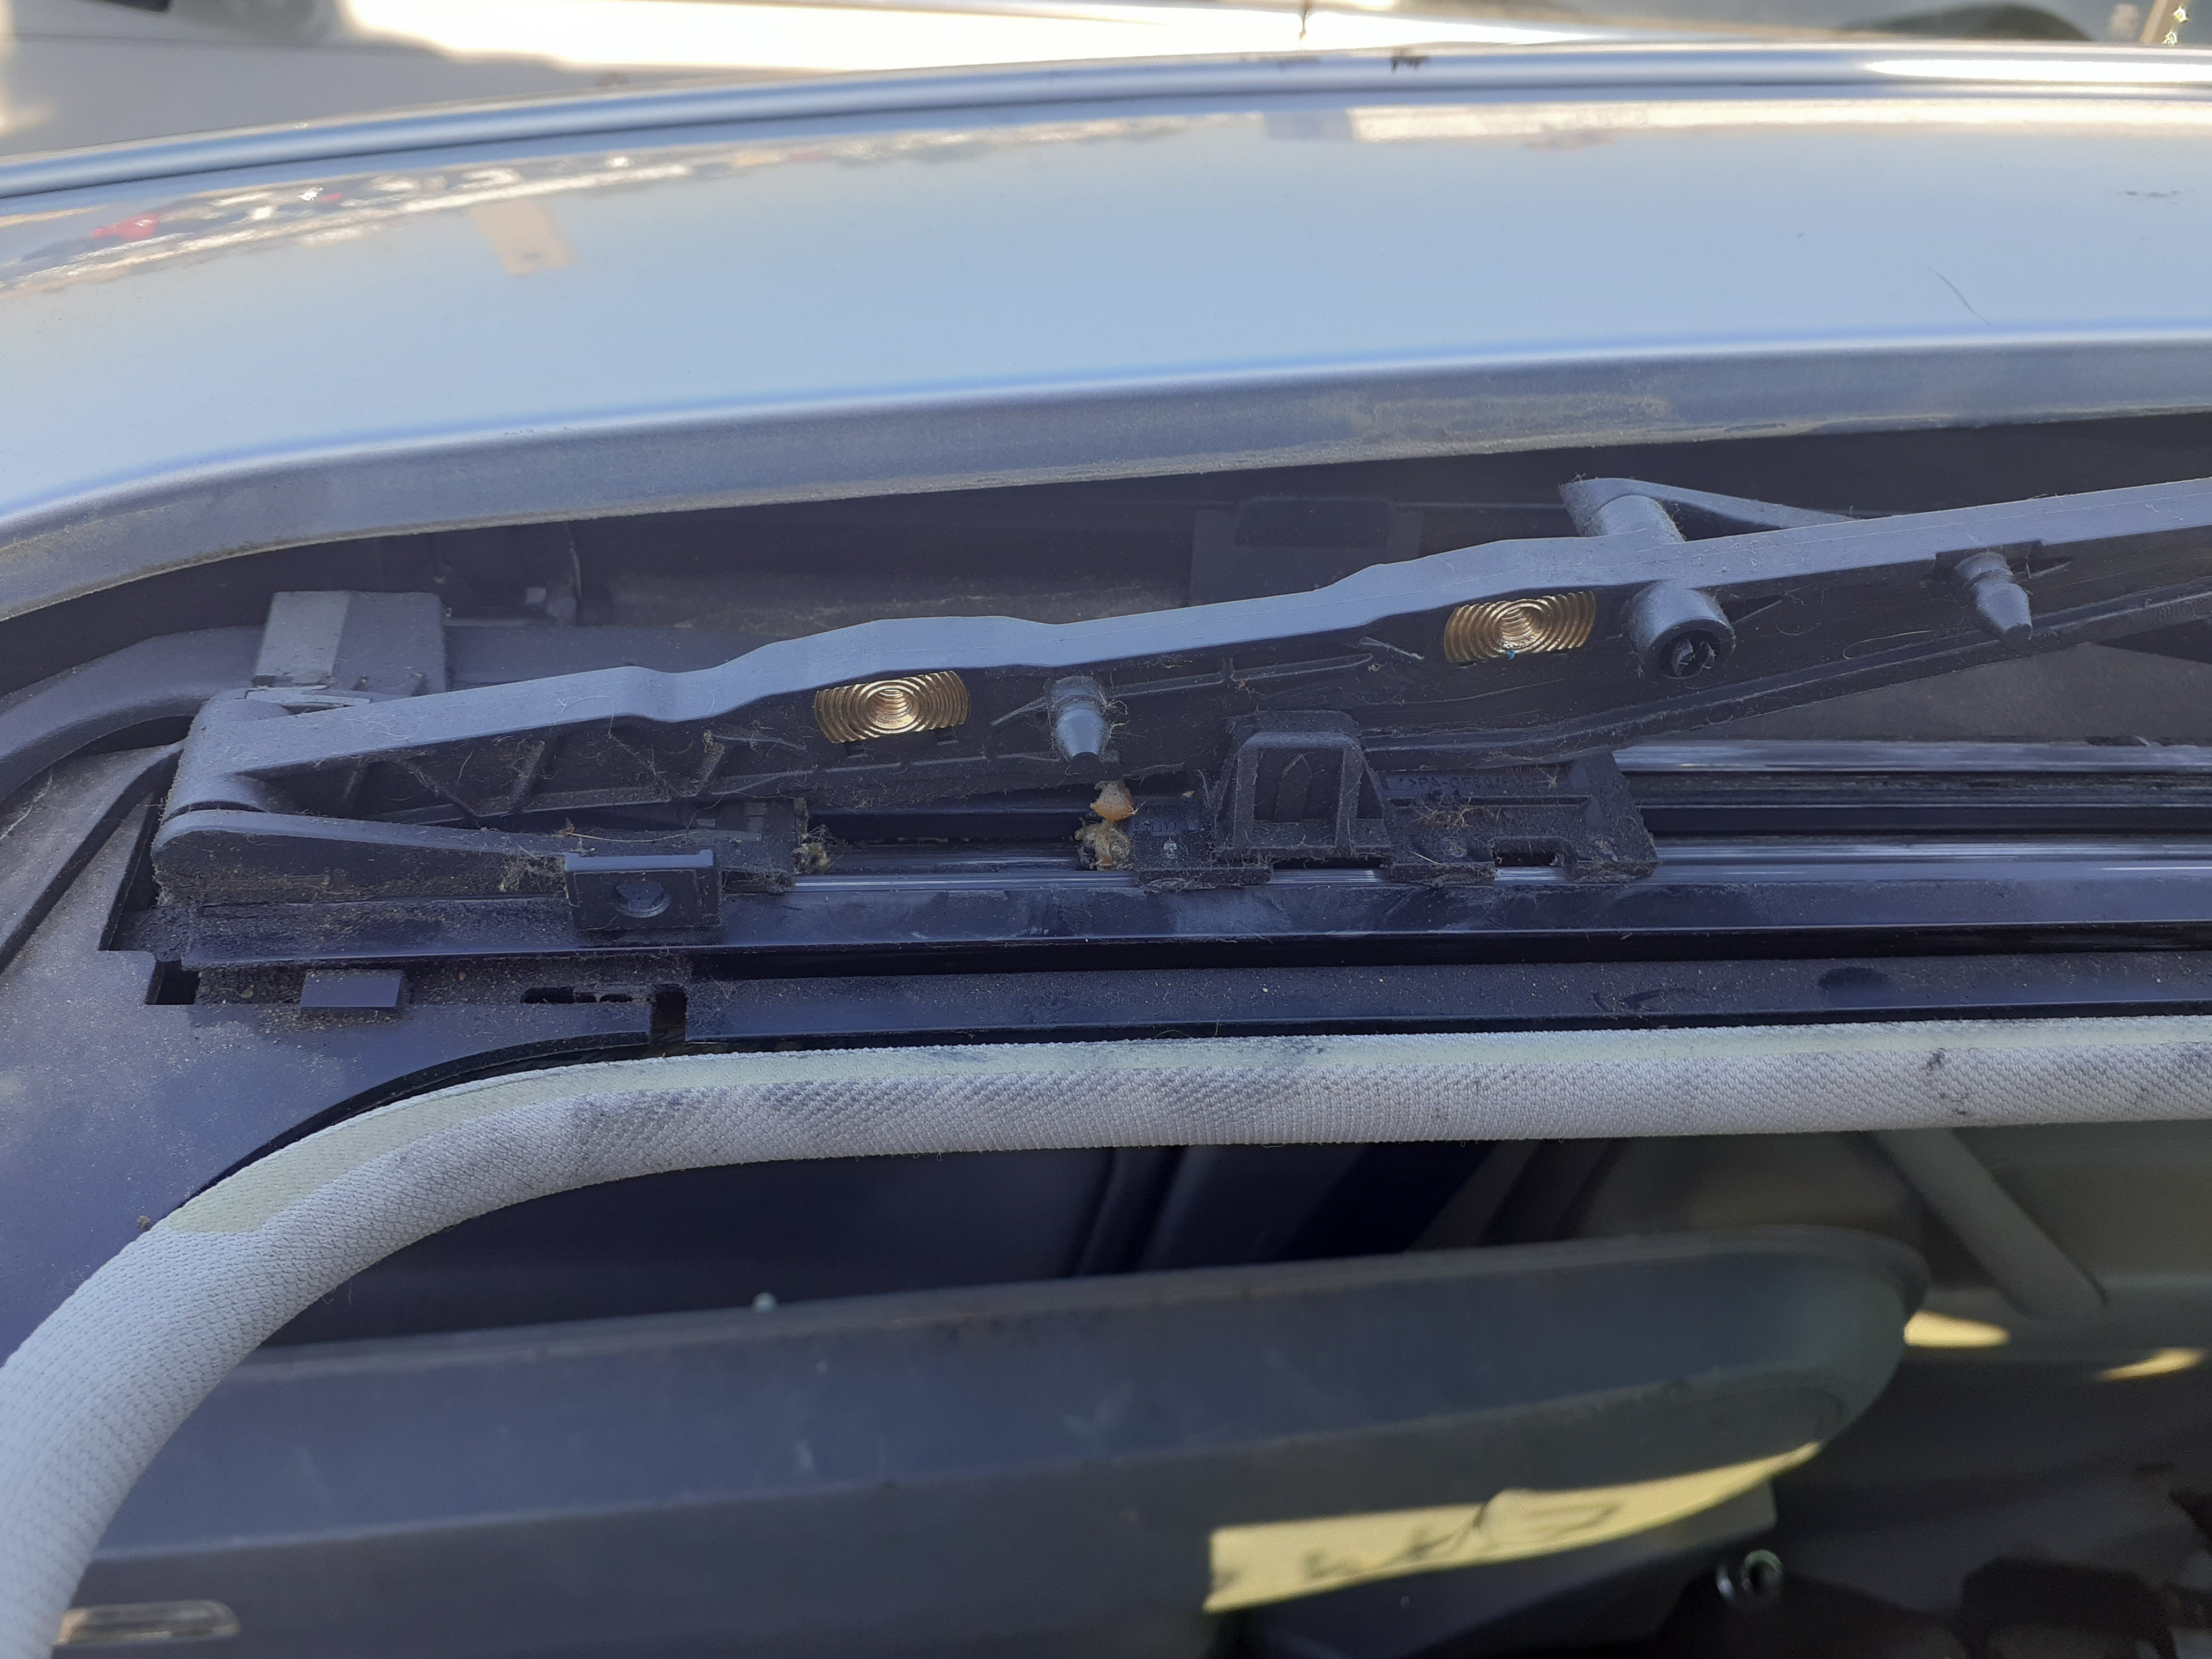
Just as a voice on a loudspeaker said "the yard closes in 30 minutes" I made the split-second decision to take the whole thing.
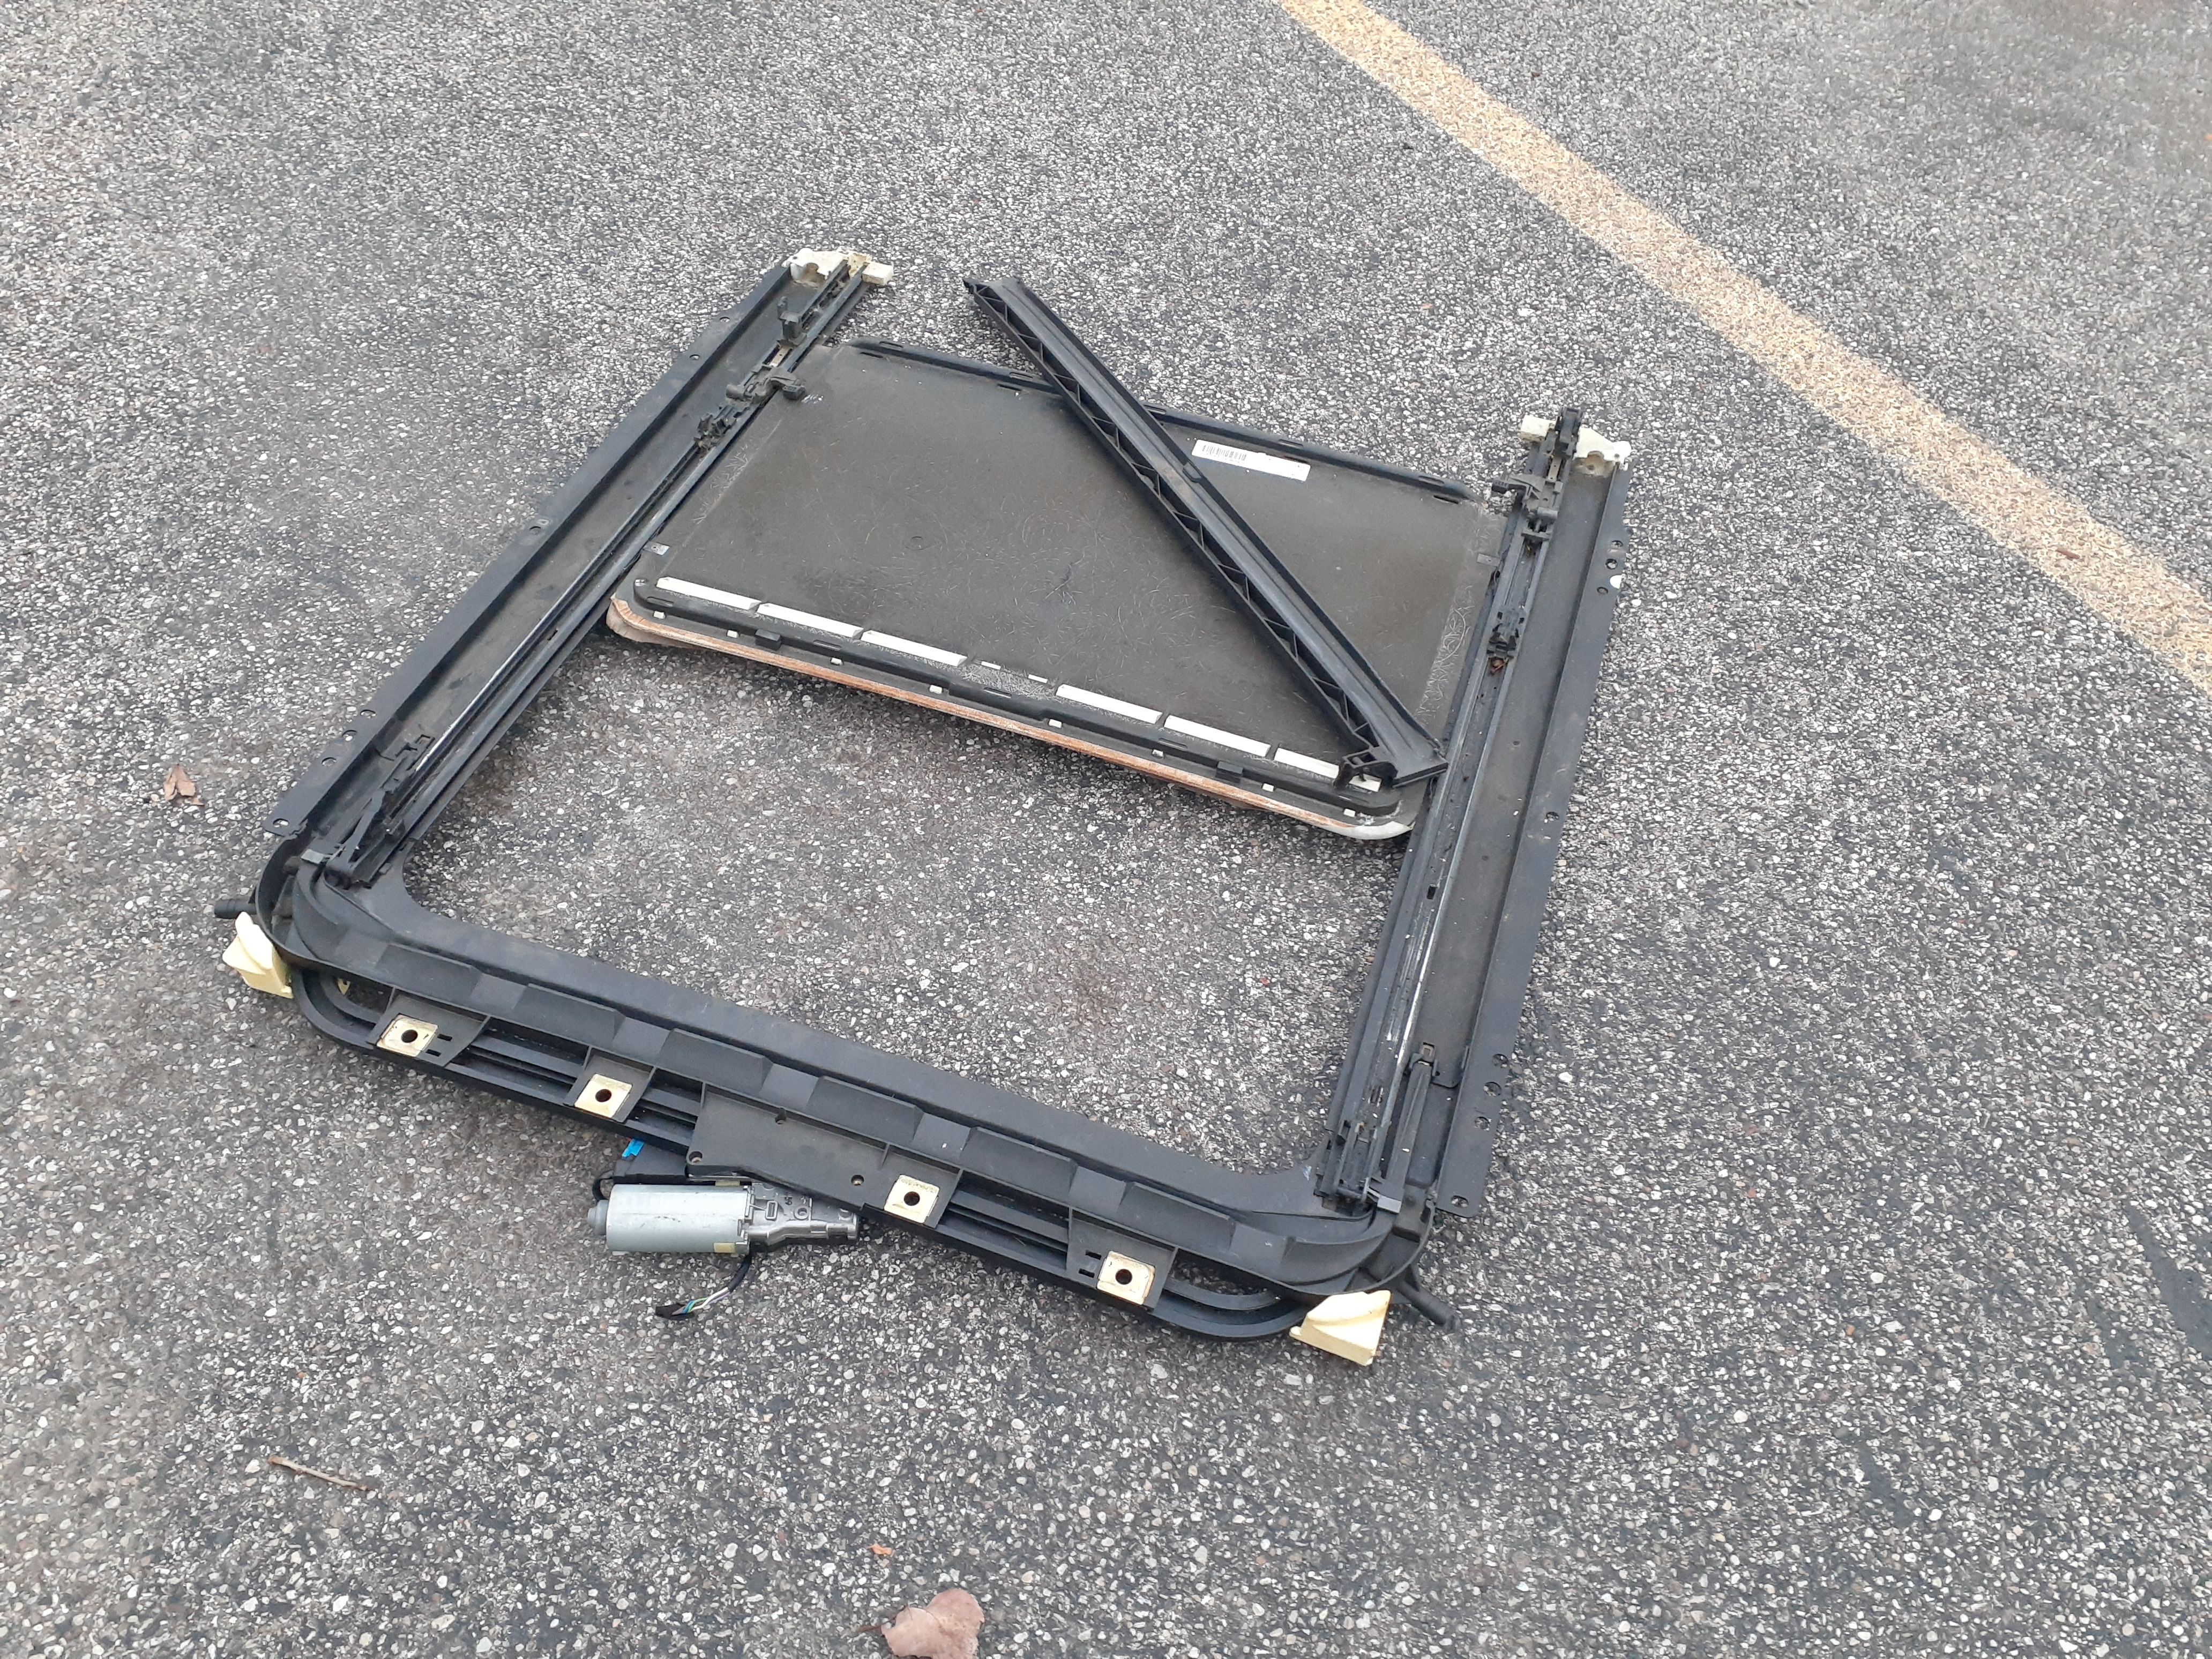
I tore through the junkyard Passat's interior with determination. From what I could tell, the whole headliner had to come down to get the sunroof out. As the headliner was already damaged and stained I figured it wasn't much use to anyone. I grabbed it and yanked it down off the car's ceiling. I then rapid fire removed any screw in my way until I gained access to the sunroof cassette bolts.
I managed to liberate the sunroof cassette after only 28 minutes of tearing apart the interior. I made sure to take note of the proper process so I didn't absolutely ravage the interior of my W8 installing it. My partner and I got our parts then headed home. We both got what we came for in only 30 minutes.
Installing The New Sunroof
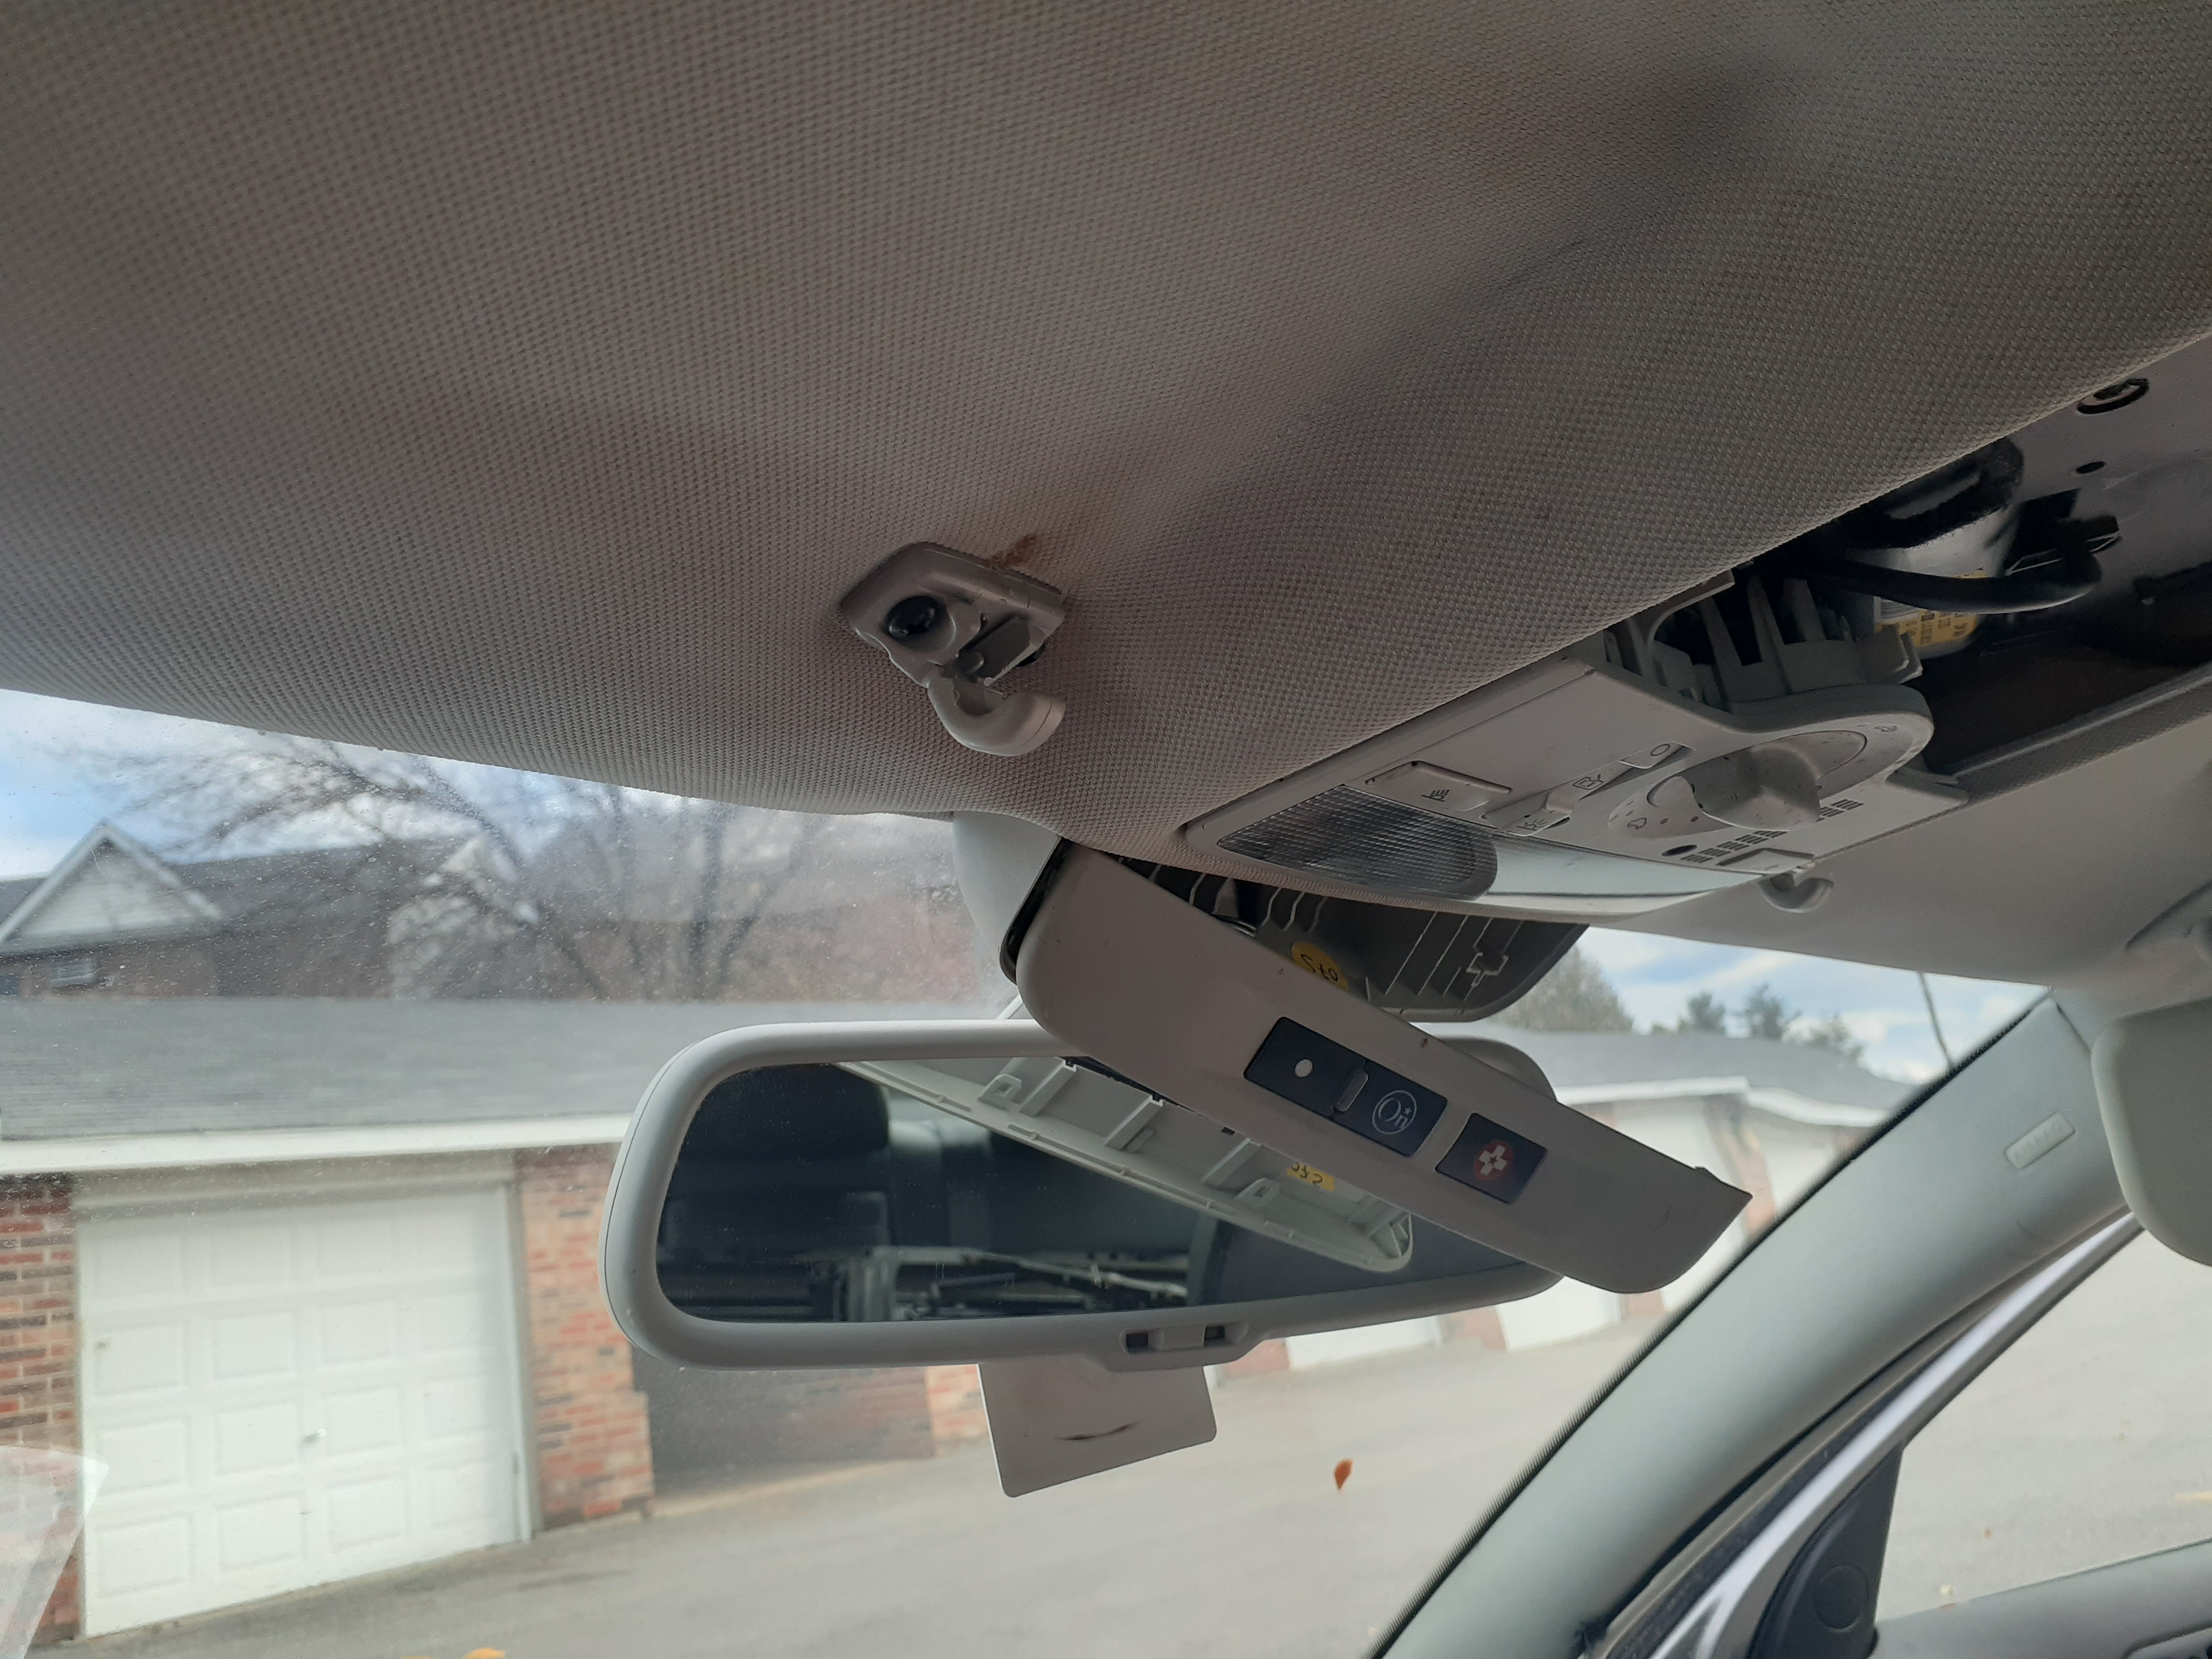
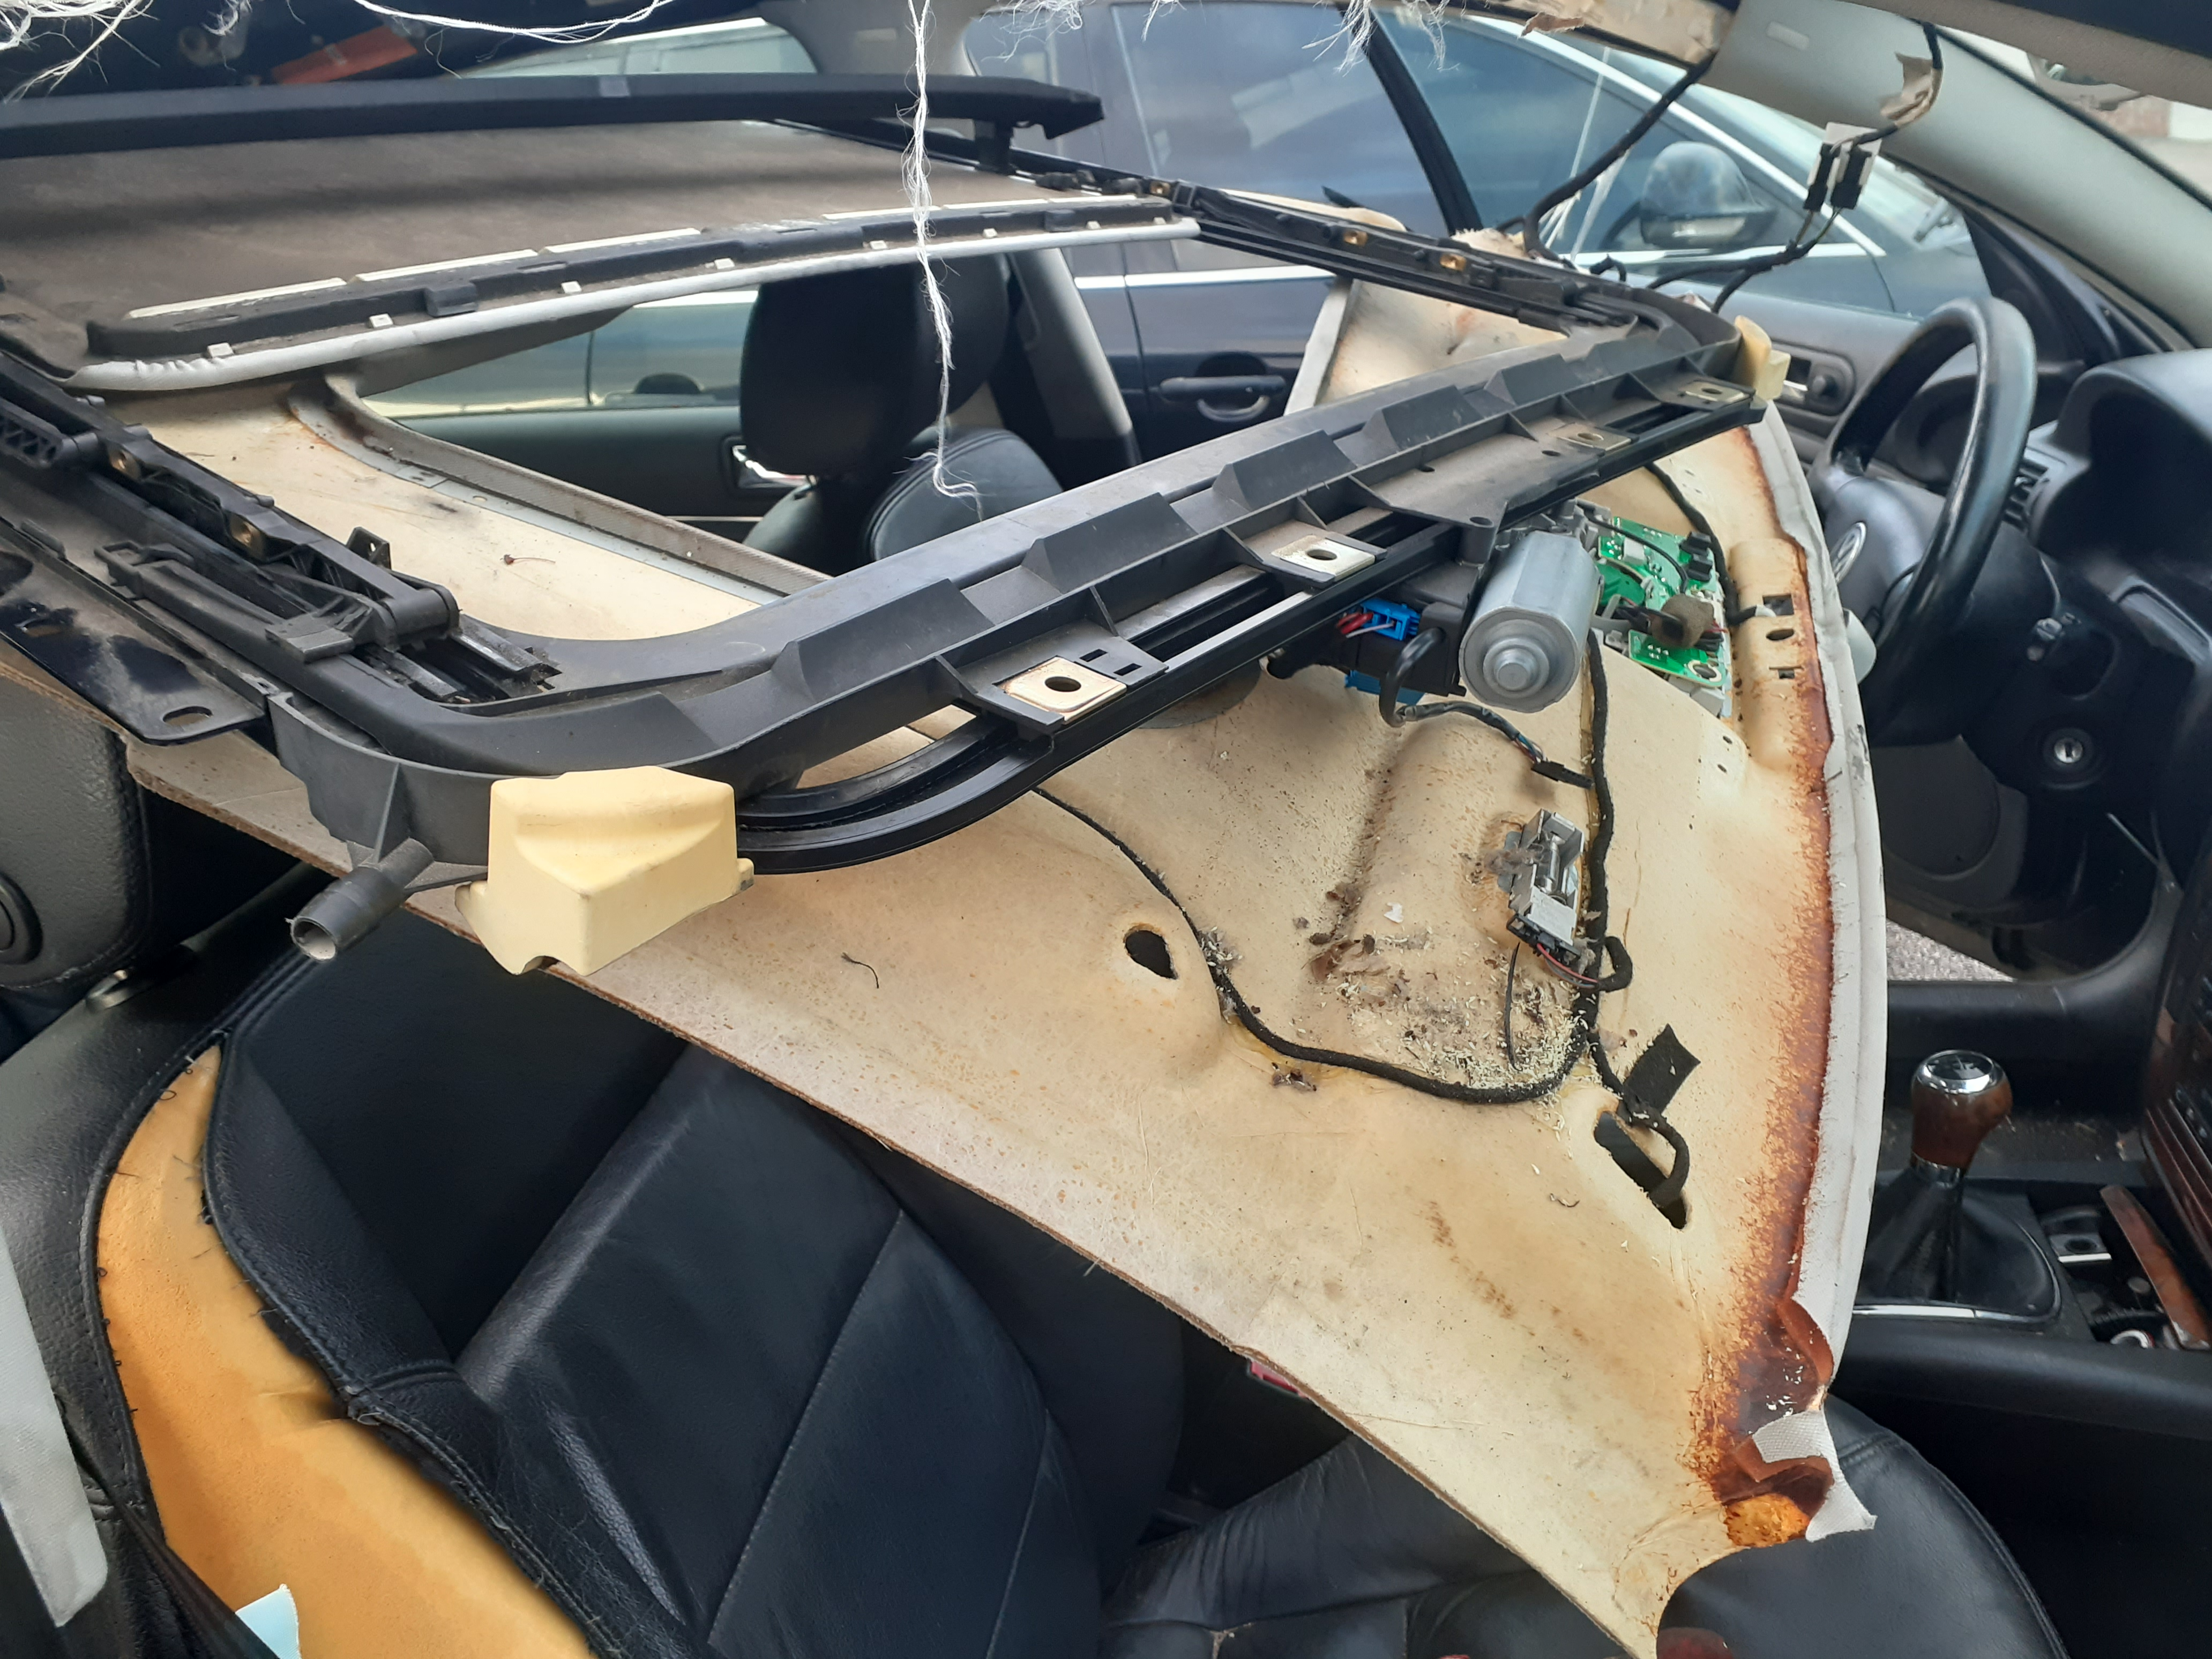
Removing the old sunroof cassette from my W8 would take far longer than it did in the junkyard car. The first parts of the interior to come out were the sun visors. These were held in with a single screw each and needed to be disconnected. Easy. Next out was the little OnStar panel. Removing the OnStar panel opens up access to the screws that hold the switch panel and headliner up.
Removing these little guys made for a bit of a challenge. A cover hides the screws and the cover definitely didn't want to come off. But with some work, I was able to evict it too.
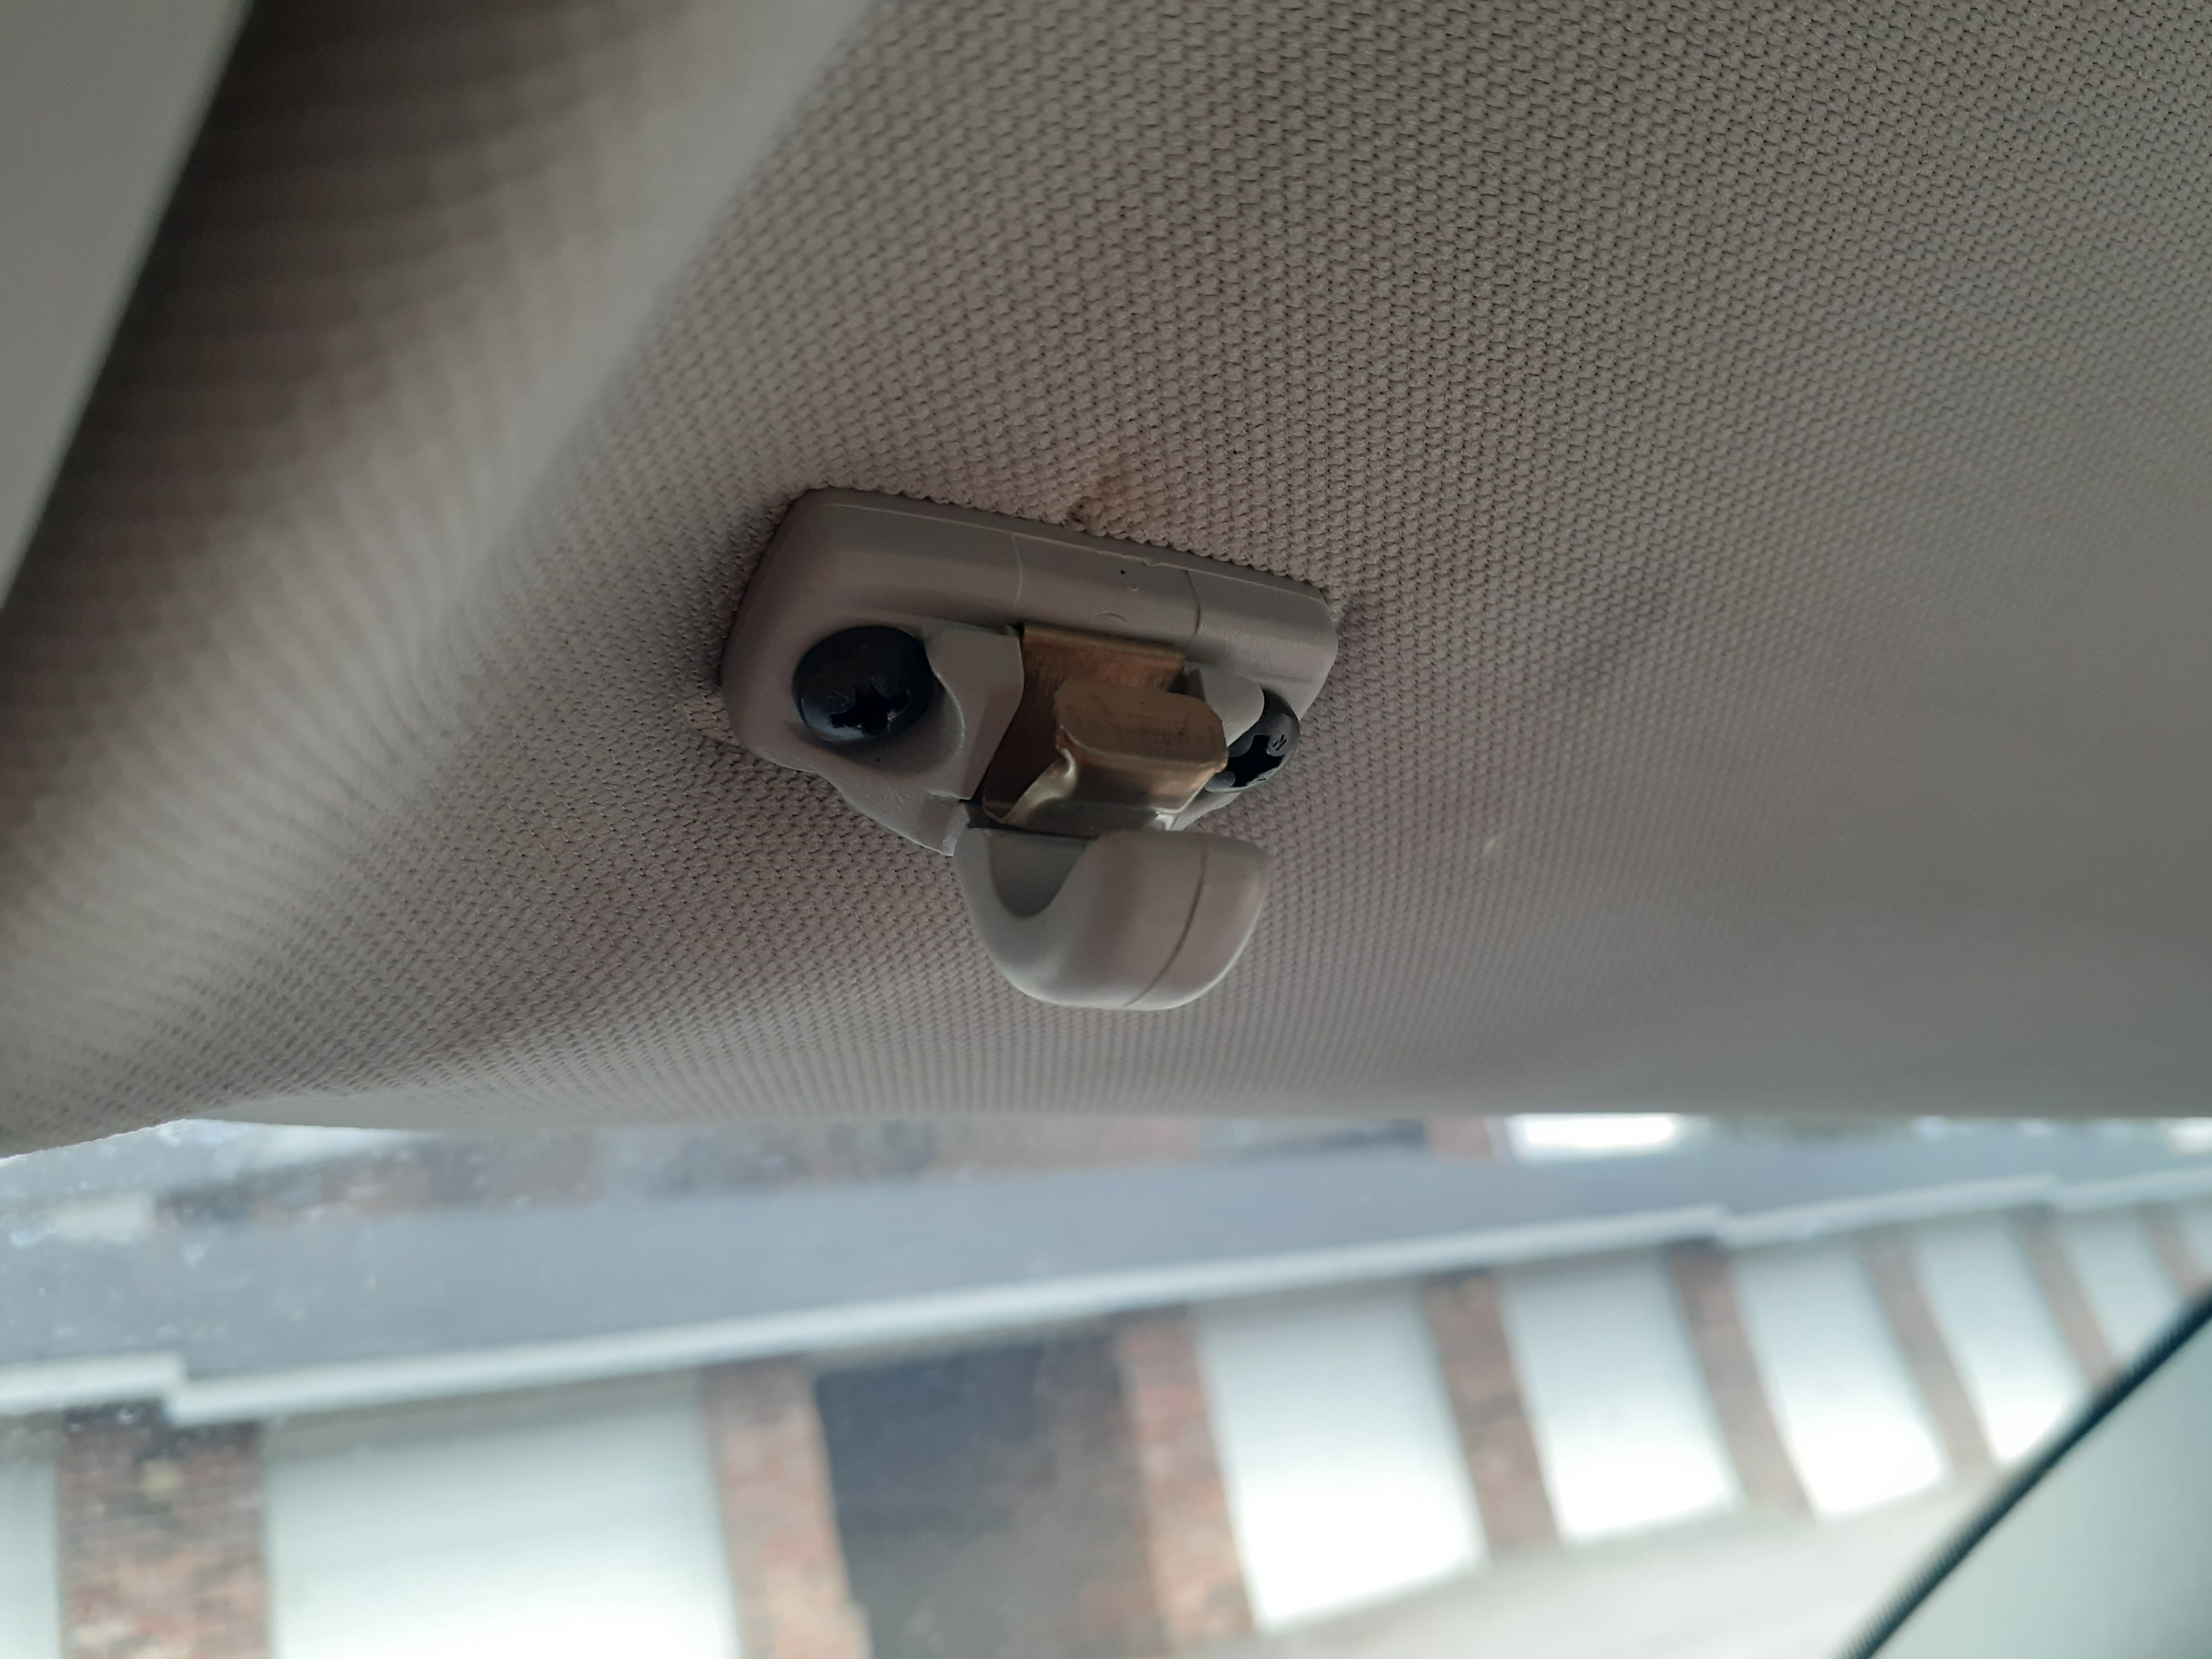
That's most of the hard work done. From there I removed all of the grab handles, and that allowed the entire headliner unit to be pulled down. I will be making a custom headliner for this car so its poor condition doesn't bother me too much.
While reaching around for the connectors for the sunroof motor I touched something that was definitely a nest. I suppose I kicked out some mice from their home when I purchased the W8.
I found another mouse nest clogging up the drains of the old sunroof cassette.
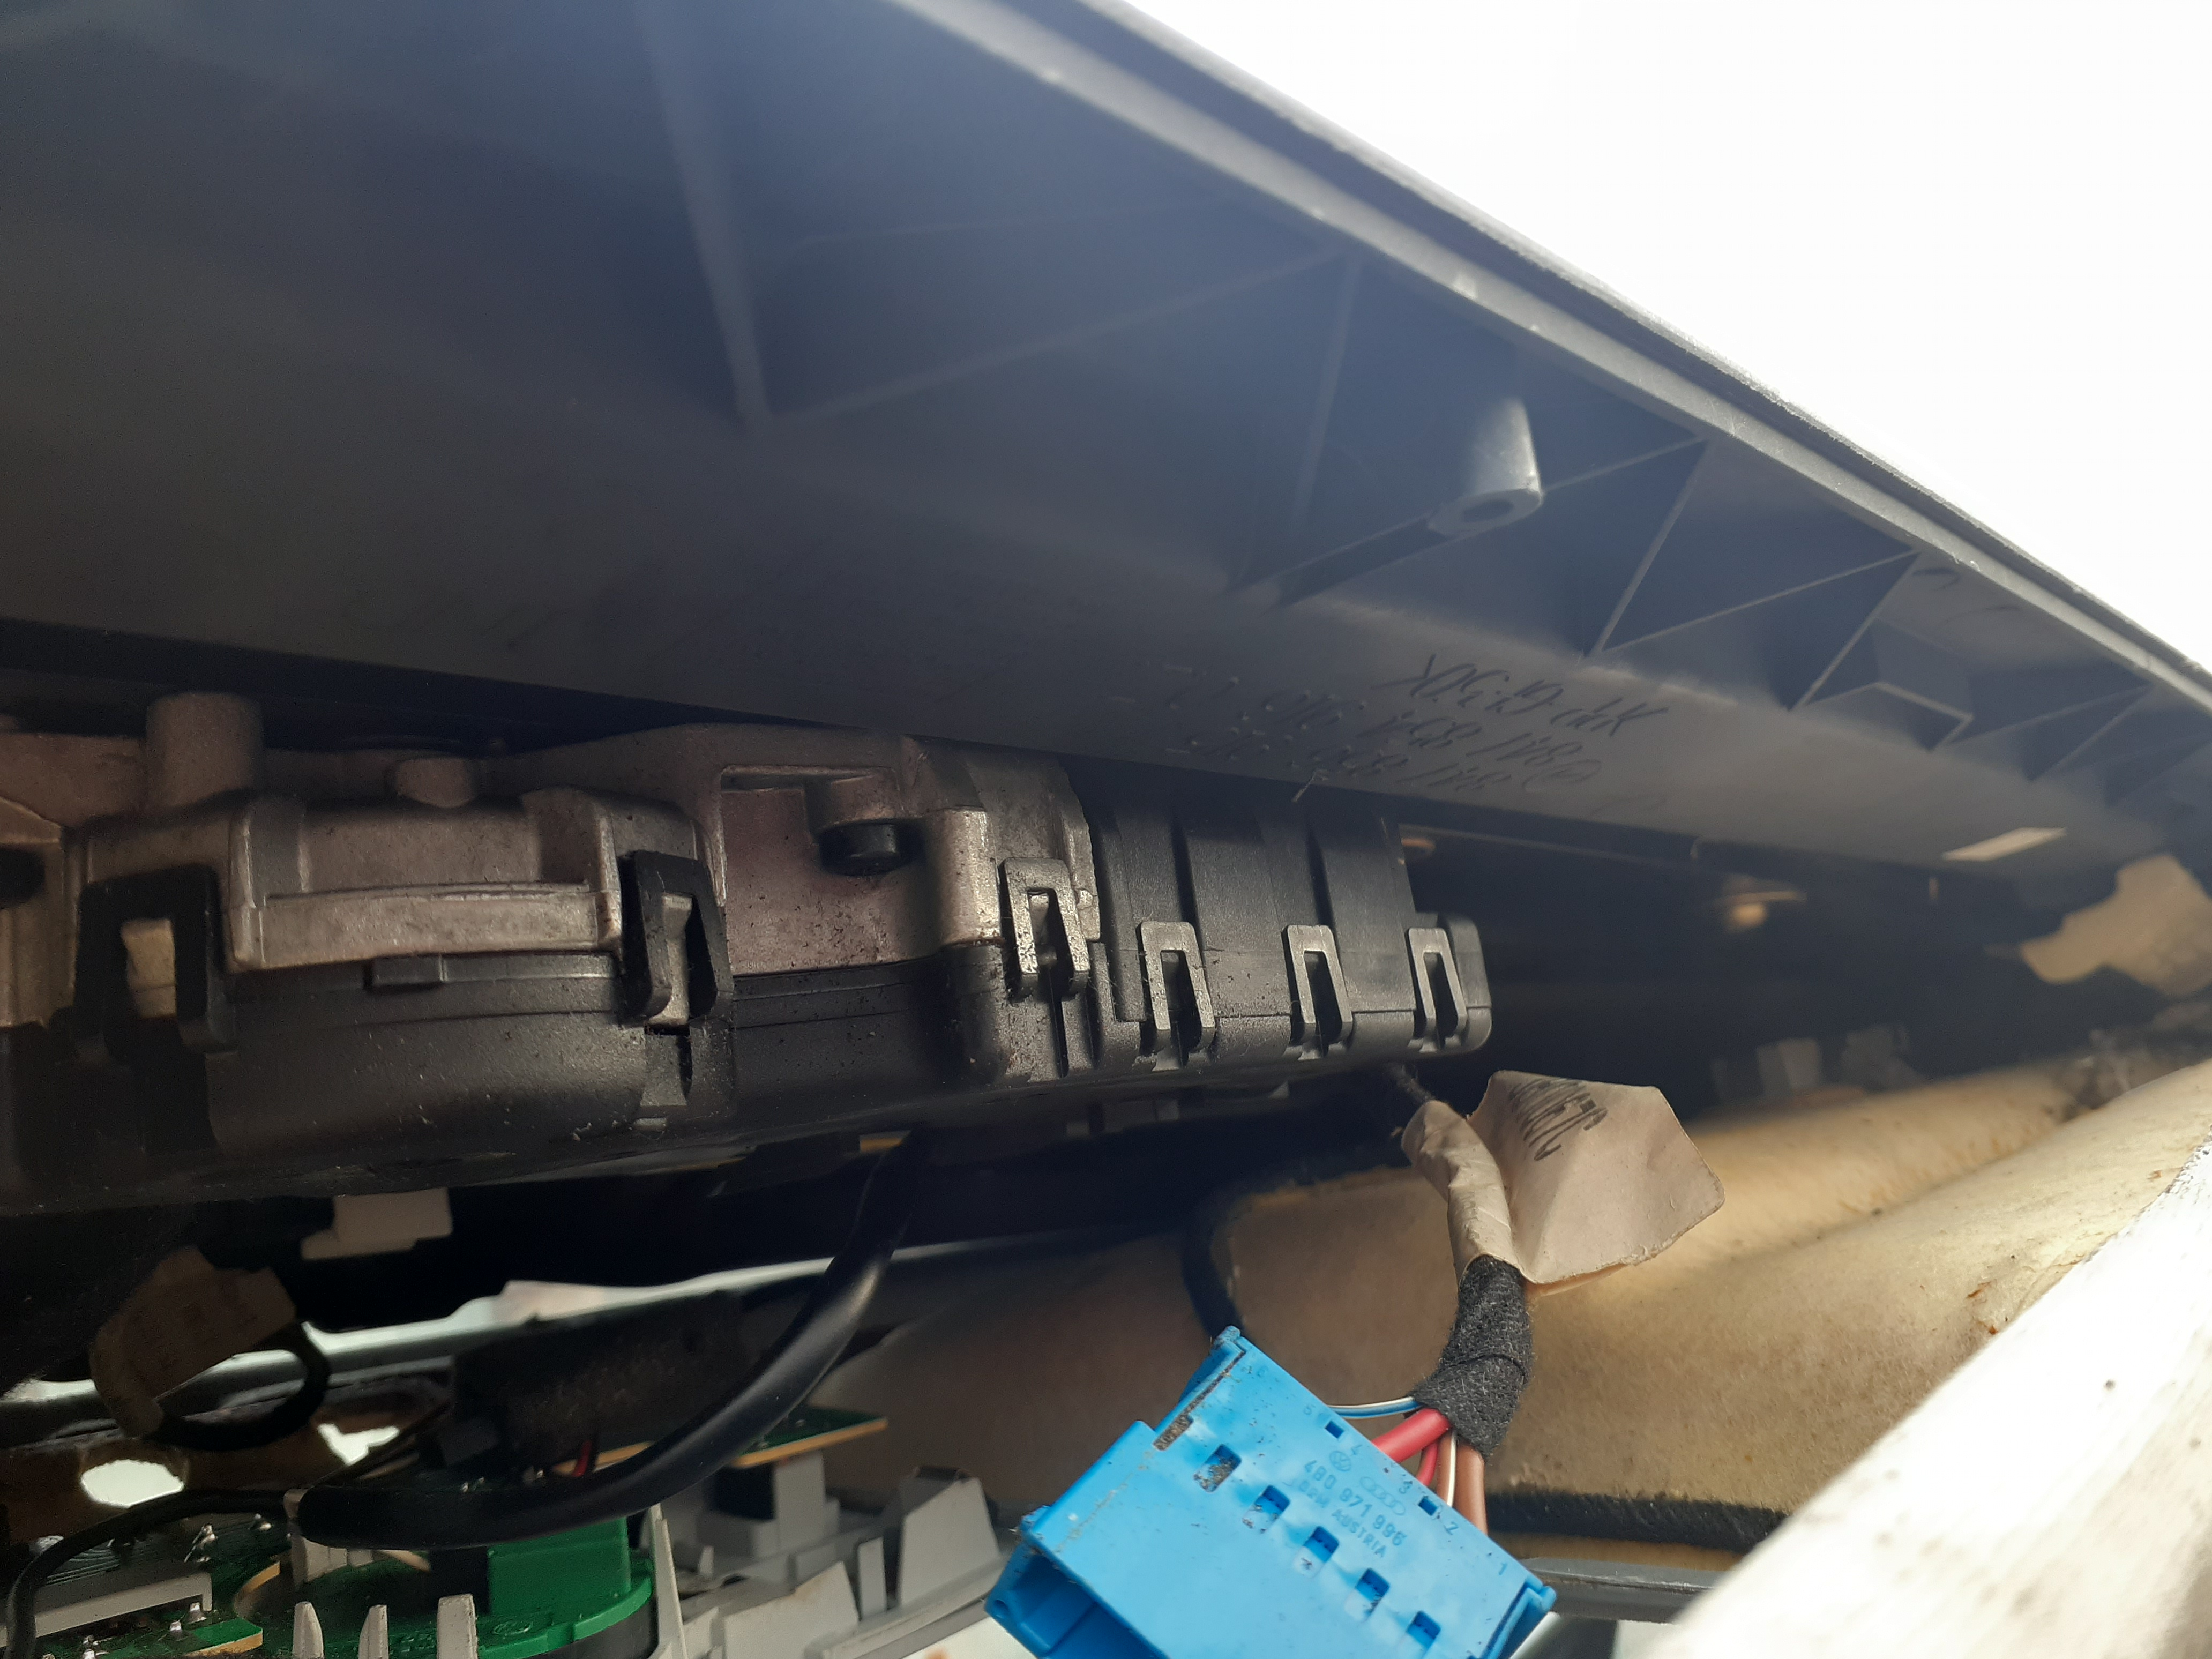
After doing some housecleaning of the nests I removed each of the Torx bolts holding the sunroof cassette on, removing the drain hoses as I moved.
The final challenge to getting the old cassette out was getting around the mounts for the grab handles. I took the easy way through and just bent the cassette to get it out.
I farmed the motor off the old one, then right in the dumpster it went.
Installing the new one was literally the inverse of removing the old cassette.
If anything, the process went even faster because I knew what I was doing. I did it just in time, as snow fell in my area only hours after I completed the task.

I've long considered the sunroof to be the greatest hurdle to overcome on the W8 project, and I'm happy to say it's finished. Sadly, the carpets are still getting wet so clearly water is getting in from other places. But at least the roof is ready to rock with a working sunroof!
My next step in fixing this car will be digging deep to find where exactly water is leaking in. I suspect the bad panel alignment of the trunklid is either partly or wholly to blame. An awesome reader emailed to say I should definitely solve that right NOW as there are components in the trunk that can get fried by water and will render the car immobile.
Unfortunately, someone in my neighborhood wasn't fond of my cars and had a few of them towed. It may be a little while until the next update on this one.