Here's Everything Wrong With The $600 Diesel Manual Chrysler Minivan That I Bought Sight Unseen In Germany
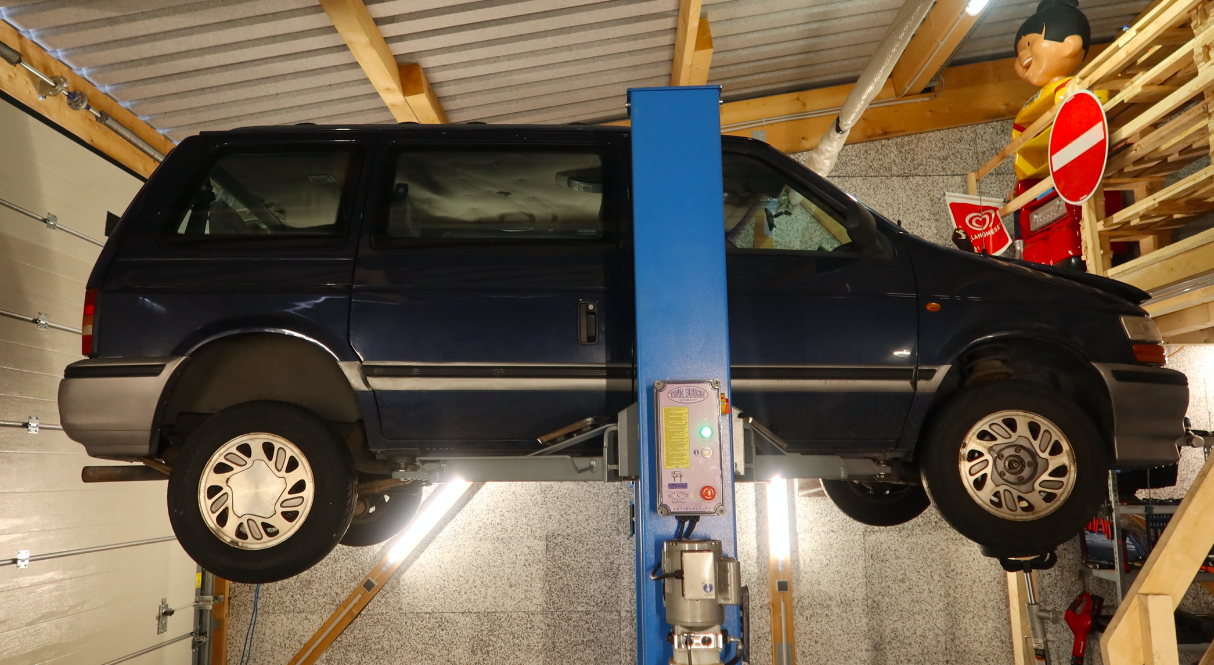
My 1994 diesel manual Chrysler Voyager minivan, which I plan to live in for a month as I road trip through Europe, is now in my friends' garage in Erlangen, Germany. It sits atop a hoist, giving me a great view of the vehicle's faults. Here's a look at everything I'll have to fix on my $600 Austrian/Italian/American Chrysler minivan to get it through Germany's absurdly strict inspection.
Shortly after arriving at my friend Josi's parents' house and feasting my eyes on my dream minivan for the very first time, I wrote an article that essentially took readers on a tour of everything I saw on that first day, which is to say: Lots of good stuff. The vehicle, which I'd purchased sight-unseen, appeared to be in great shape, and the quirks—particularly the bits found only on the Graz, Austria-built Chrysler vans and not on North American models—made me fall in love with the automobile almost instantly.
After that glorious introduction, I joined Josi and my two friends Andreas A. and Andreas J. for an excellent lunch, courtesy of Josi's parents. The main dish was Franconian Bratwurst, and it—along with the vinegar-based potato salad—was total culinary perfection.
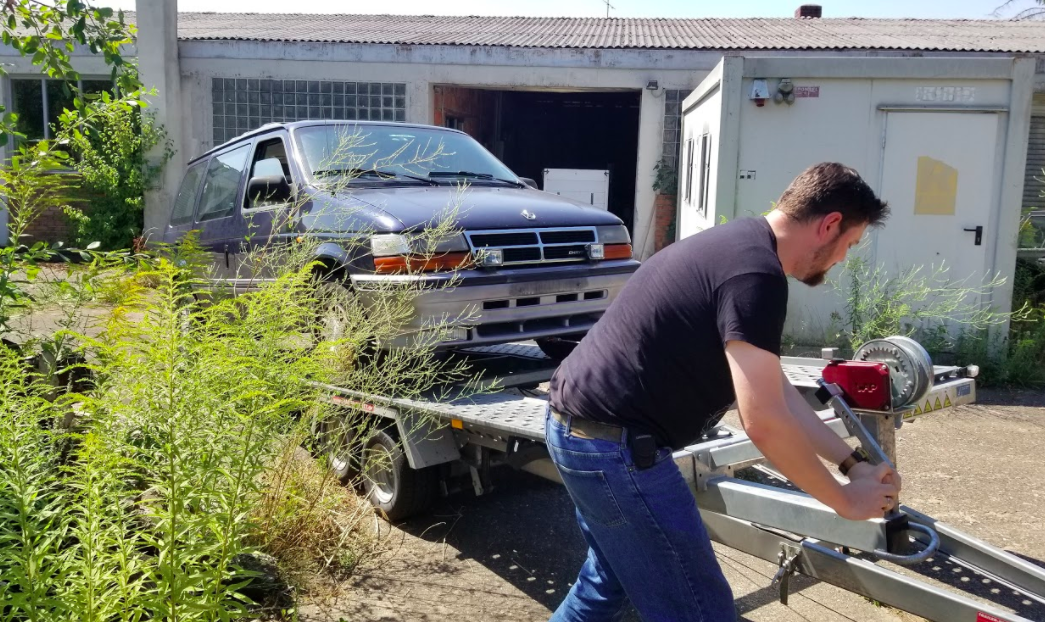
With our stomachs full, Andreas J. and I took turns cranking the hand-winch on the trailer, pulling the Voyager by its front tow point via a steel cable.
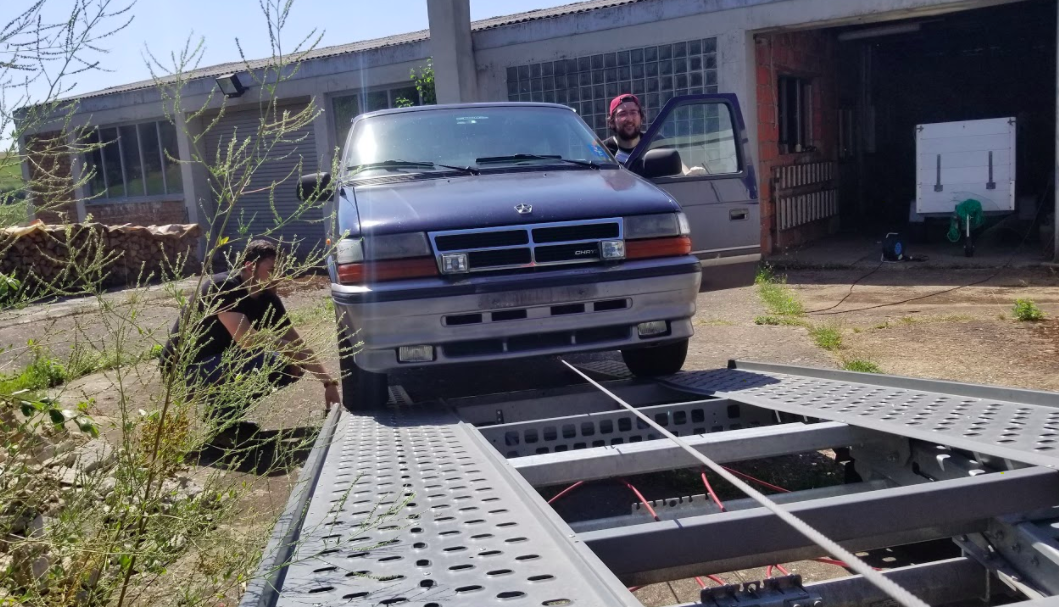
After about 20 minutes of toiling on the extremely hot day, and noticing what looked like coolant pouring from the back of the Voyager's engine, the van was aboard the car-hauler, which was ready to be towed by Andreas J's awesome first-gen VW Touareg.
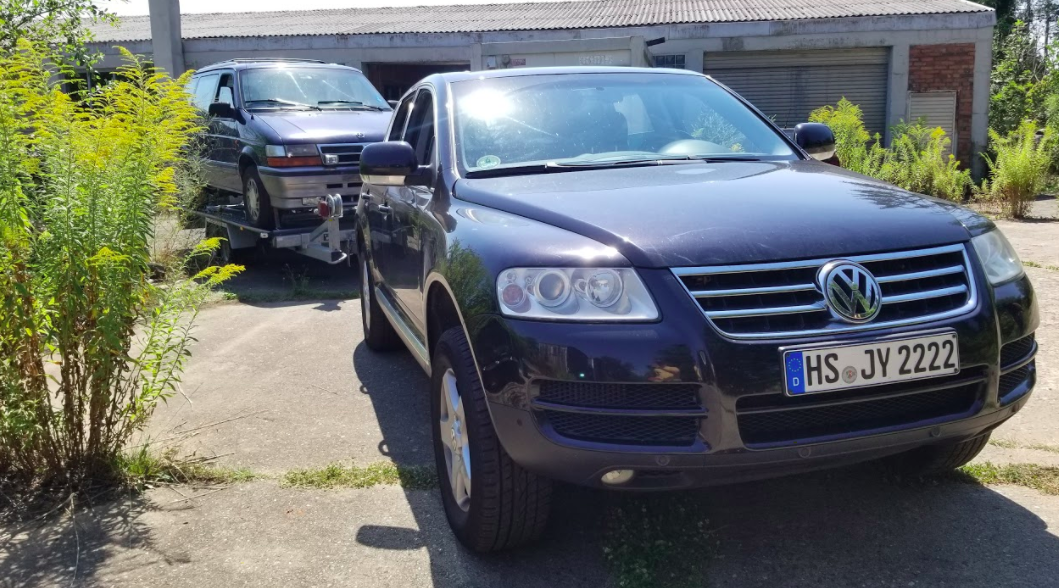

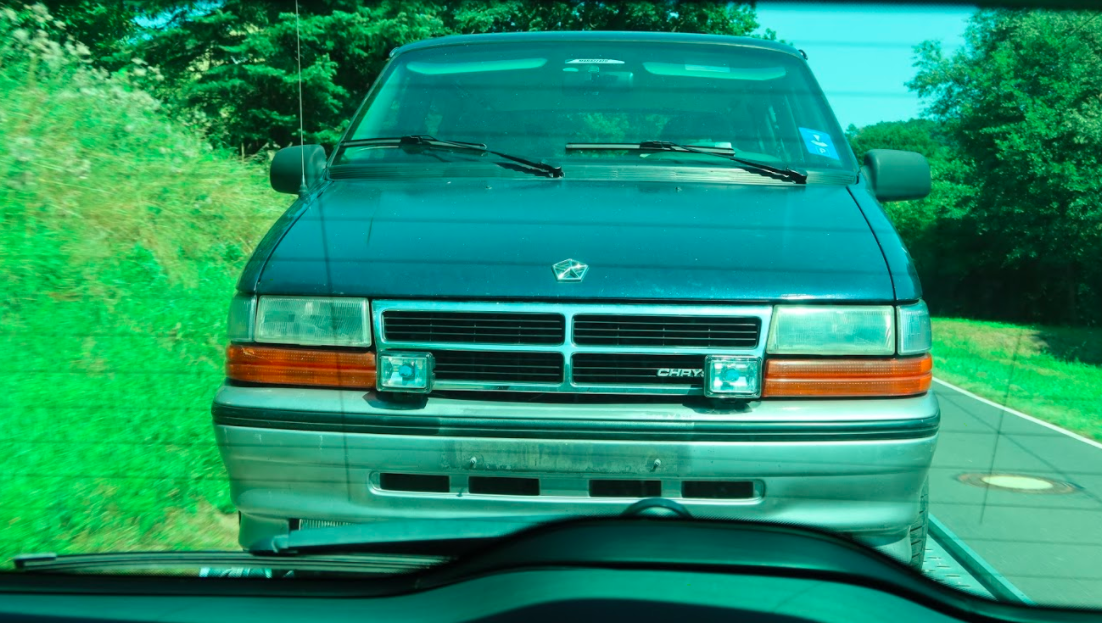
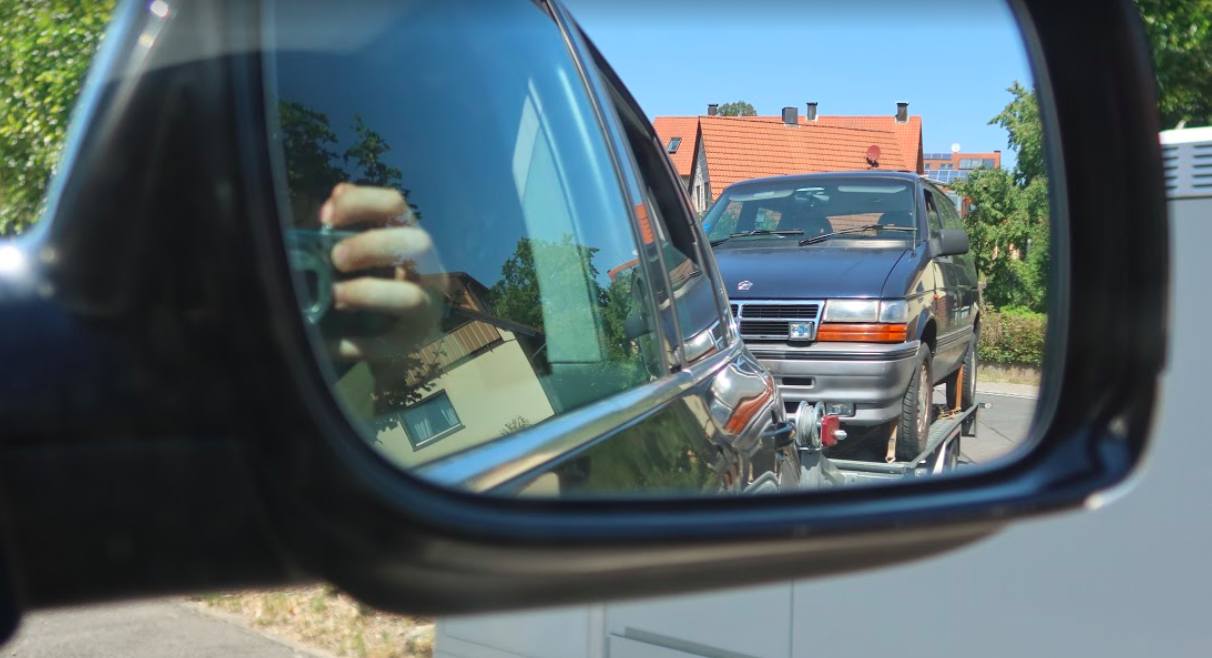
Eventually, the vehicle arrived at the garage in Erlangen.
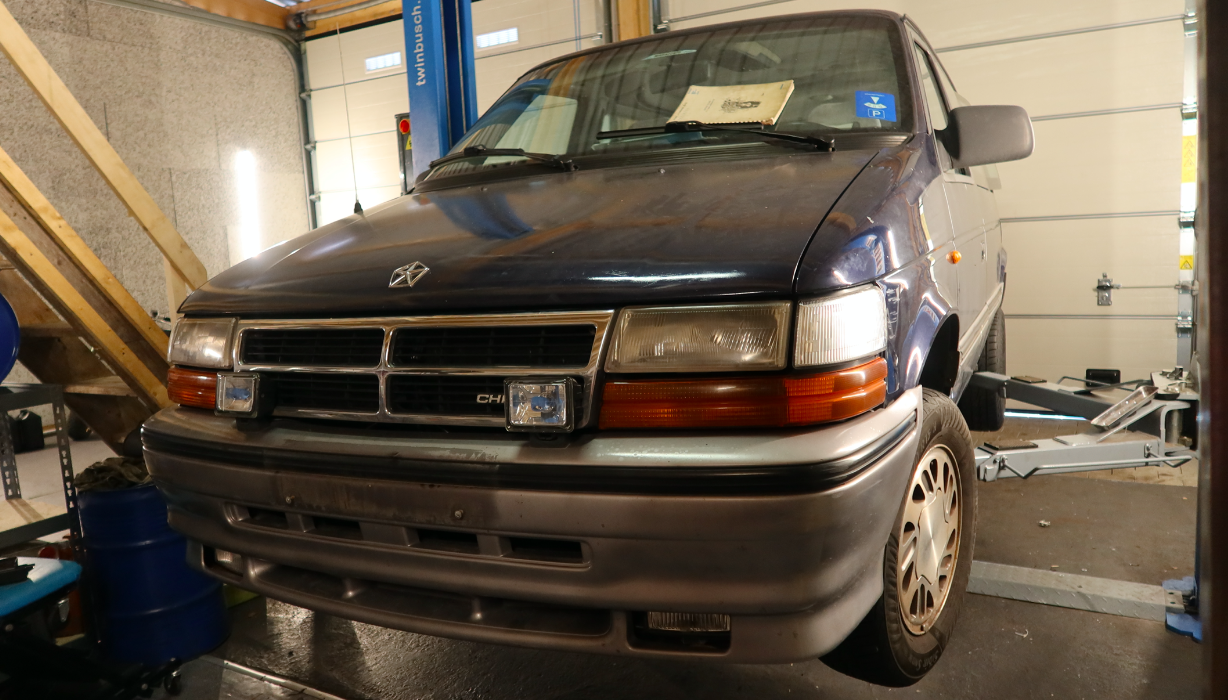
With the van now taking residence in a nice shop, I've had a chance to look beyond just the interior and exterior, and inspect both the underbody and engine bay. (I'm splitting the rent on this lovely shop with Andreas and his two friends Tim and Tobi, if you're curious.)
For the most part, my impression from that first day I saw the van, and from the pictures I'd drooled over for months prior, remain unchanged: This machine is in decent shape! But to get the $600 van through Germany's strict TÜV inspection, it's going to have to be better than decent. It's going to have to be excellent. Here's what I'm going to have to fix to get it there.
The Engine Leaks And Doesn’t Run
One of the reasons why my friend Andreas managed to snag this fairly decent-looking minivan for only 500 Euros is that it doesn't run. Even after over a minute of cranking, Andreas and the previous owner were unable to get the VM Motori 2.5-liter turbodiesel to fire.
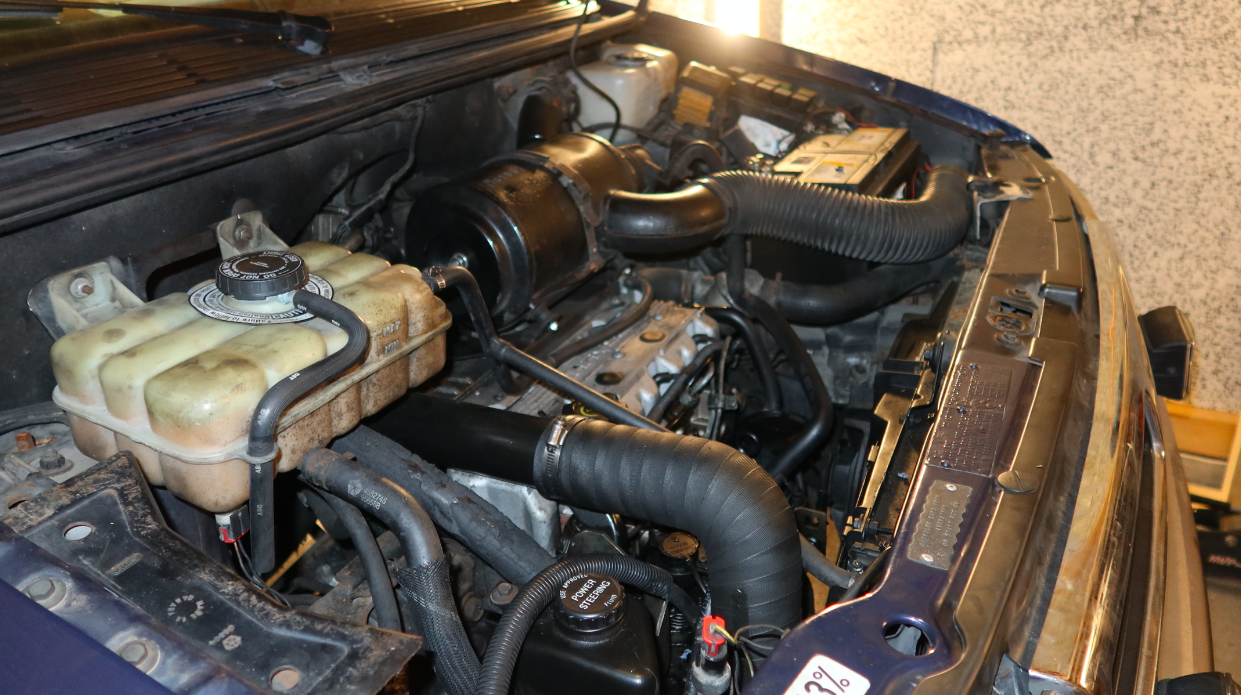
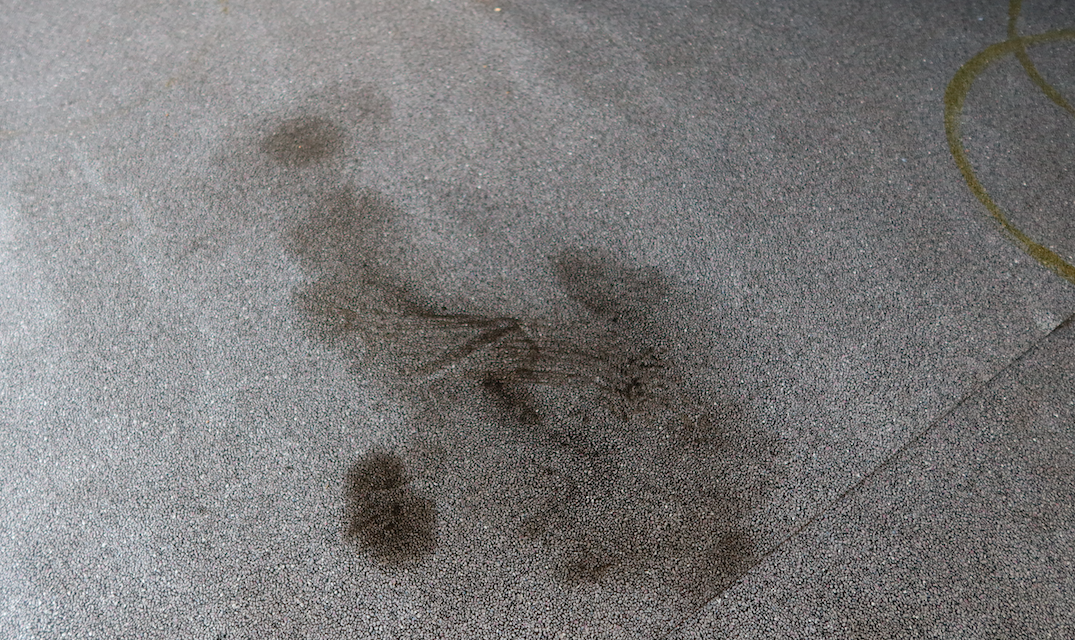
Cranking the engine yields a noise that sounds a lot like compression, so it seems that the issue must be fuel-related. Further supporting that theory is the fact that the van leaves pools of diesel wherever it sits. That diesel reached my friend's tires that were sitting in the shop, and now there are two permanent ring-shaped stains on the garage floor cover, as you can see on the top right of the following photo:
The air conditioning compressor and power steering pump, both packaged just below the mechanical fuel pump, are covered in fuel.
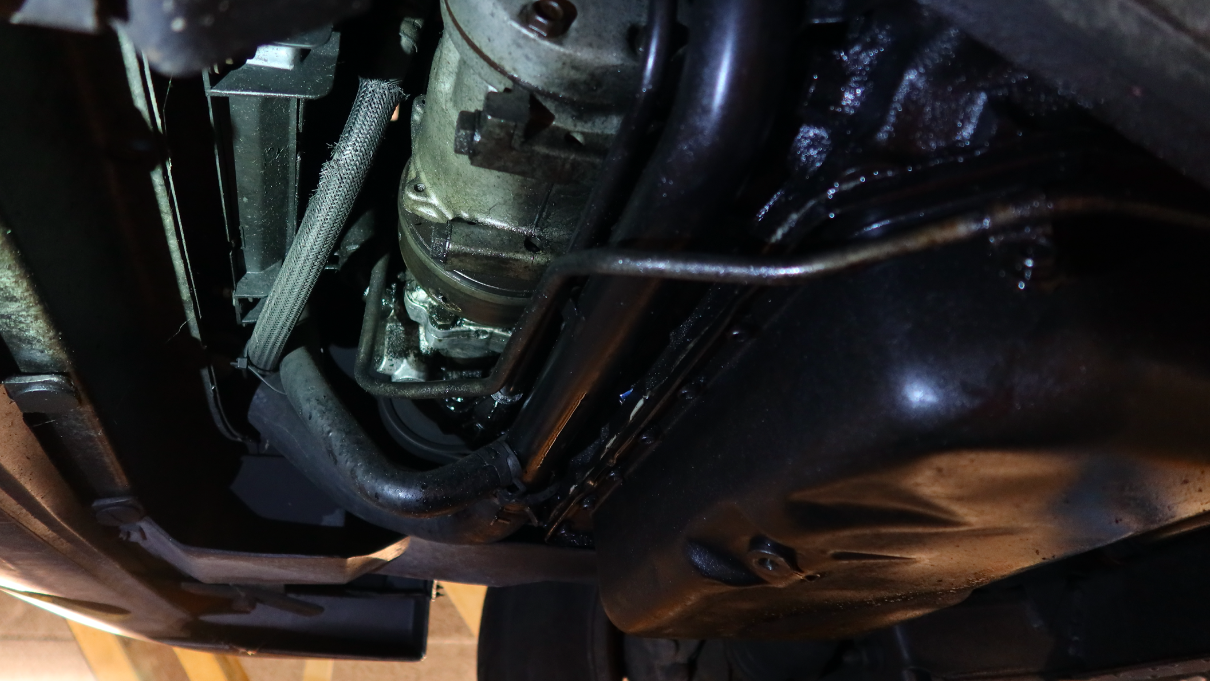
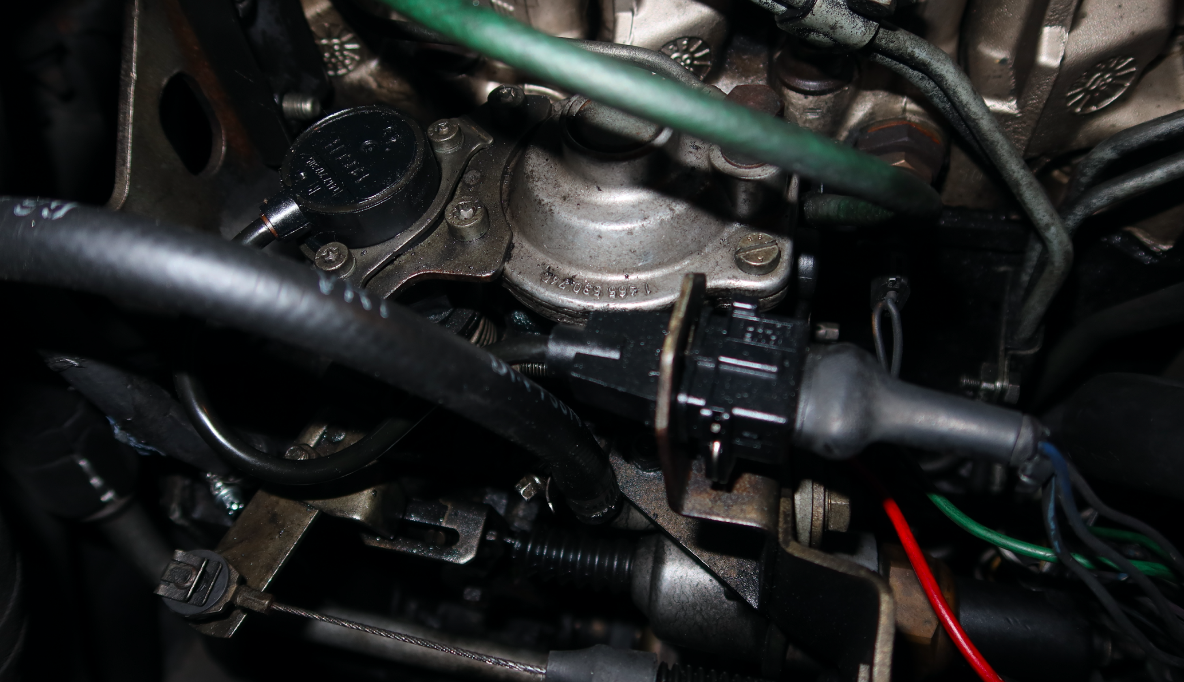
It's clear that the diesel injection pump has some sort of leak, and if diesel is escaping, air is taking its place. That means I'm going to have to get that air out, otherwise the pump will be unable pull liquid fuel from the tank. Whether that will require an entire pump rebuild or just something simple like a new hose, I'm unsure.
Diesel injection pumps, as I mentioned in a previous article, are absurdly complicated, and having a professional rebuild them is costly.
I will note that, though the front side of the engine is clearly covered in diesel oil, there are a number of other fluids covering the back of the engine and the oil pan.
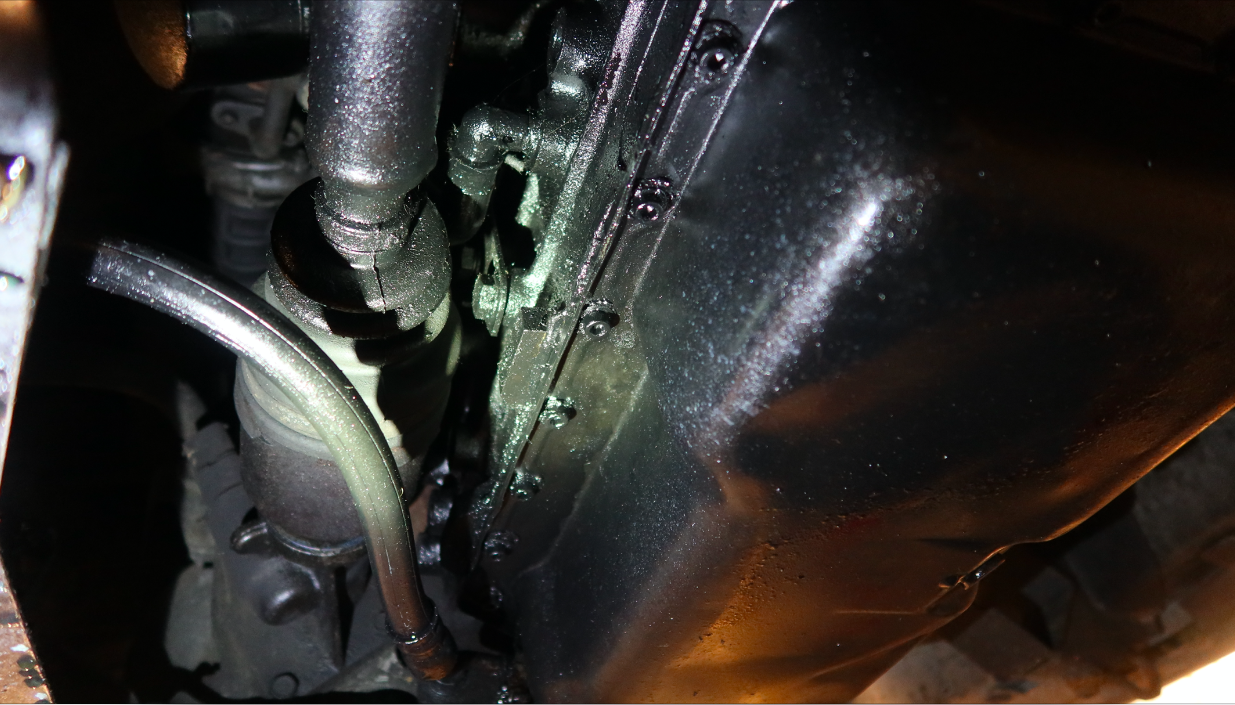
Some of it looks like oil, while some of it looks like either coolant or windshield washer fluid.
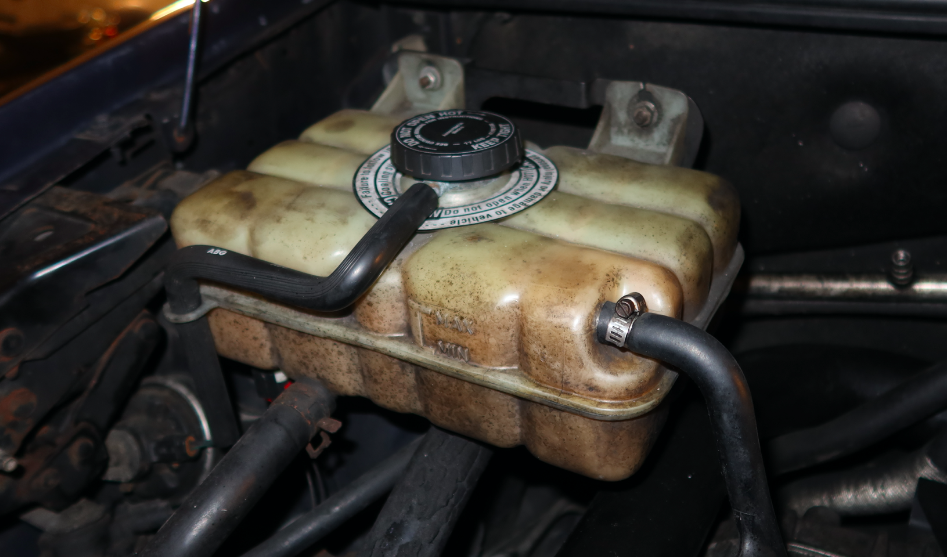
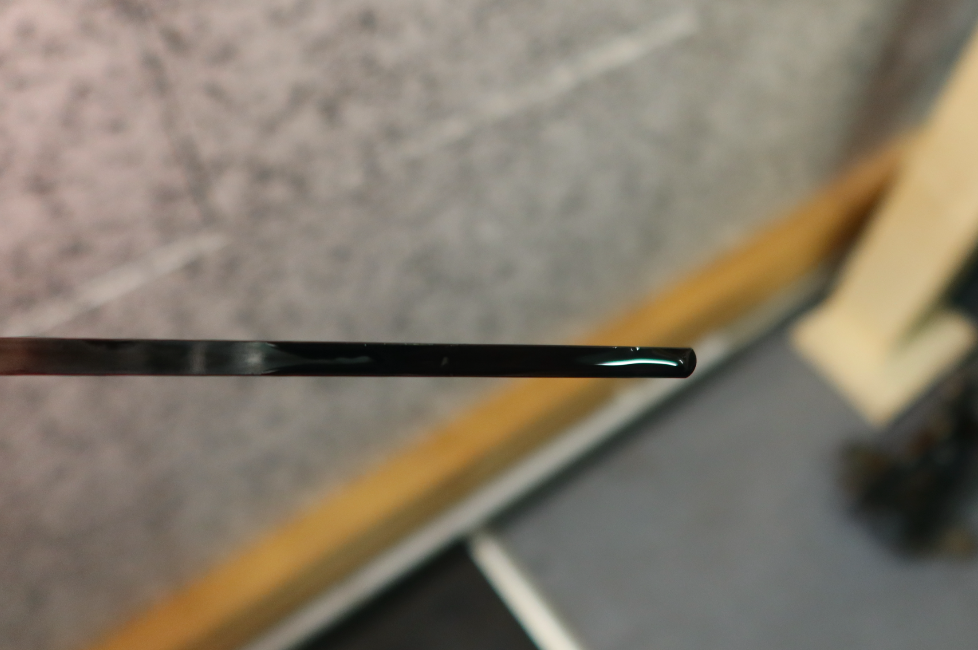
My coolant reservoir is empty, so I'll have to figure out where all that water went. It doesn't appear to have been leaking into the engine, as the oil looks decent (if a bit dirty):
Bushings and Bearings
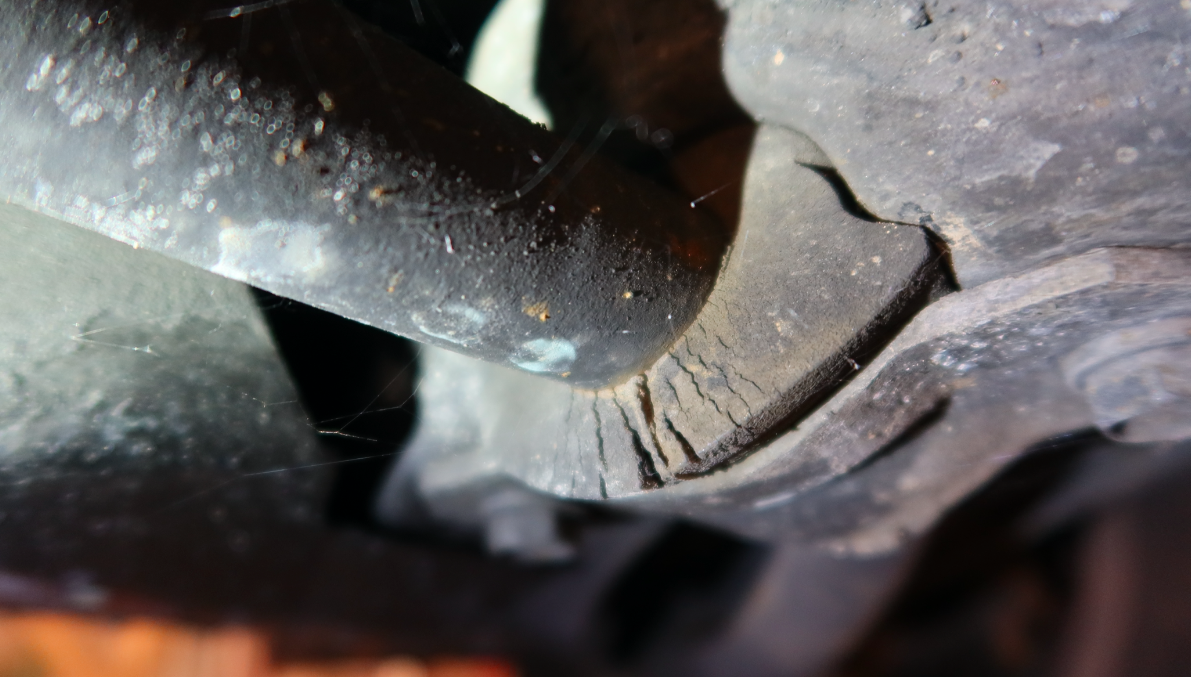
This minivan spent the majority of its life in sunny Italy, so it's no real surprise that lots of rubber bits are starting to crack. The photo above shows a front sway bar bushing that's probably still doing its job, but that definitely won't pass Germany's absurdly strict inspection.
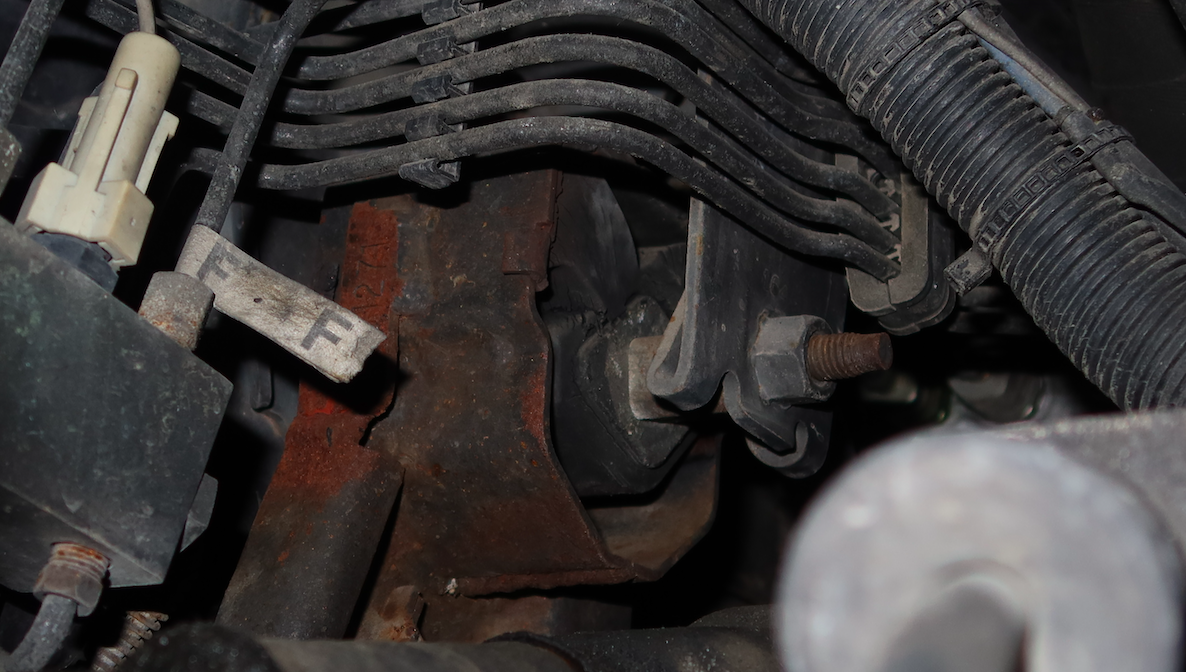
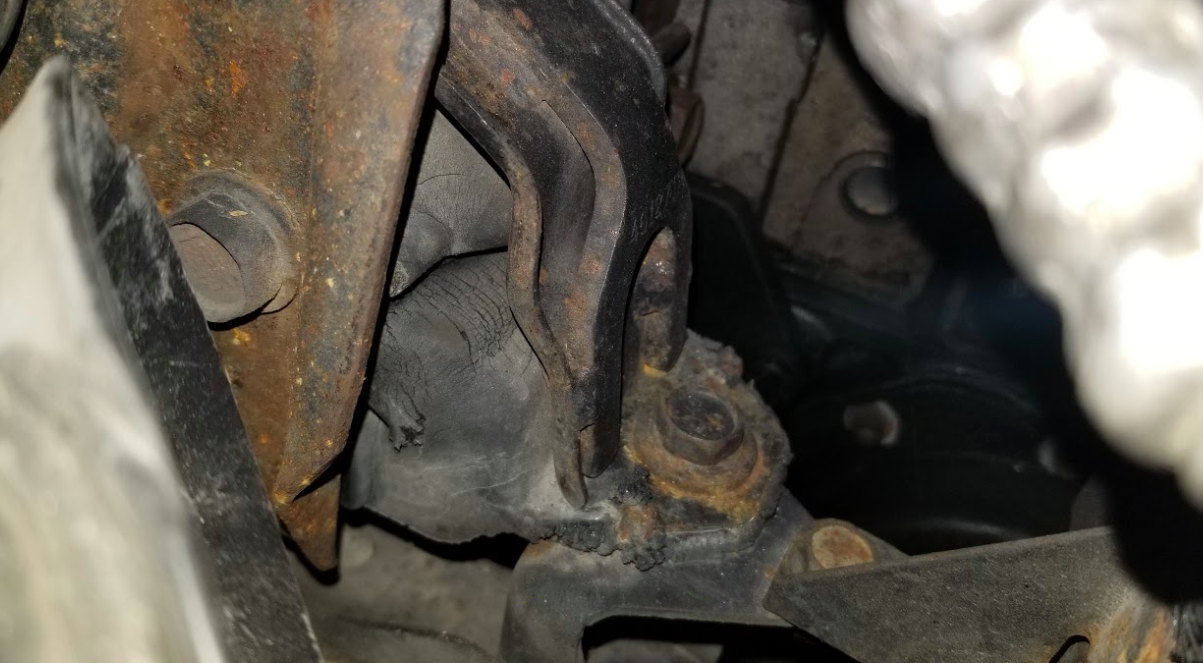
Looking closer under the car and under the hood shows rubber engine mounts that are also severely cracked. I'm going to have to replace both of these "Motorlager," though I'm having trouble sourcing parts. I'm not sure that they're common with the gas models sold in the U.S. and I'm not finding any new engine mounts meant specifically for the diesel second-gen Voyager. I'll do a bit more research to figure out how to get what I need.
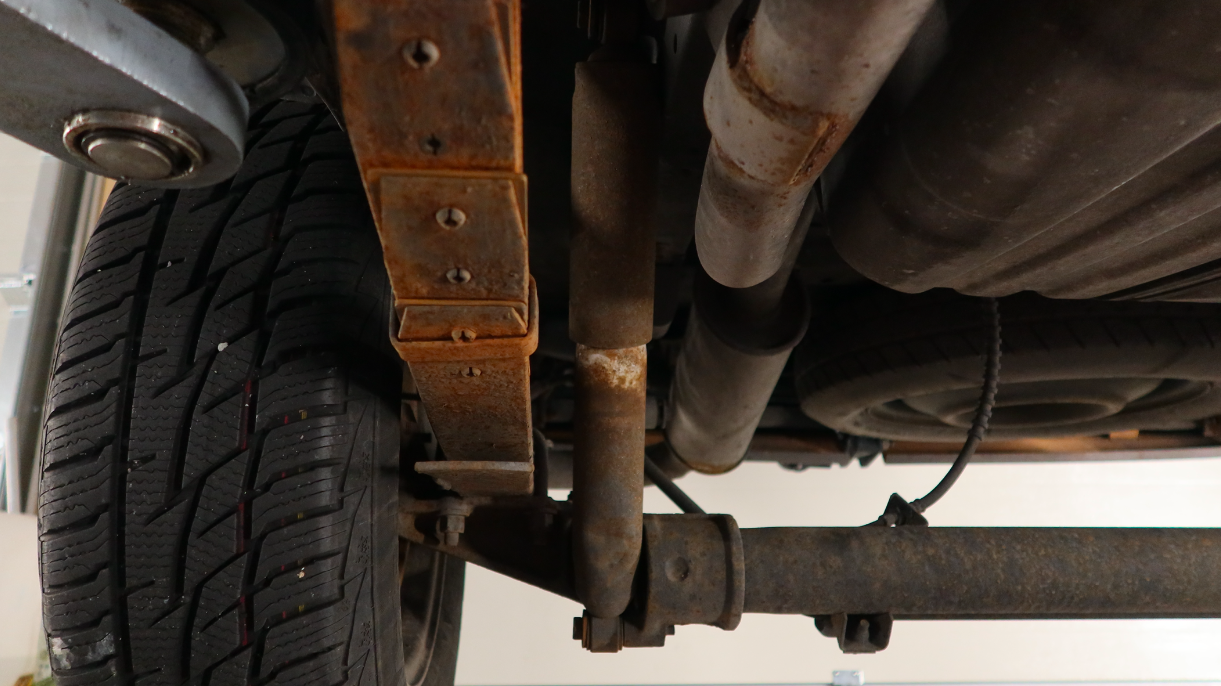
The rear shocks look okay, but the bushings are definitely a little old, and the passenger's side damper is dented a bit. I'm not sure these would fail TÜV, but shocks are cheap, so I may as well replace these. The German word for shock is Stoßdämpfer, in case you were curious.
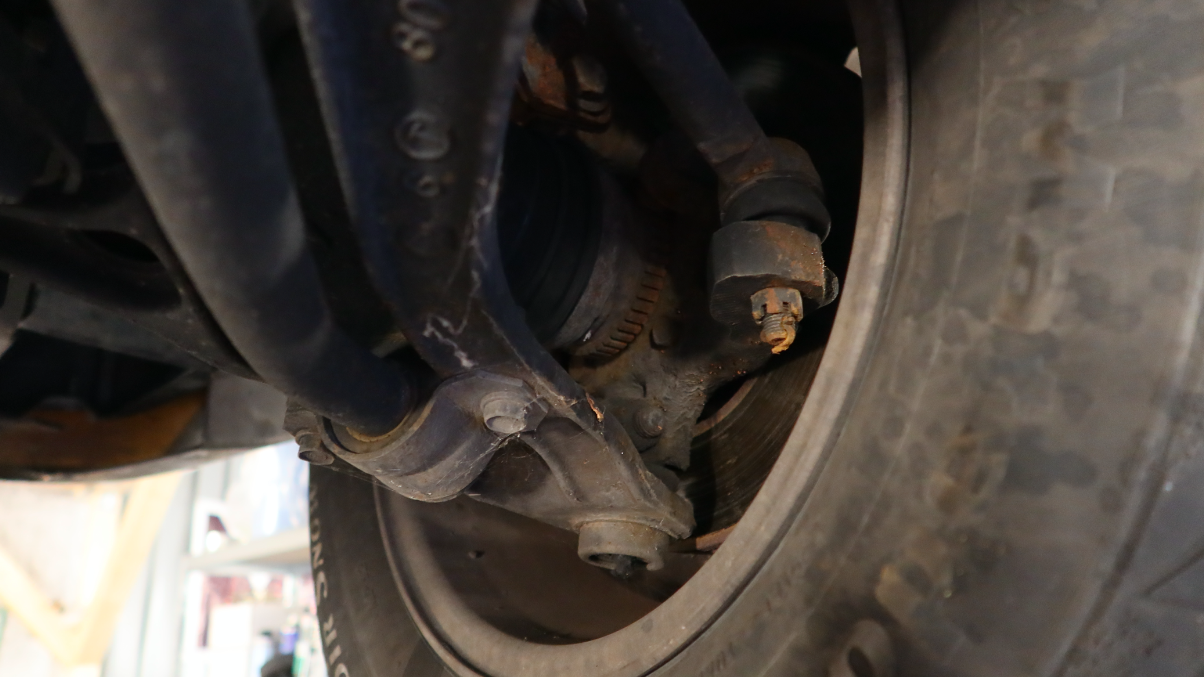
While doing my standard steering-and-suspension check by having my friend shake the wheels up-and-down and side-to-side, I noted that the tie rod ends and ball joints all look to be in good shape. The wheel bearing on the passenger's side, however, is clearly toast, as grabbing the tire from its edges and shaking it yields a prevalent knock.
I'll be replacing that wheel bearing (Radlager), and I'll probably do the other side while I'm at it.
Broken Headlight, Cracked Turn Signal Lens
Germany is strict when it comes to headlight aim and brightness. It's a key part of the TÜV inspection, Europe has headlight washer requirements, and cars like my van have to have headlight leveling capability.
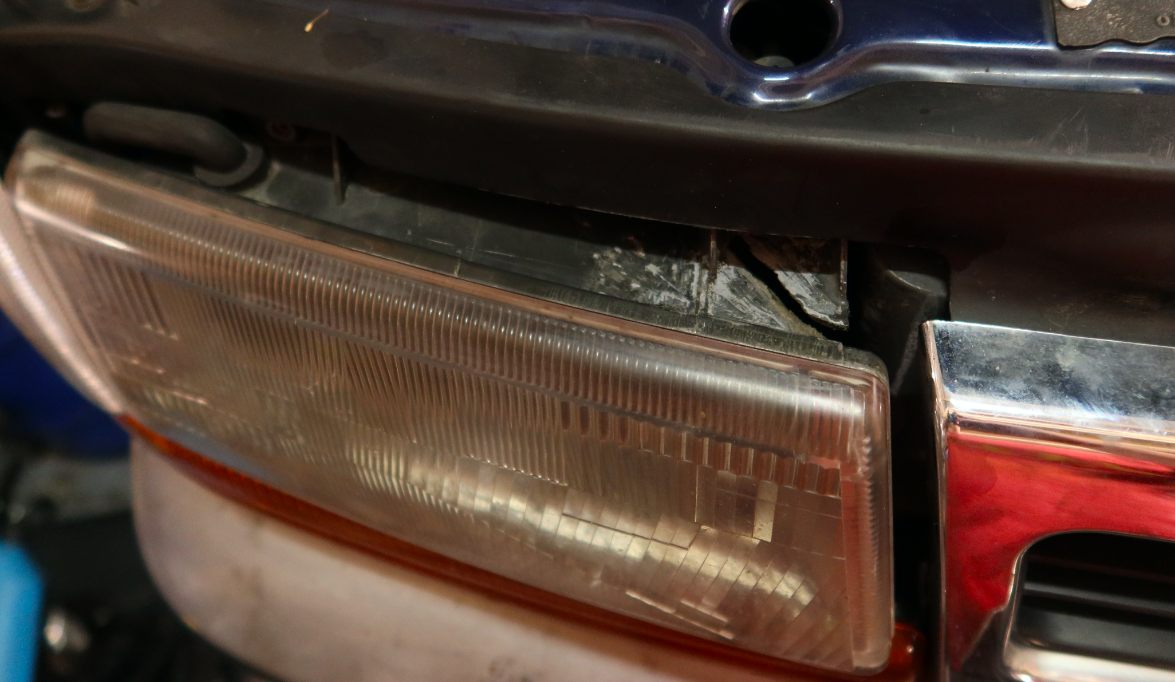
With that all said, it's pretty obvious that the cracked passenger's-side headlight housing isn't going to pass muster. I may try to mend the crack with some epoxy, but I'm unsure if that will cut it for the inspector. We'll find out. The German word for epoxy is "Epoxid-Klebstoff" or "Komponenten-Kleber."
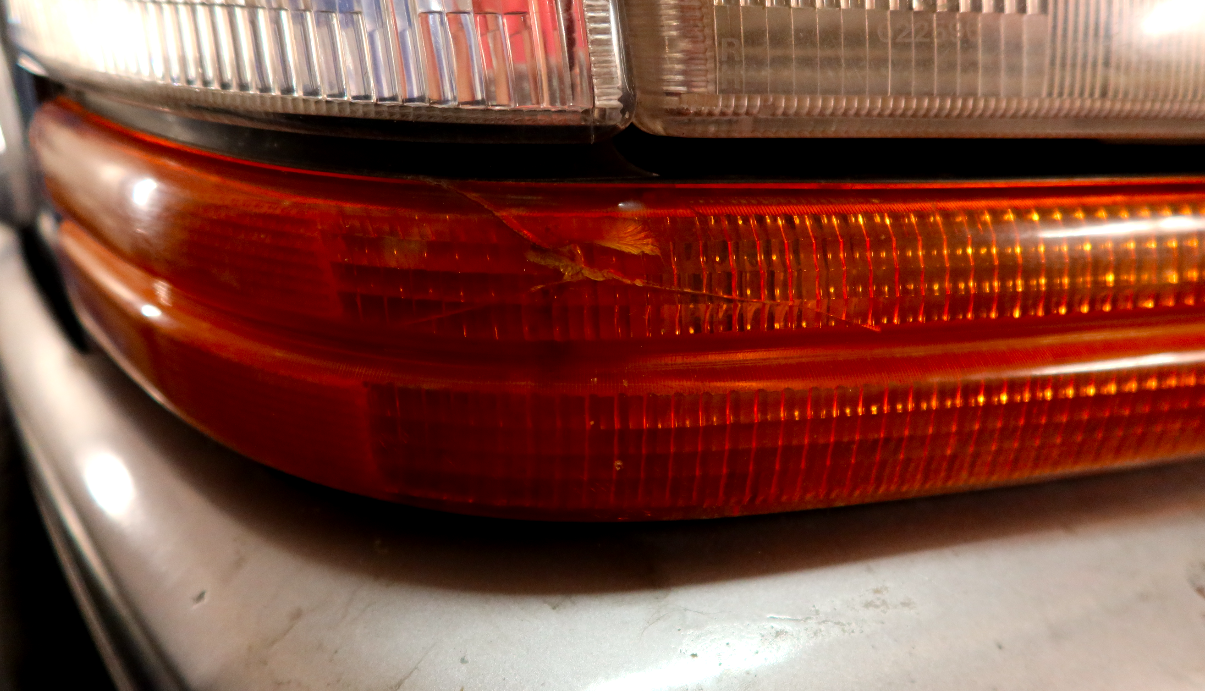
Just below that broken headlight is a cracked turn signal bulb housing. I don't know if this imperfection will preclude me from passing German inspection. I hope not.
The Tires Aren’t Going To Cut It
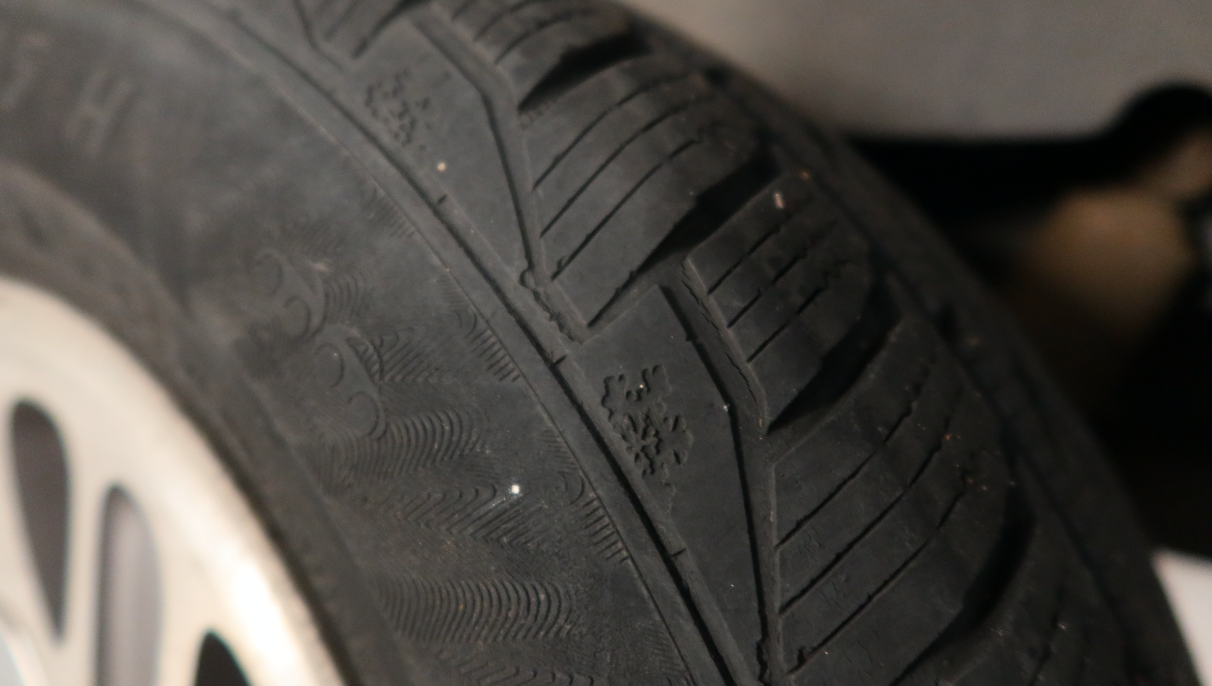
I love the made-in-Slovakia "Matador" tires on this van. They're fairly-newish, they look decent, and they're from 2013, but the reality is that the hot Italian sun has aged these rubber donuts quite a bit. (EDIT: To be clear on this: Seven years old is at or close to the age at which many tire manufacturers recommend replacement. My point was just that these aren't ancient tires)
There's enough cracking to make me want to replace these with a set of lightly-used tires. I'll keep an eye out for some Reifen.
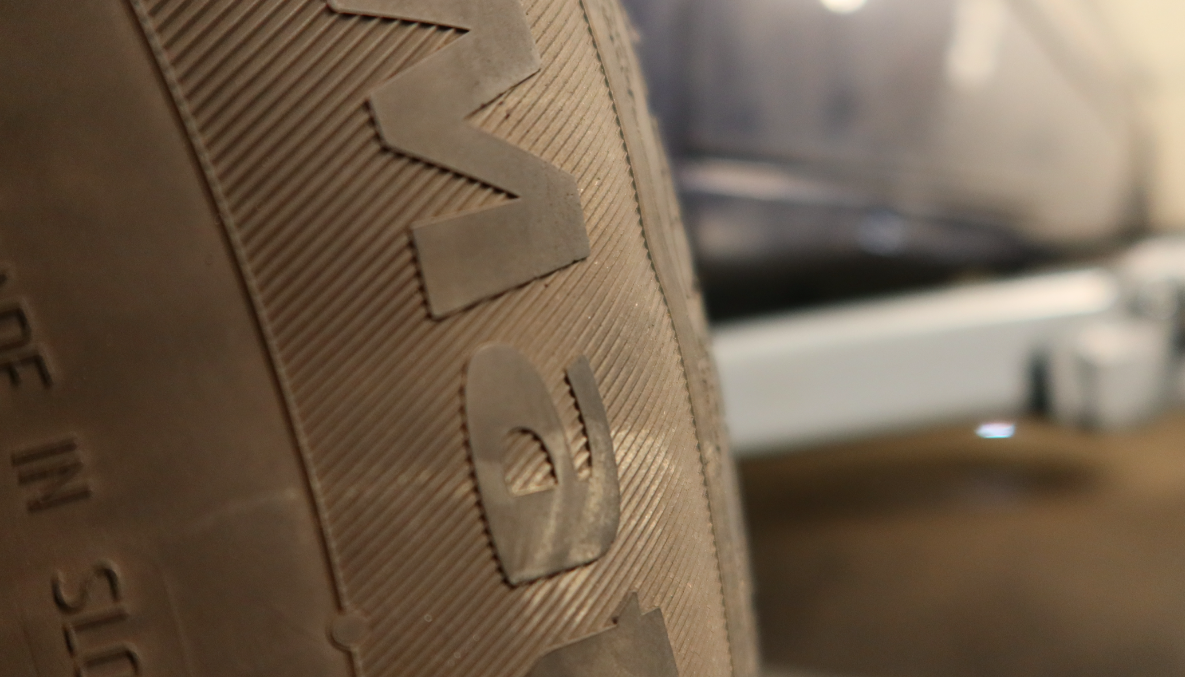
As you can see, it's not just dry rot; there are also some structural issues with the tires, as the front driver's side sidewall is deformed in one spot.
The Shifter Is Sloppy
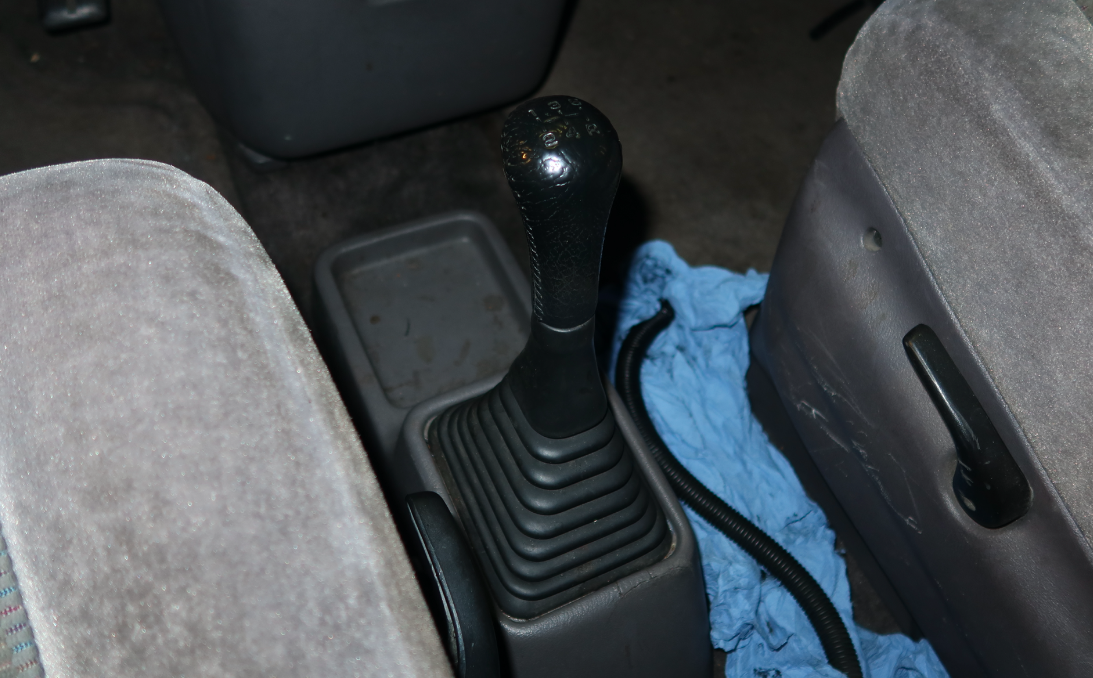
The amount of lateral play in the beefy Chrysler A568 five-speed manual transmission's shifter while in gear is truly concerning. You know how in car magazines, reviewers often say operating unsatisfying shifters is akin to "moving a stick in sand"? I'd never really understood what they meant until I shifted this Voyager's strangely-placed, floor-mounted shifter. It's bad.
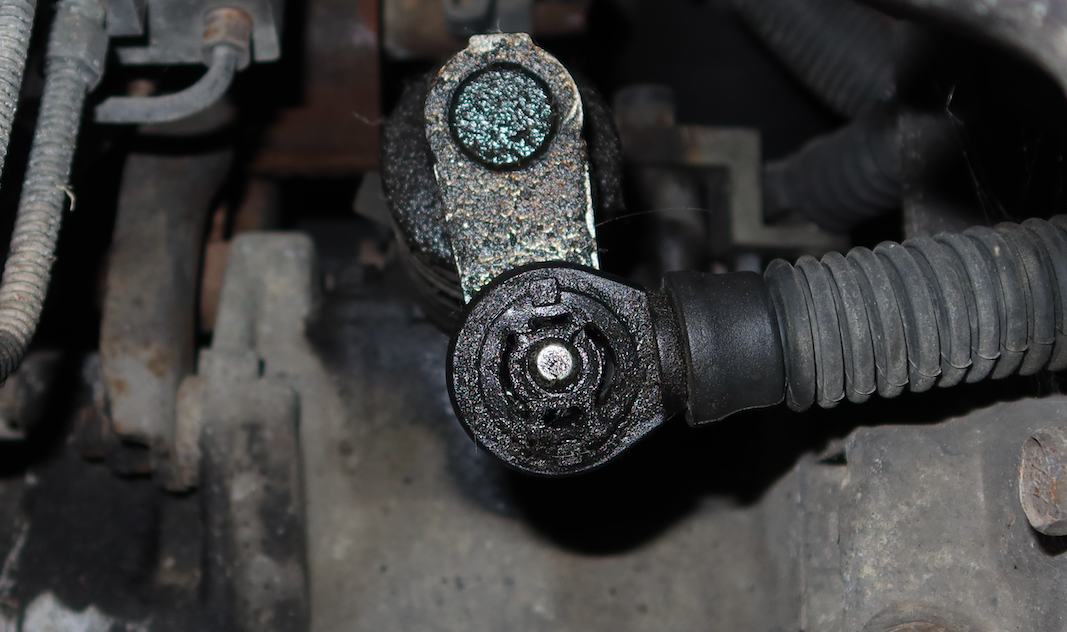
The good news is that, per recommendations by numerous readers, I've ordered a "Booger" shifter bushing kit (see below).

Hopefully this will solve it.
The Park Brake Doesn’t Work
I learned the other day as my friends Andreas and Andreas pushed the minivan into the garage that my park brake doesn't work particularly well.
I'd have preferred to find this out another way, as my friends weren't too thrilled that I made them push a car with the park brake activated, but hey, they got exercise, and I identified a problem. That's a win-win, right?
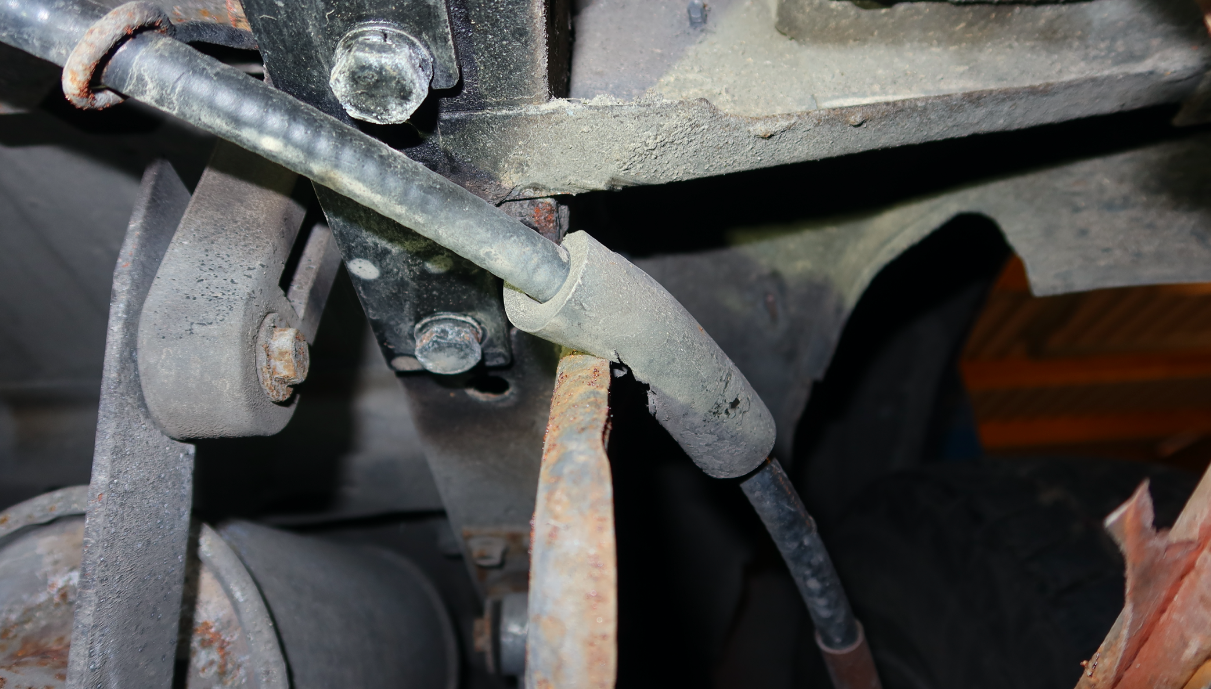
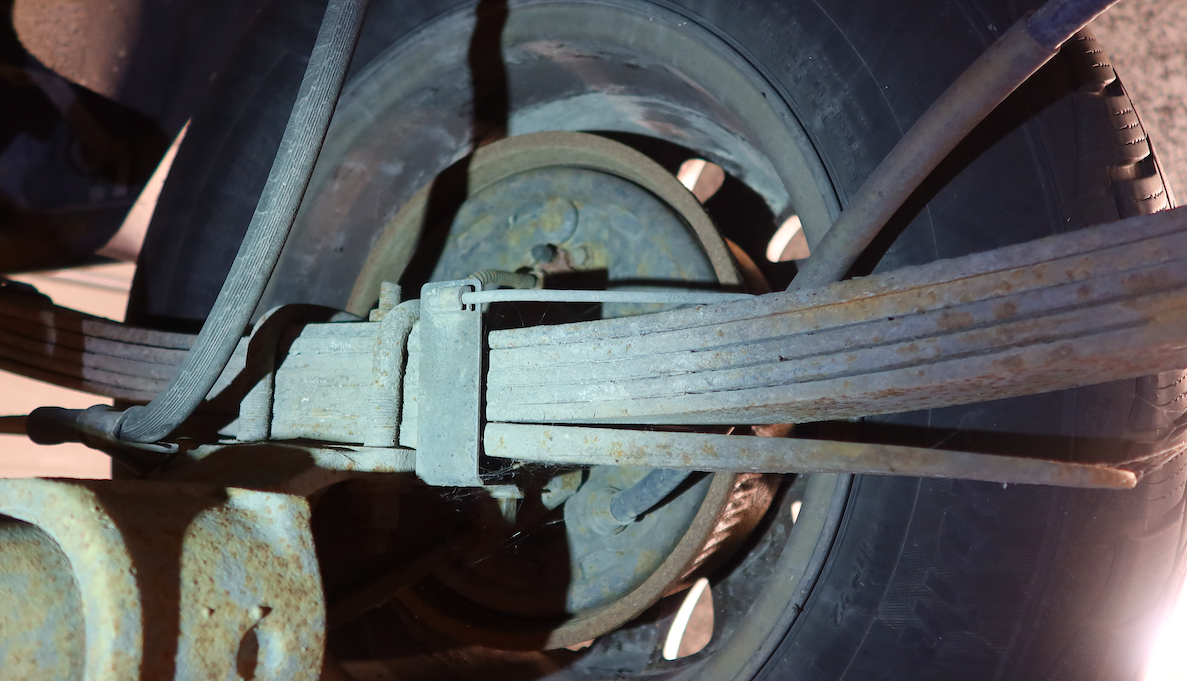
Speaking of the park brake, one of the cables is rubbing against a bracket under the rear of the van. I'll need to wrap that in some electrical tape so the cable doesn't get a hole that could allow water (and thus, corrosion) in.
Headliner, Interior Trim, Radio
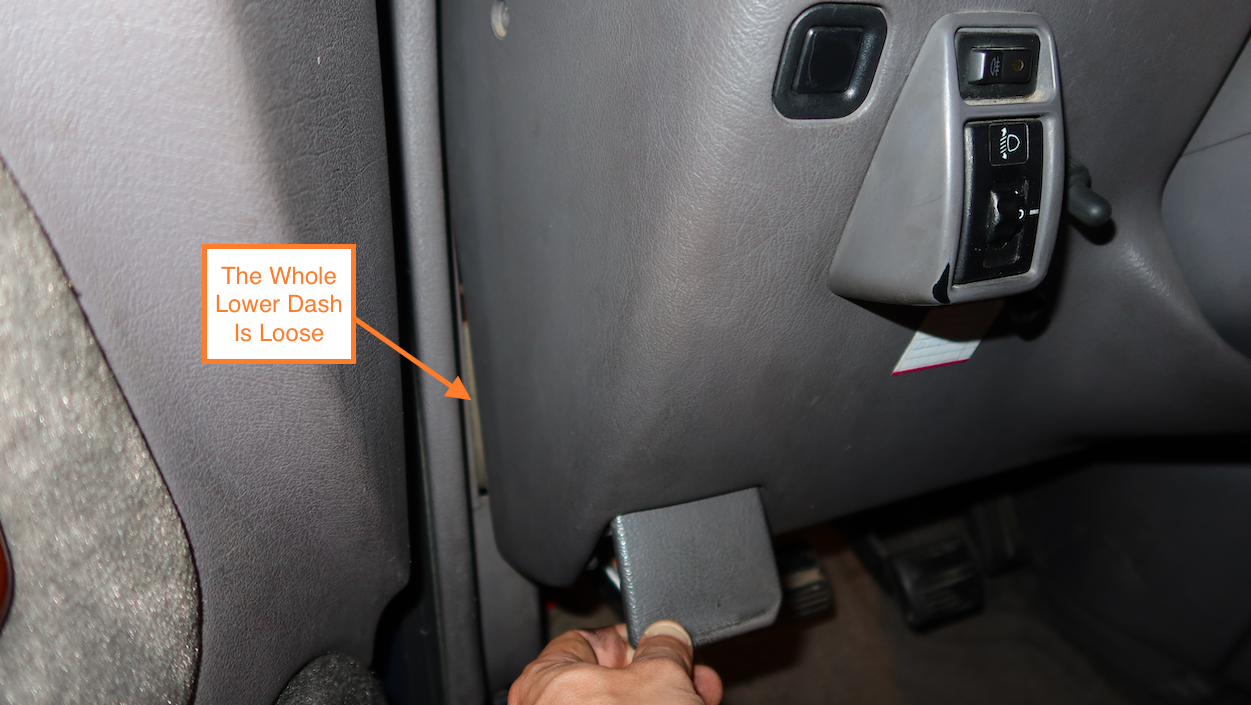
The inside of this van is downright beautiful, but it's not perfect. Every time I release the park brake, the whole lower dash comes loose. I bet this is just a matter of some screws or plastic "Christmas tree" fasteners missing.
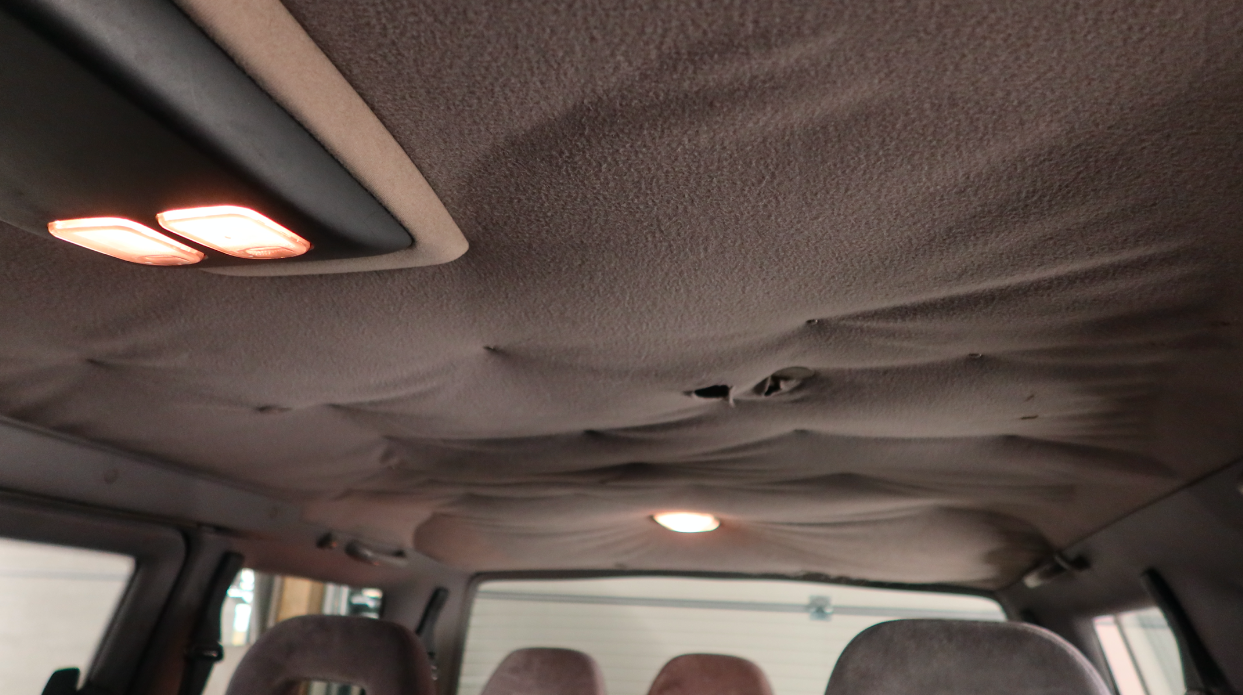
Other problems with the van's interior include a saggy headliner:
And a missing radio:
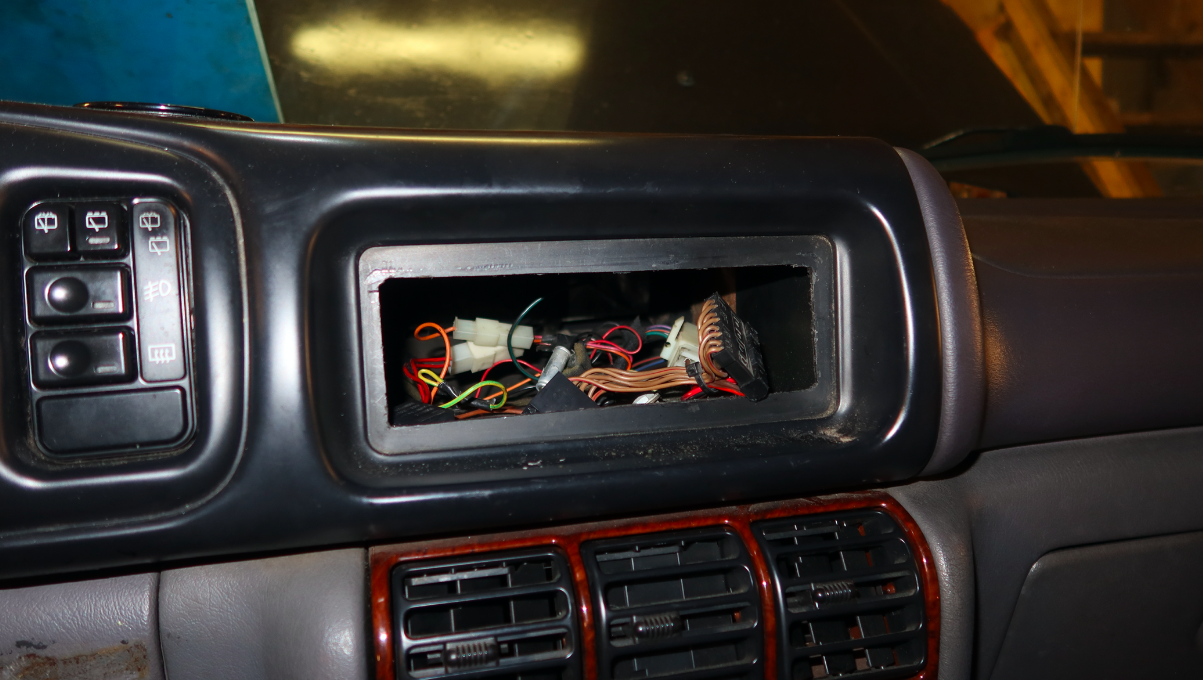
I plan to do nothing about that headliner, and I'll shove some cheap single-DIN radio into the slot in the center stack, as I like the idea of listening to local radio channels as I drive through various countries in Europe.
Exterior Aesthetics Could Use Some Work
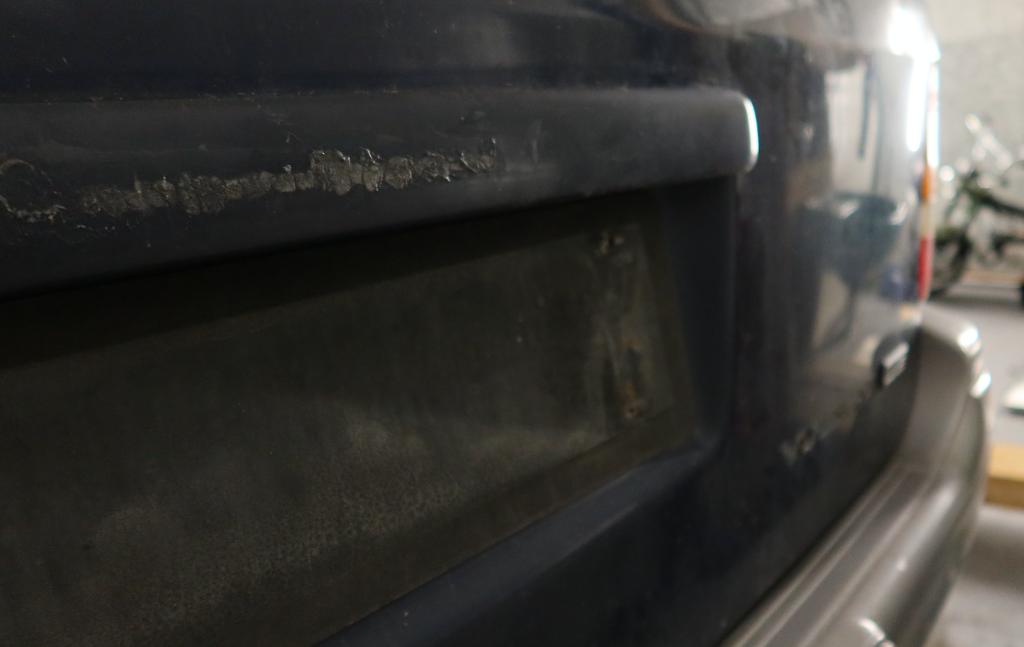
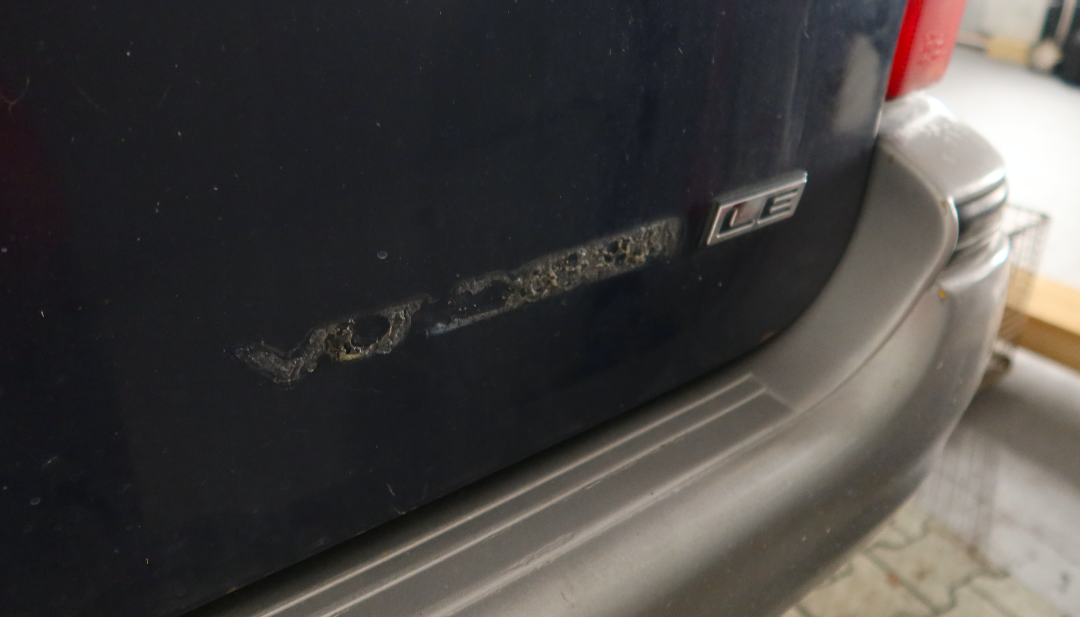
Though I consider this van to be in above-average aesthetic shape given its age and price, it's far from perfect. There's a "turbodiesel" badge missing from the rear hatch, just above the license plate mount. The "Voyager" badge at the bottom right corner of the hatch is also absent. I'll be buying new badges from eBay, because these are badges of honor, and my minivan deserves them.
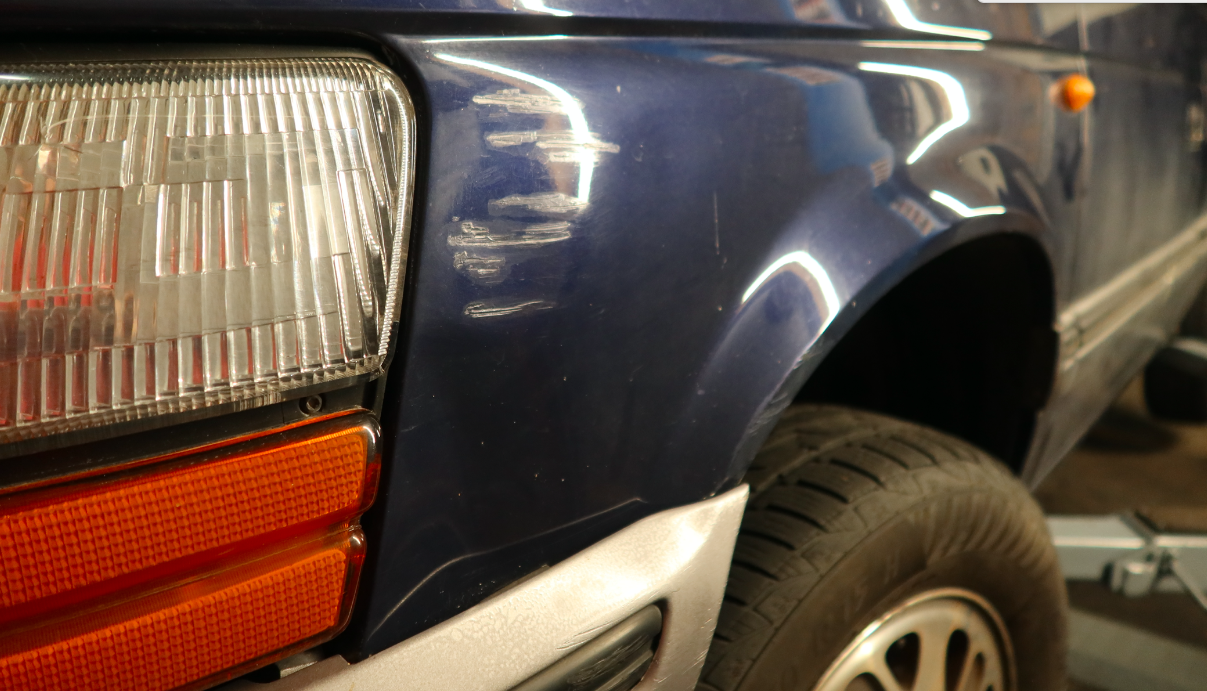
There are also some dents and scrapes, like these on the front driver's side fender:
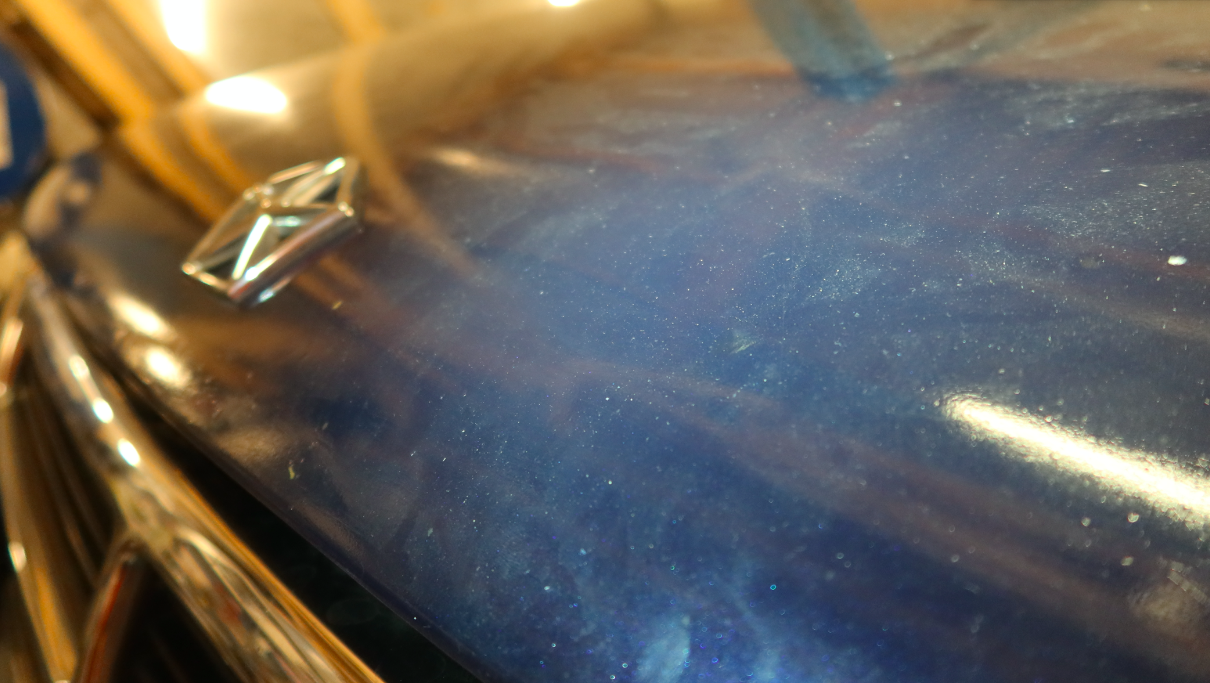
The paint, while nice from afar, looks to have been brushed on in some places, particularly the hood:
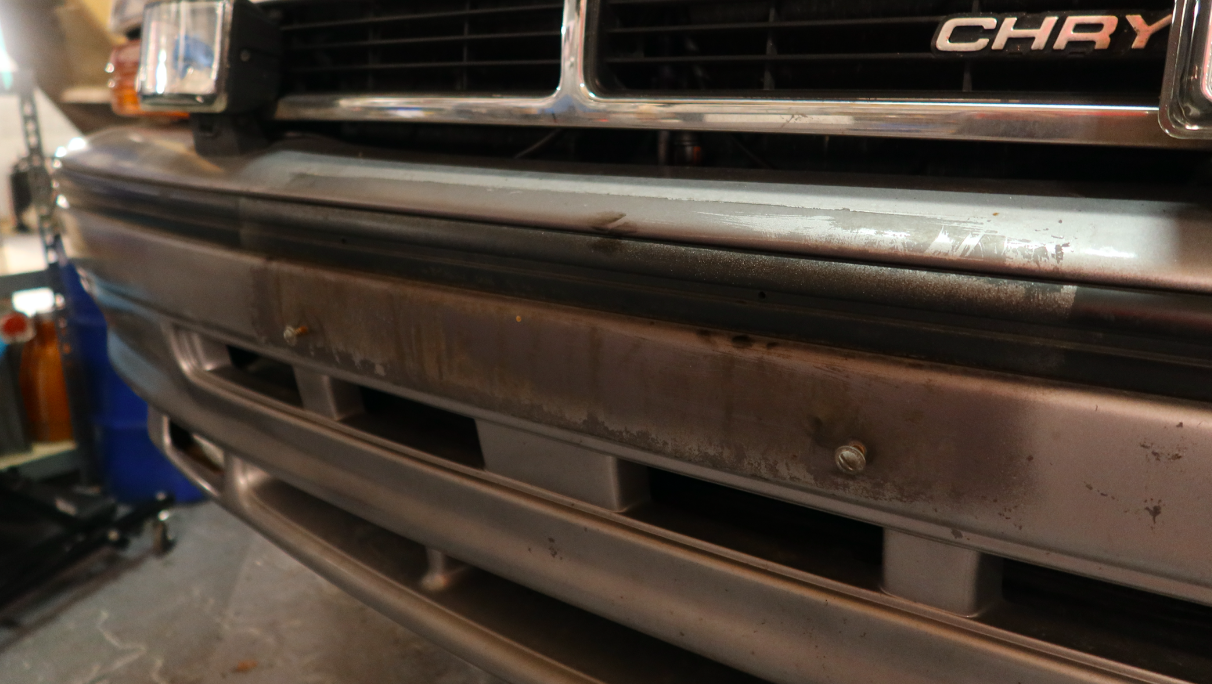
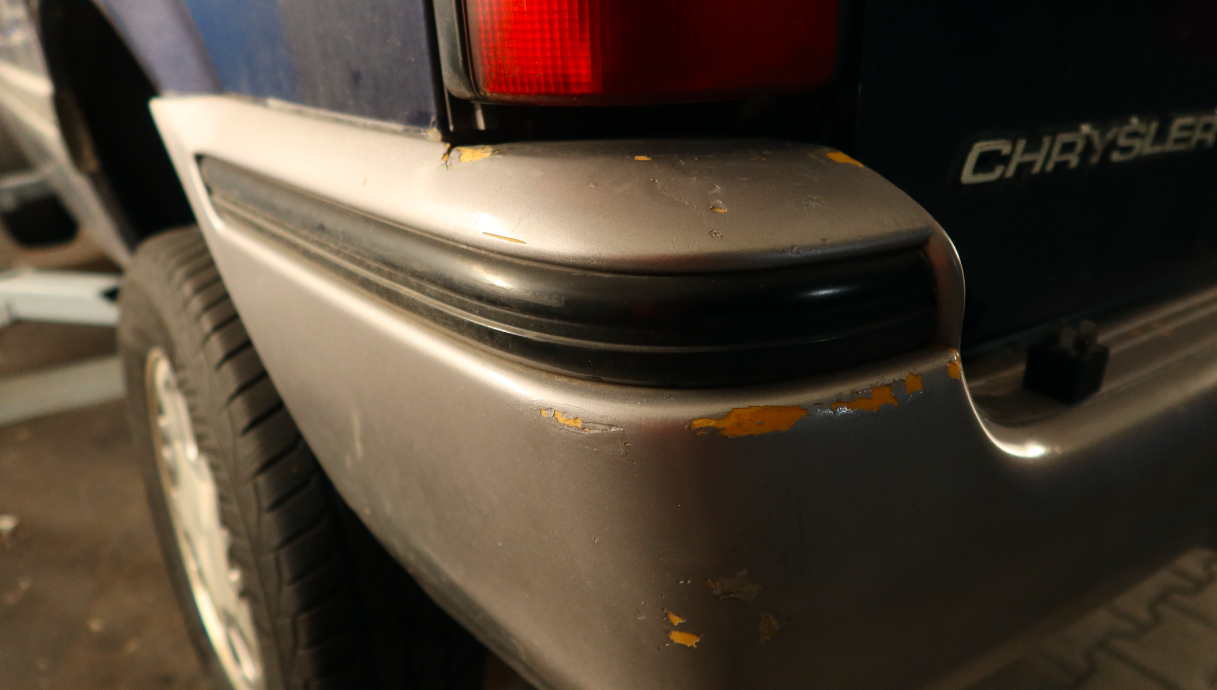
The silver bumpers have also seen better days:
I have to admit that this rundown of everything wrong with #Vandemic (the new name for this van project) is a bit delayed. I've fixed some things (exciting things!) and discovered new faults (annoying faults!) since my initial inspection. You can stay more current by following my Instagram, which I plan to update at least daily.
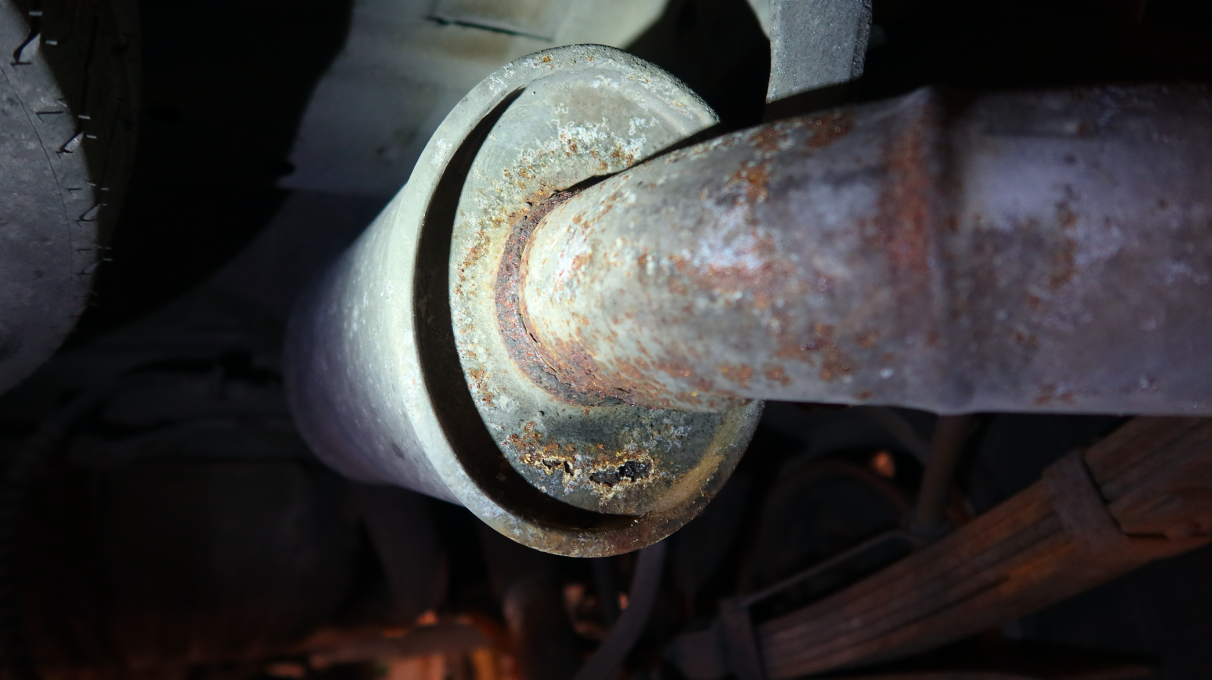
Update: I forgot to mention there are some small holes in the exhaust!:
